

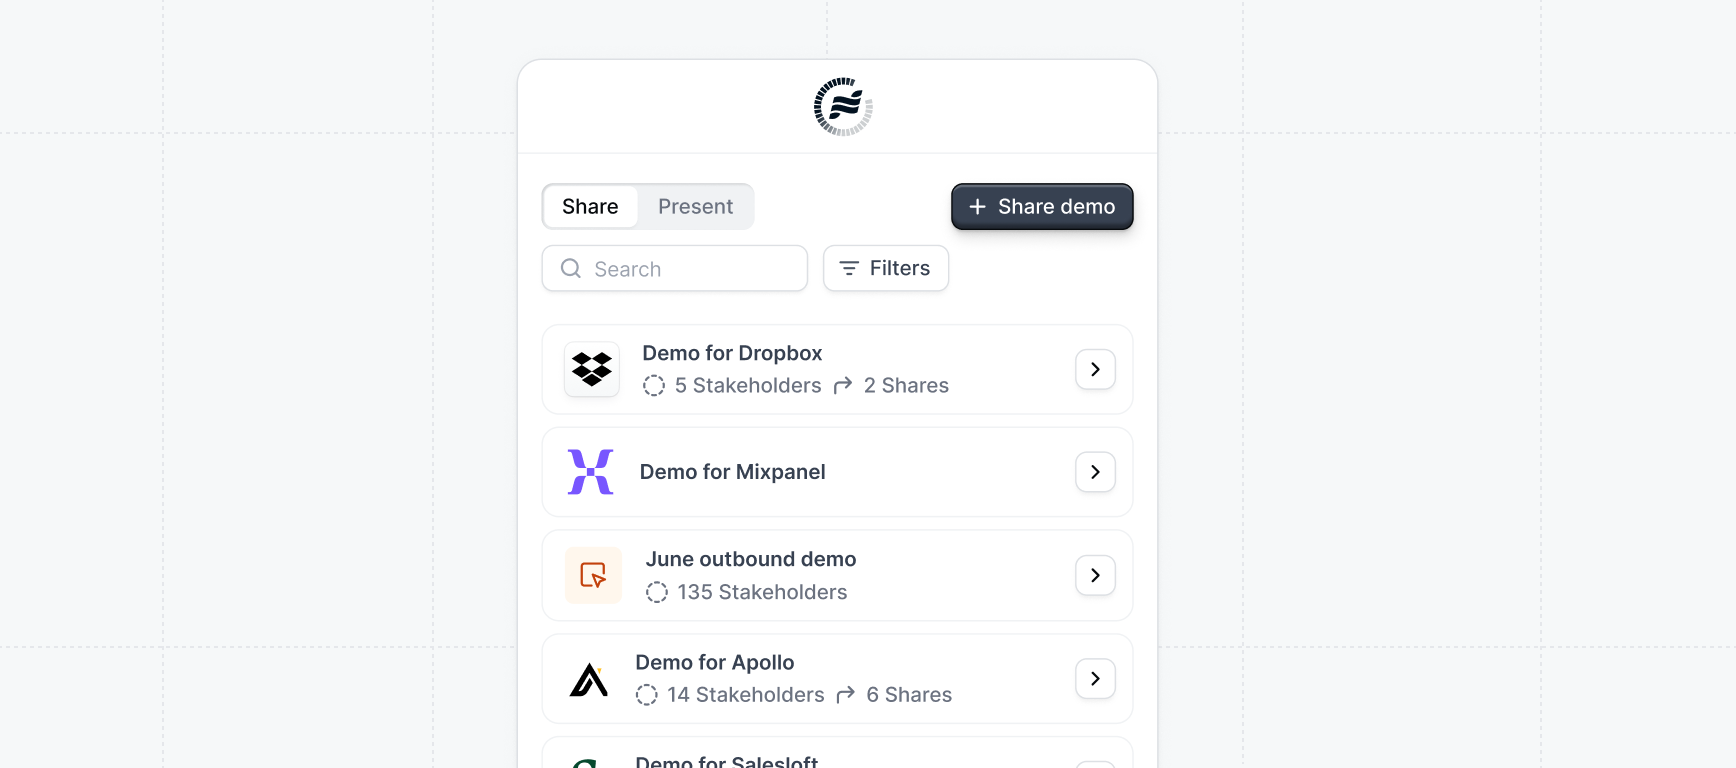
How to share demos
1
Click "+ Share demo"
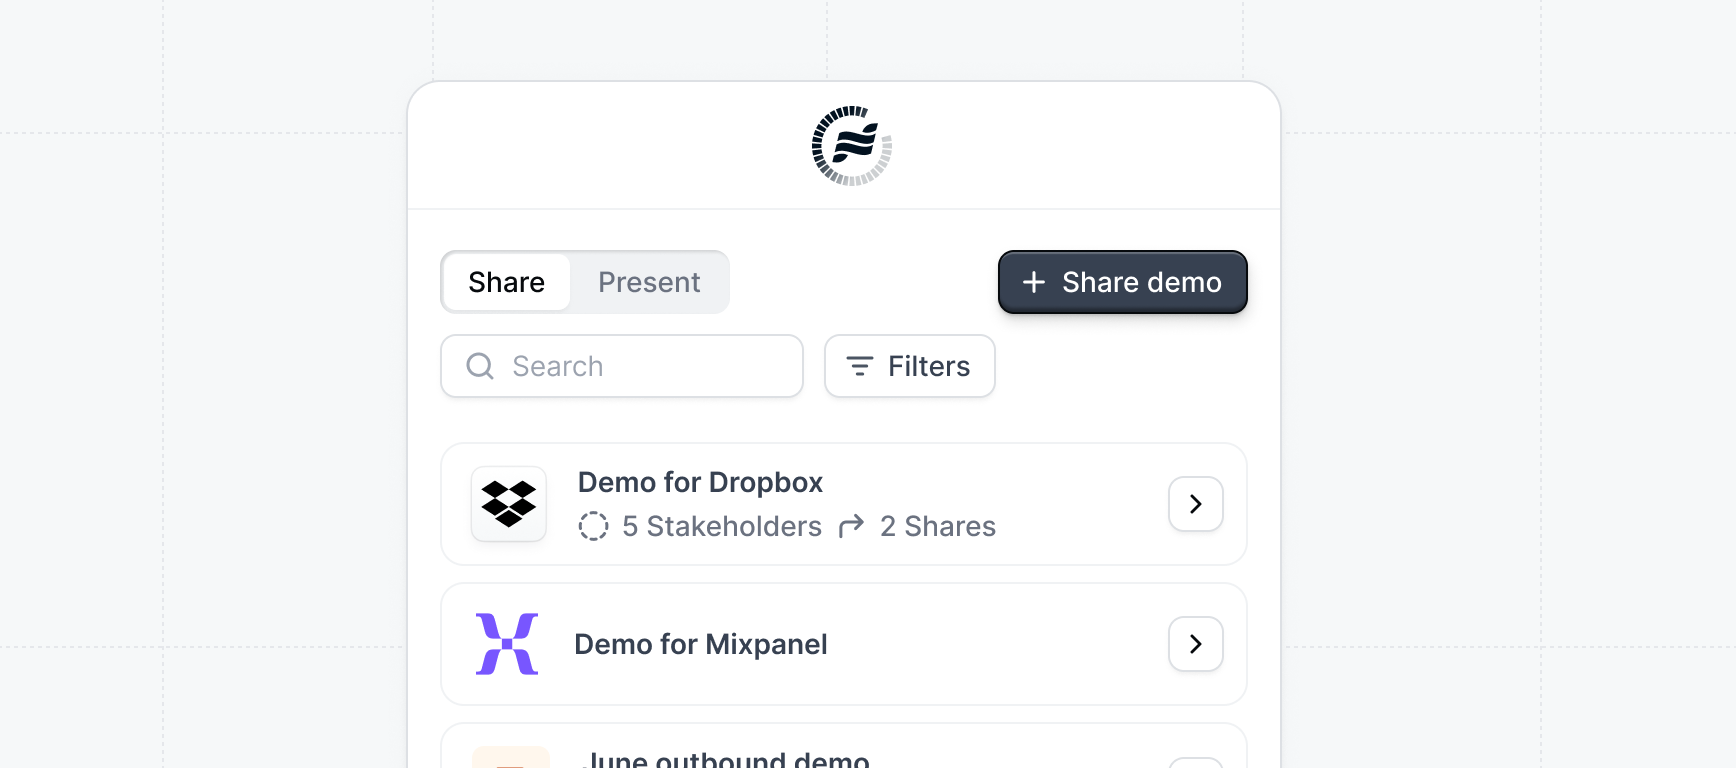
 Launchpad extension in your browser and click
 + Share demo.Other places to share demos from:Quickly create and send demos seamlessly while you’re drafting emails to prospects. Follow the instructions on these pages to get started using these email client integrations:

Gmail
Outlook

Outreach

Salesloft
On the My demos page in the Launchpad app click 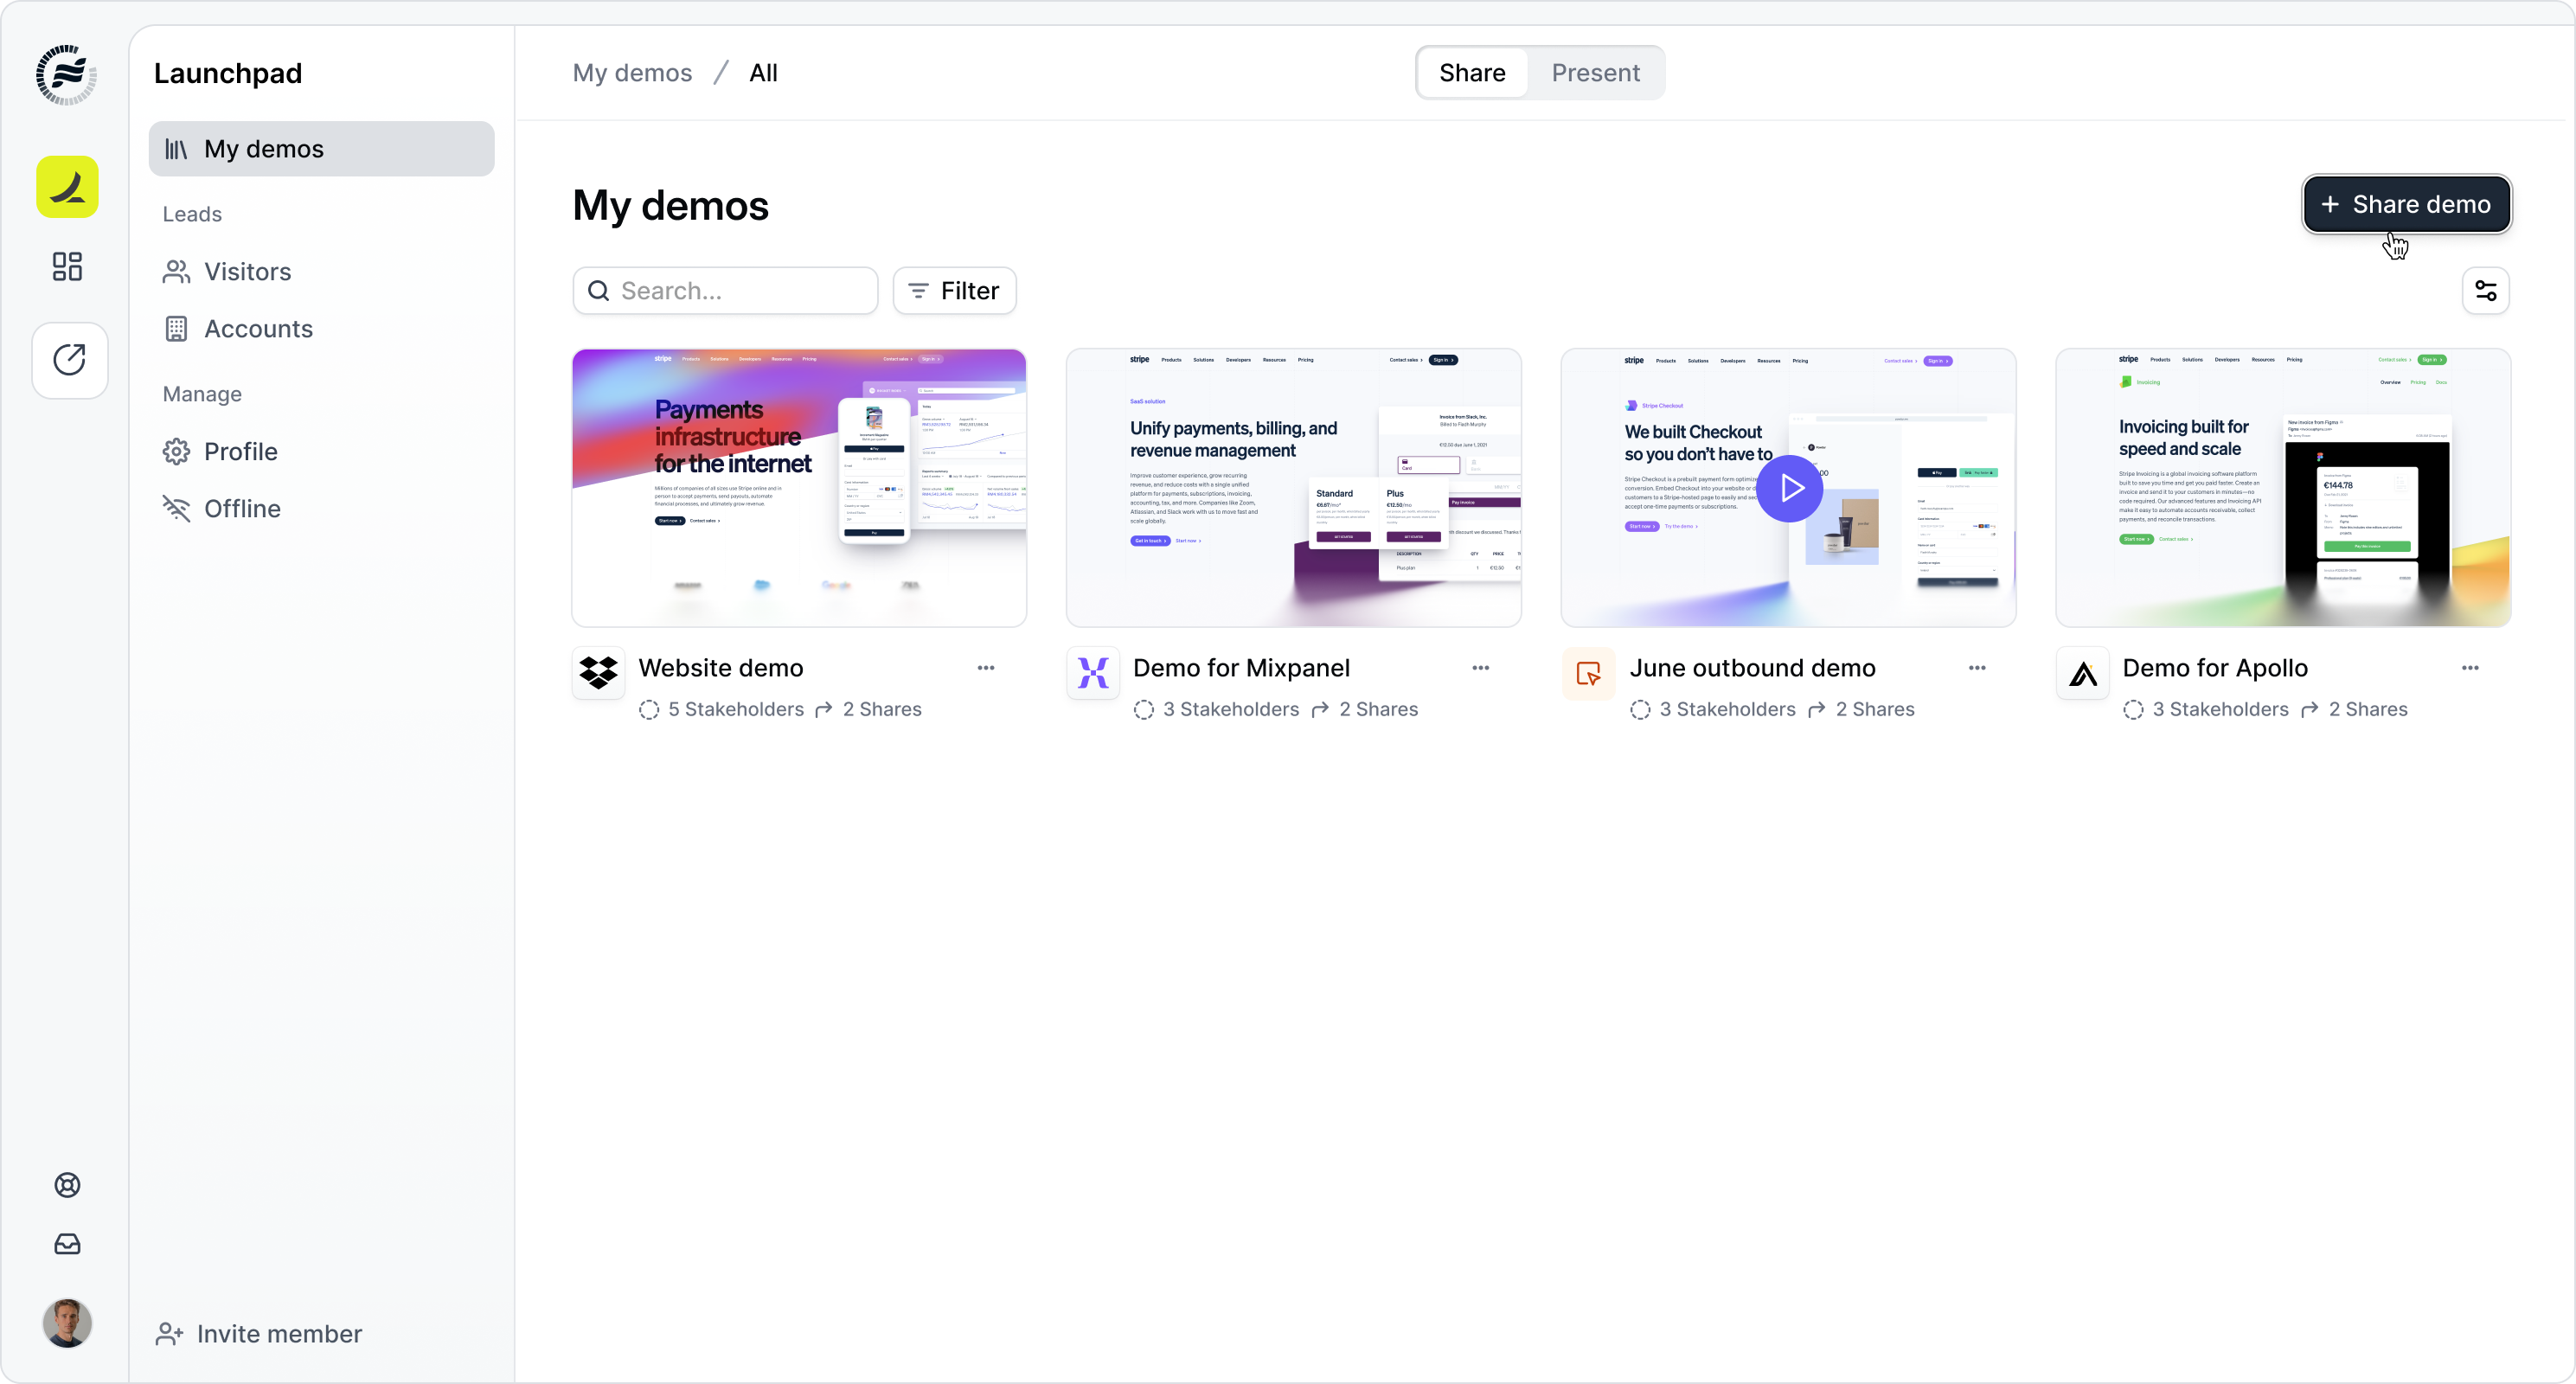
+ Share demo.More integrations
More integrations
With the Launchpad extension, you can also share demos from:Linkedin
Salesforce
2
Select demo type
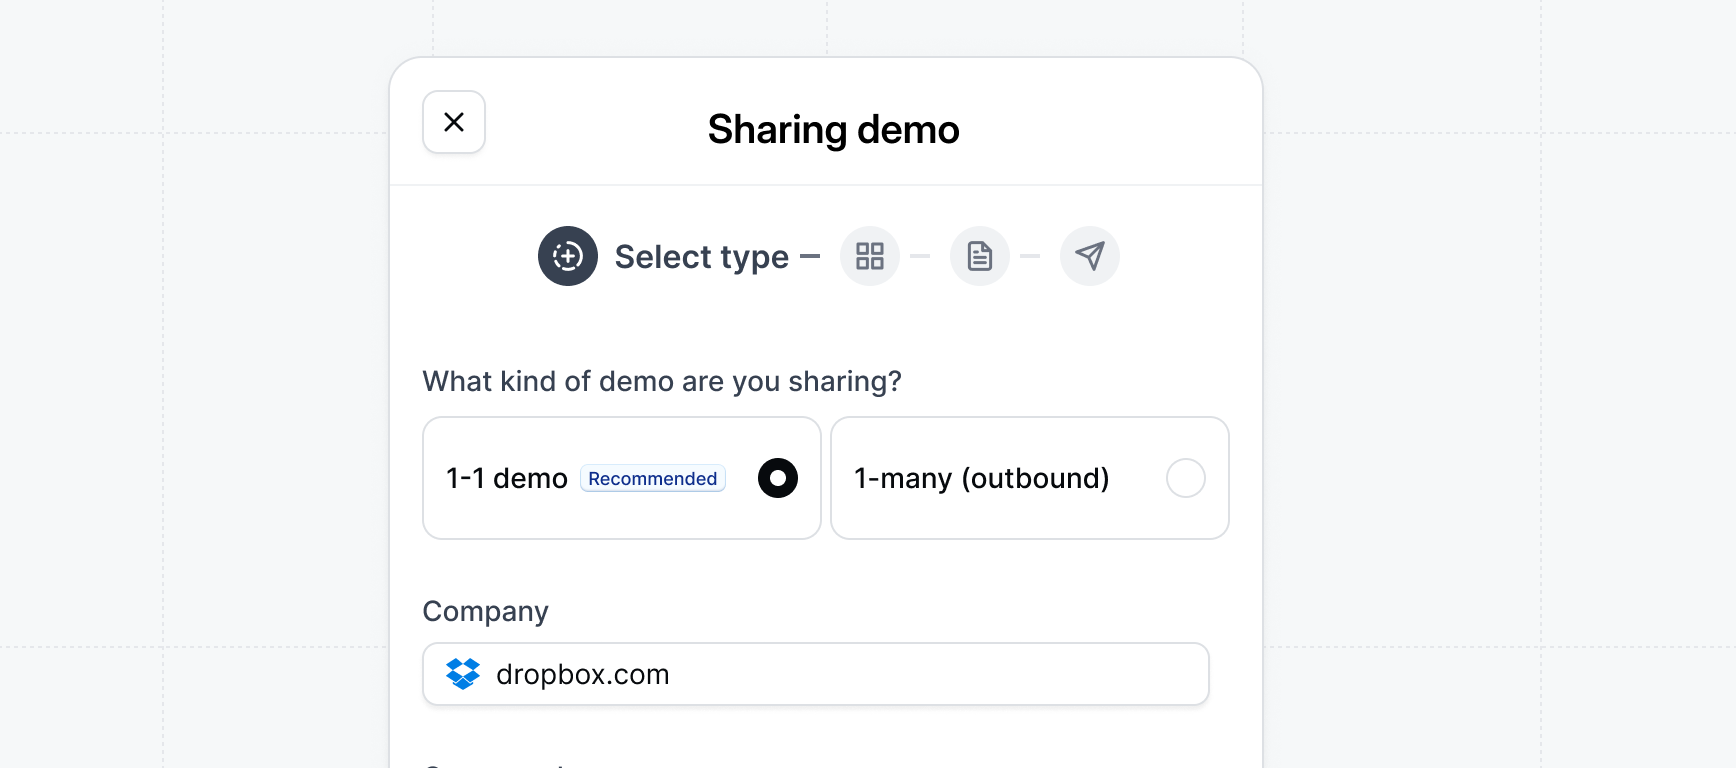
- 1-1 demo
- 1-many (outbound)
Specify the company domain you are sharing the demo with. This will be used for personalizing the demo with relevant content and for tracking purposes.
In most cases, we recommend sharing 1-1 demos as this allows you to share more relevant content for each deal and better track engagement.
Company is required by default. If your workspace admin has made Company optional in Launchpad settings, you can leave it blank. When Company is left empty, the recipient email-domain gate is automatically disabled for that link.
Add opportunity ID
Add opportunity ID
When sharing a demo, you can associate it with a Salesforce Opportunity. This links the demo to a specific opportunity so you can track performance and engagement in context.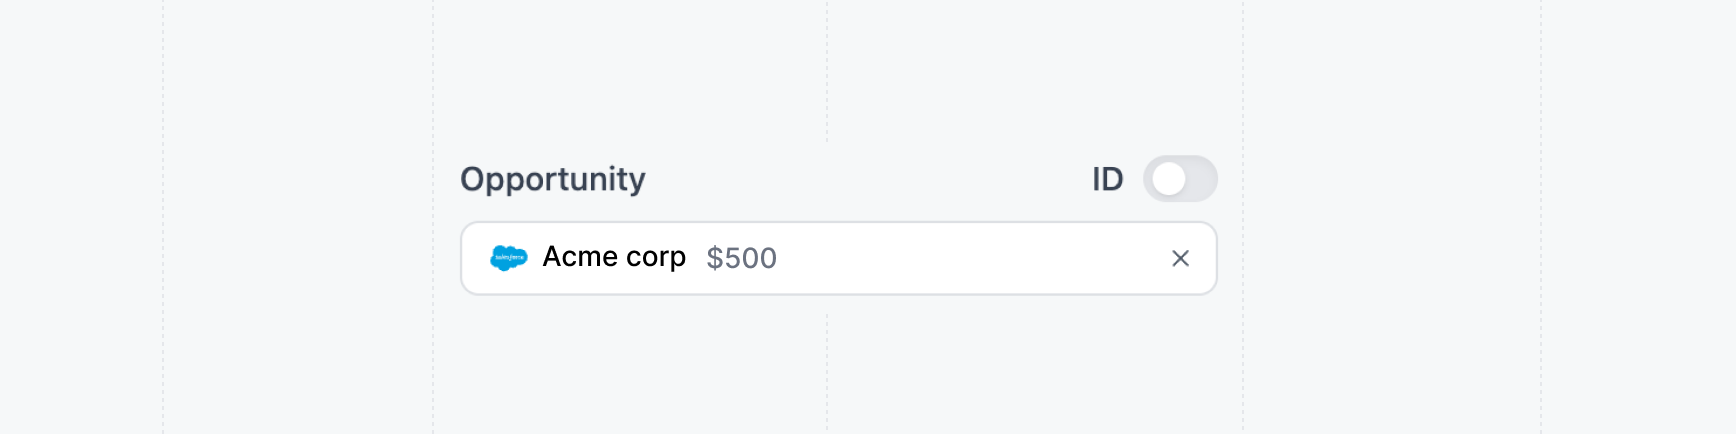
3
Select content
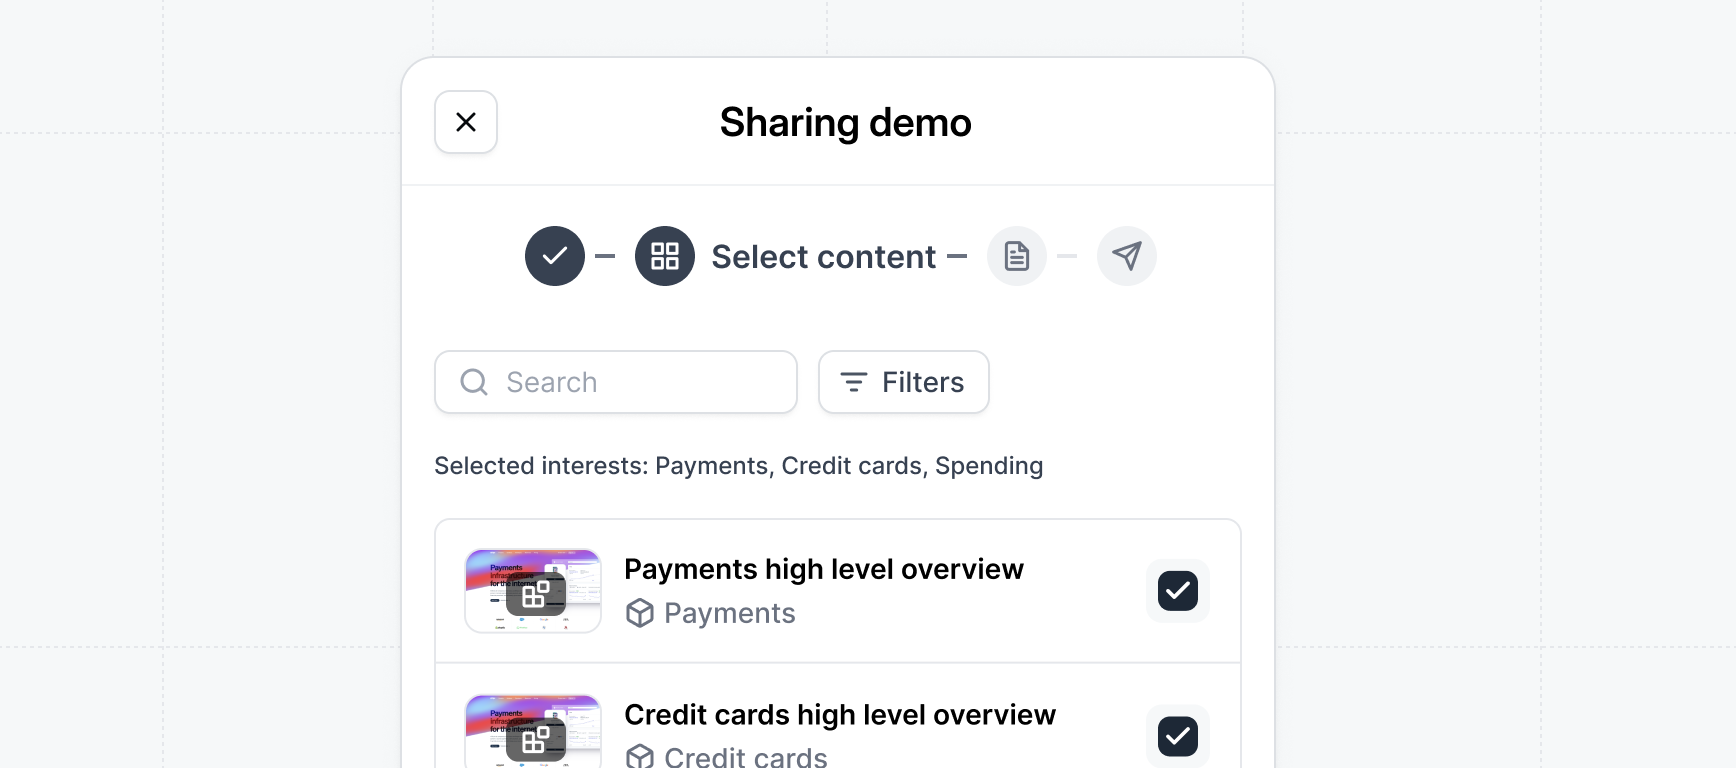
Already know what the prospect is interested in from a demo request form or previous call? Filter by those interests to select flows.
4
Customize settings
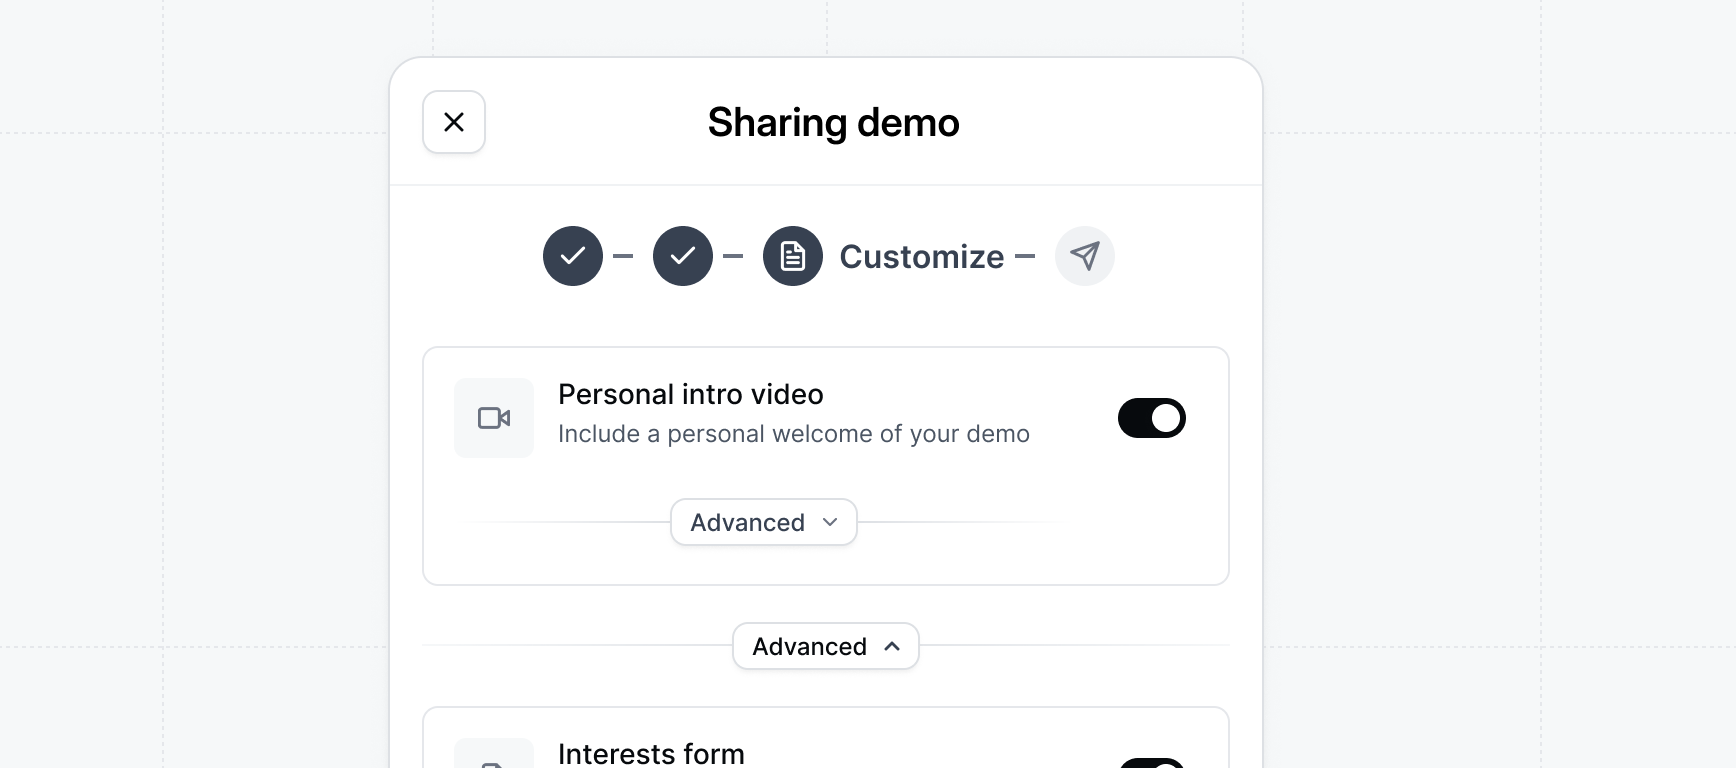
Personal intro video
Personal intro video
Include a personal welcome of your demo to add a personal touch for the prospect.To make it feel personalized you could refer to the prospect by name, reference specific talking points from a previous conversation, or generally get them excited about what they are about to see.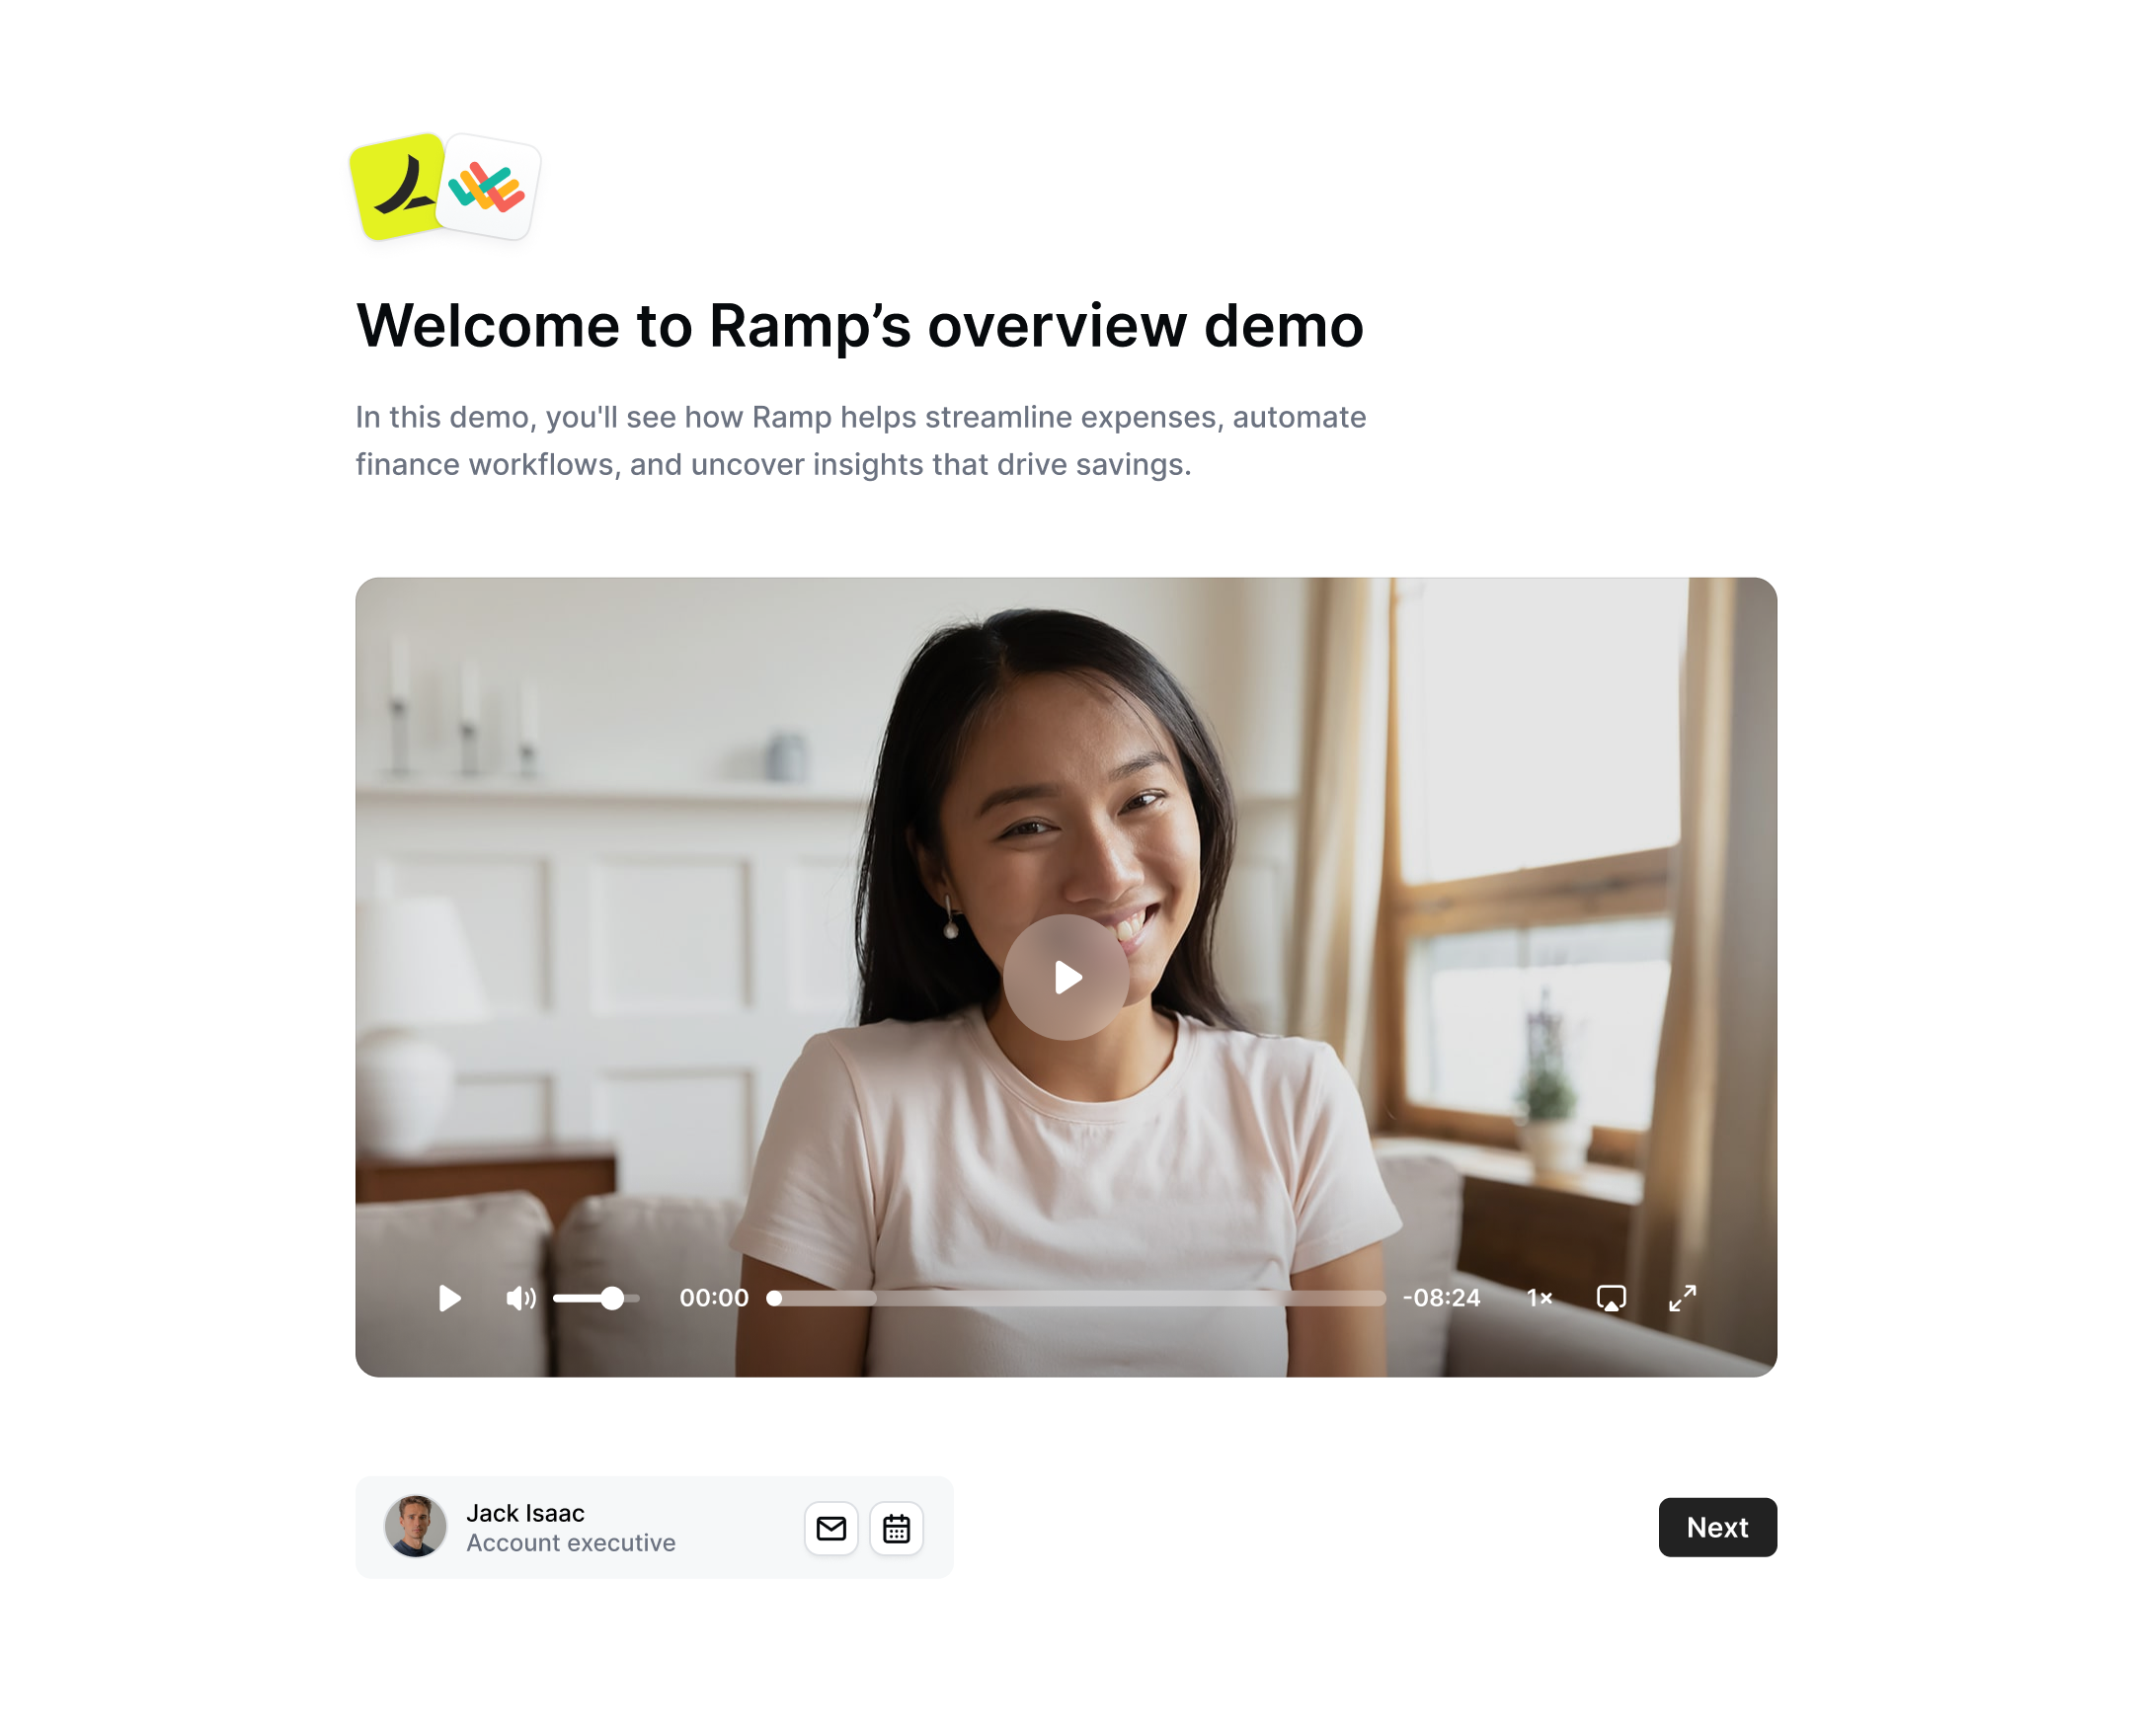
Interests form
Interests form
Customize the settings of the interests form.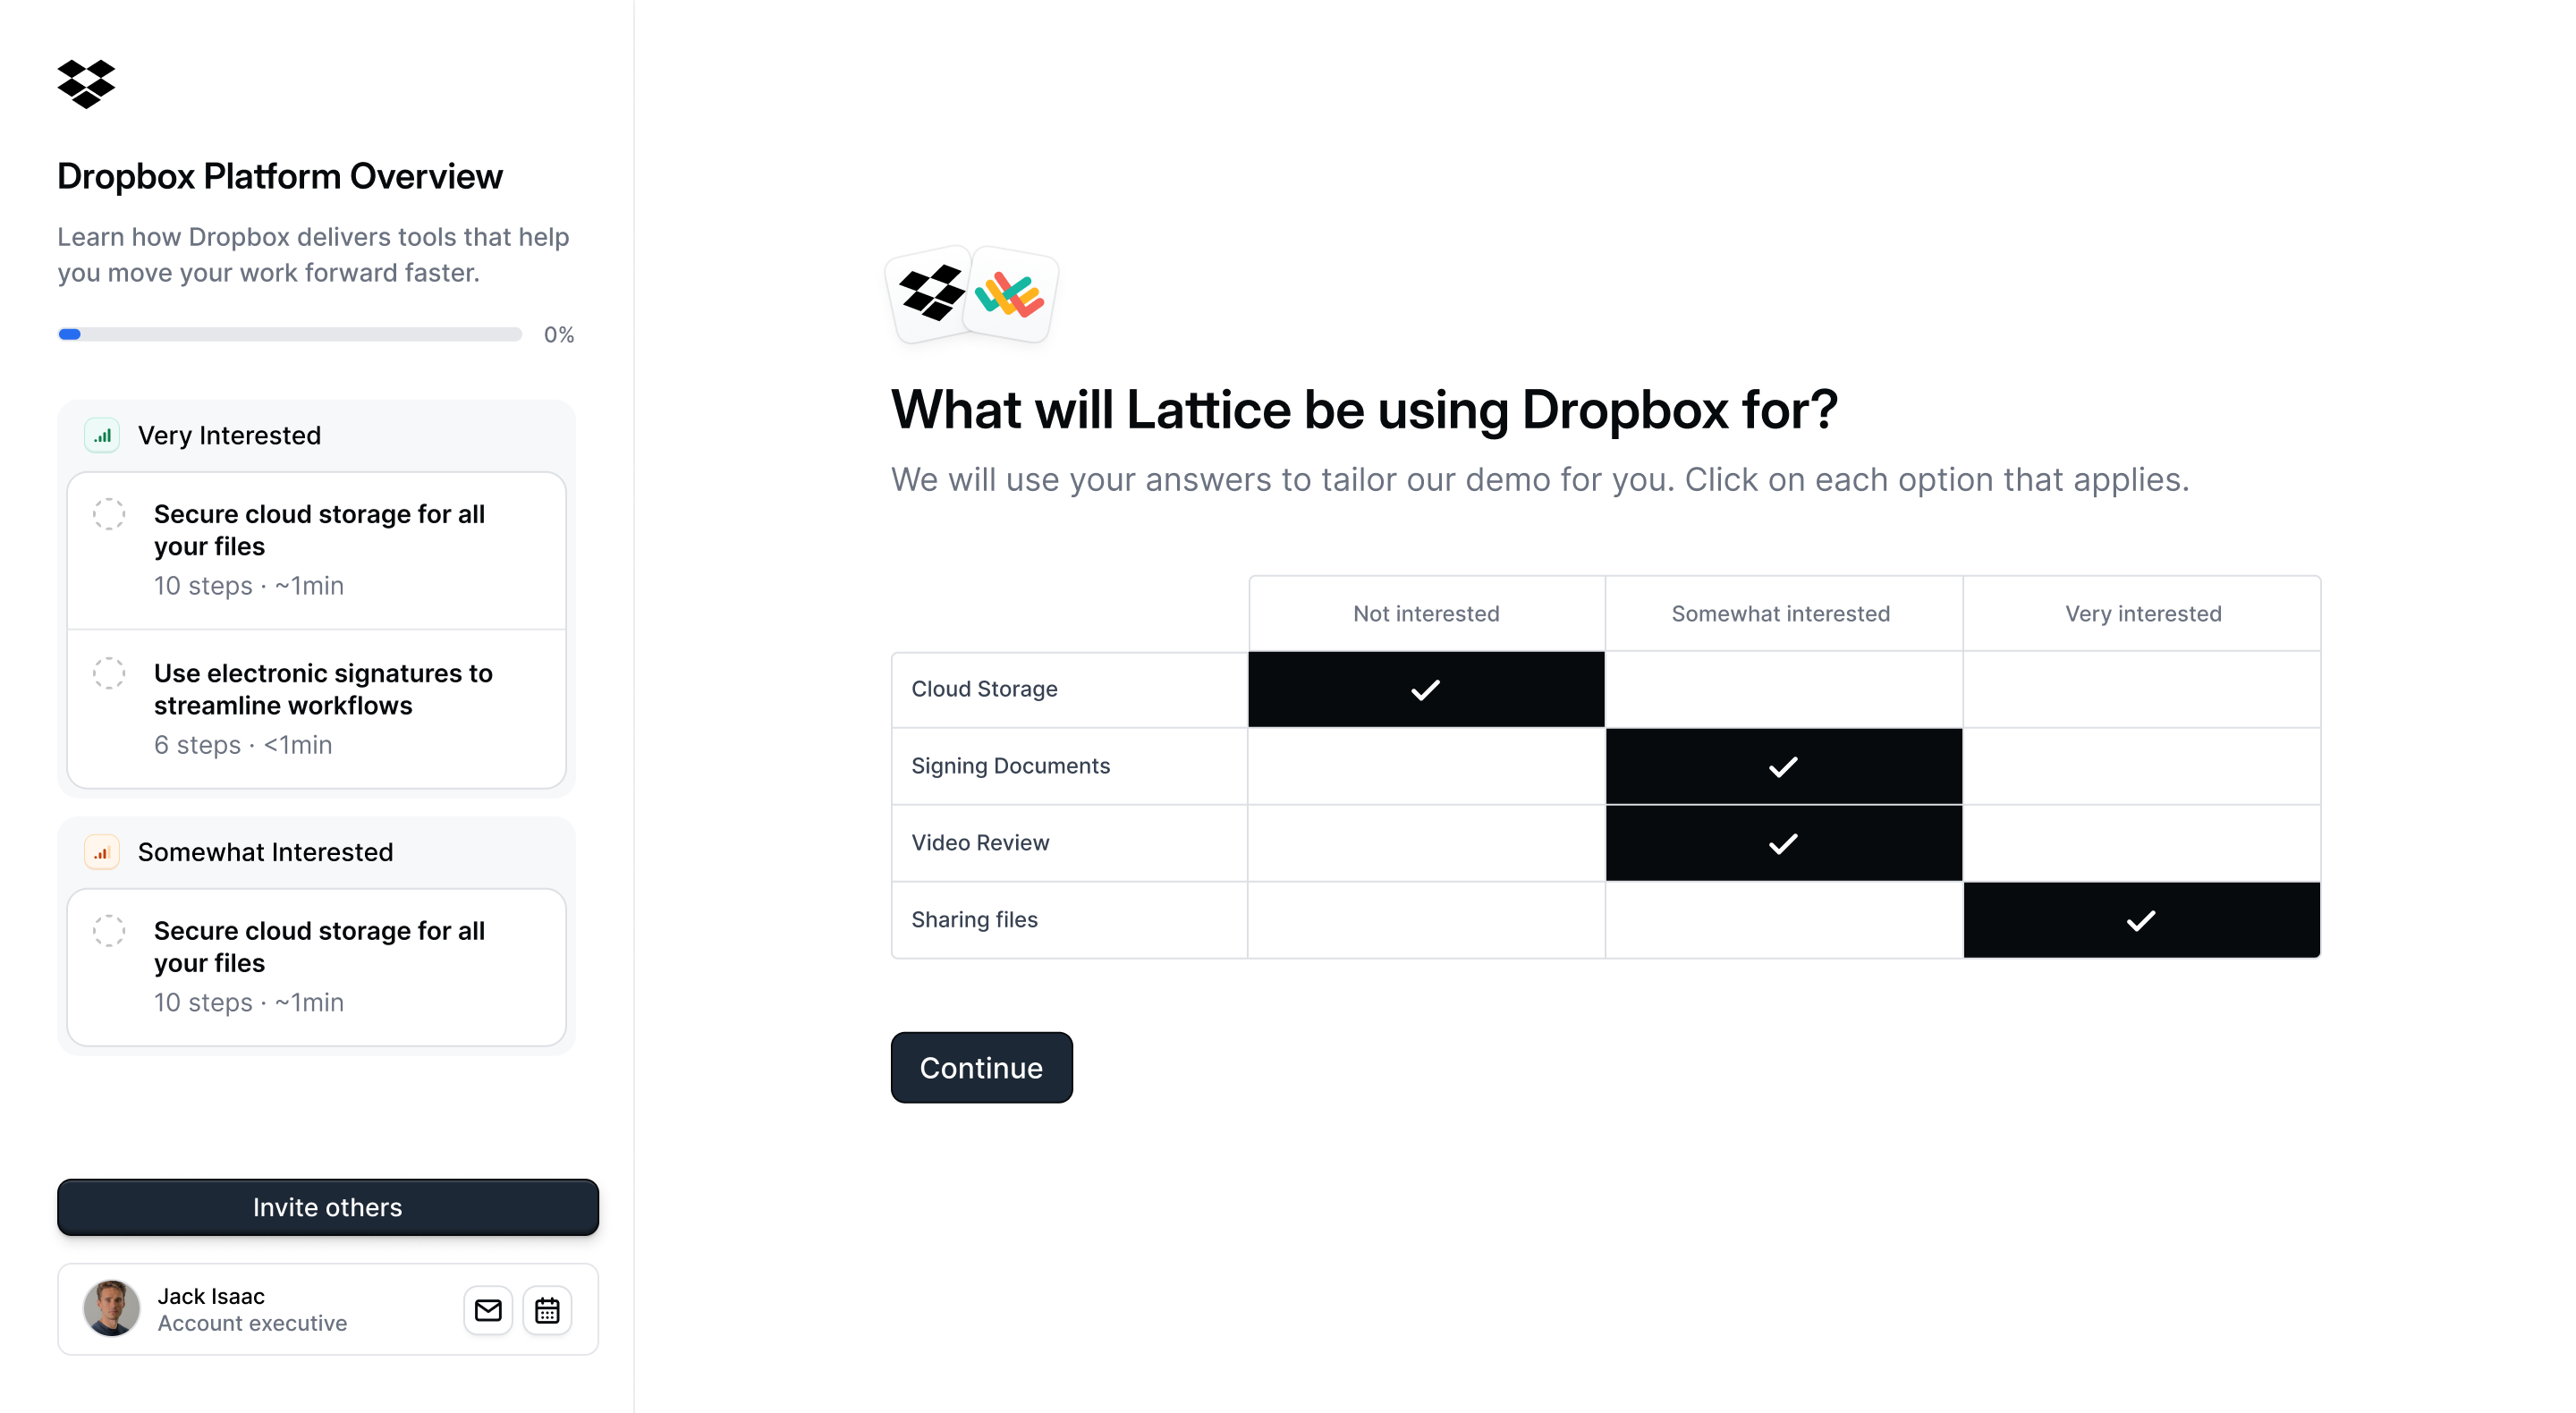
Learn about interest demos
Unlock a powerful insight - what features prospects are interested in seeing.
Downloadable resources
Downloadable resources
Include additional files inside of the demo with a CTA button for the button to download them.These could be additional slide decks, custom pricing quotes, or other deal room material.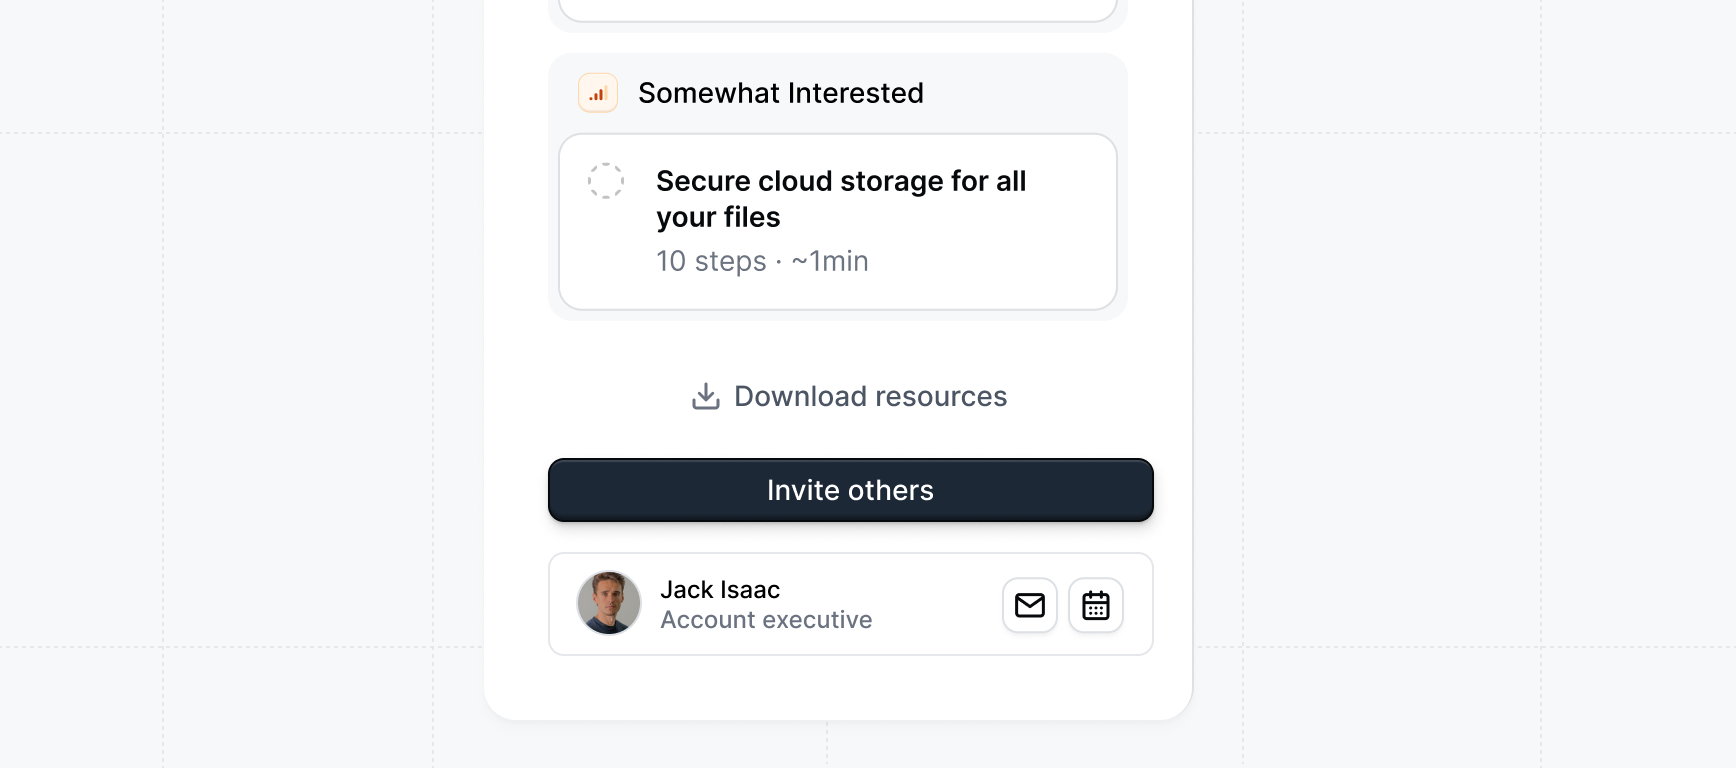
Custom URL
Custom URL
Customize the URL path of the demo. For example you could personalize it with the company name eg
mycompany.navattic.com/yourcompanyRecipient form gate
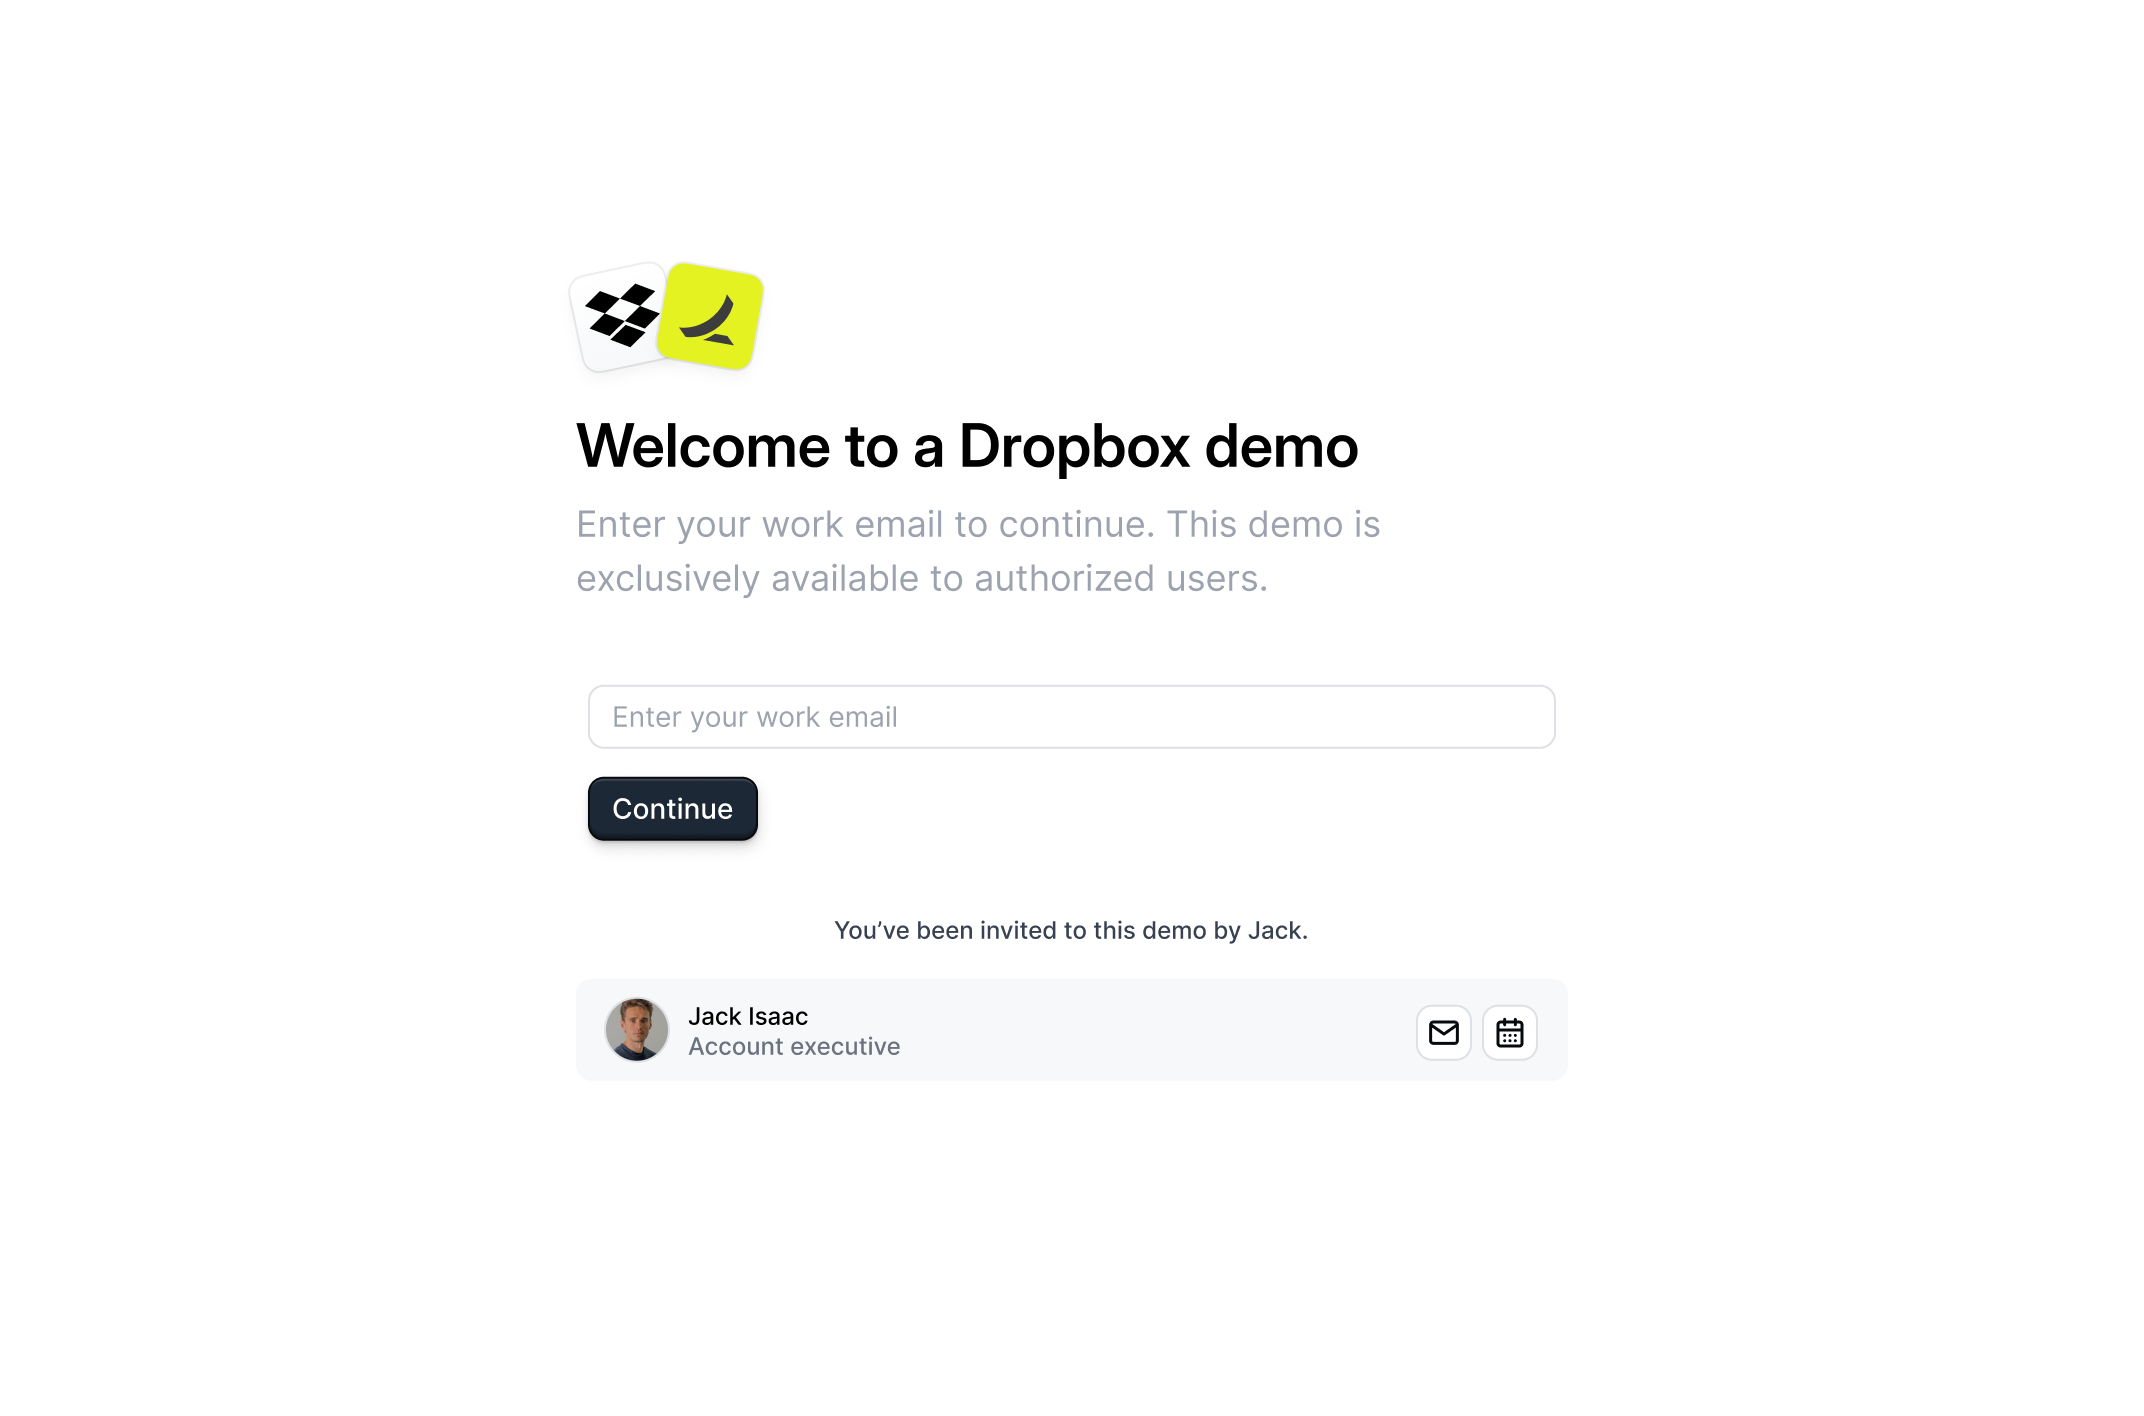
Recipient form gate
Require visitors to provide information before accessing the demo. This allows you to verify the receiver of the demo and receive insight about engaged stakeholders.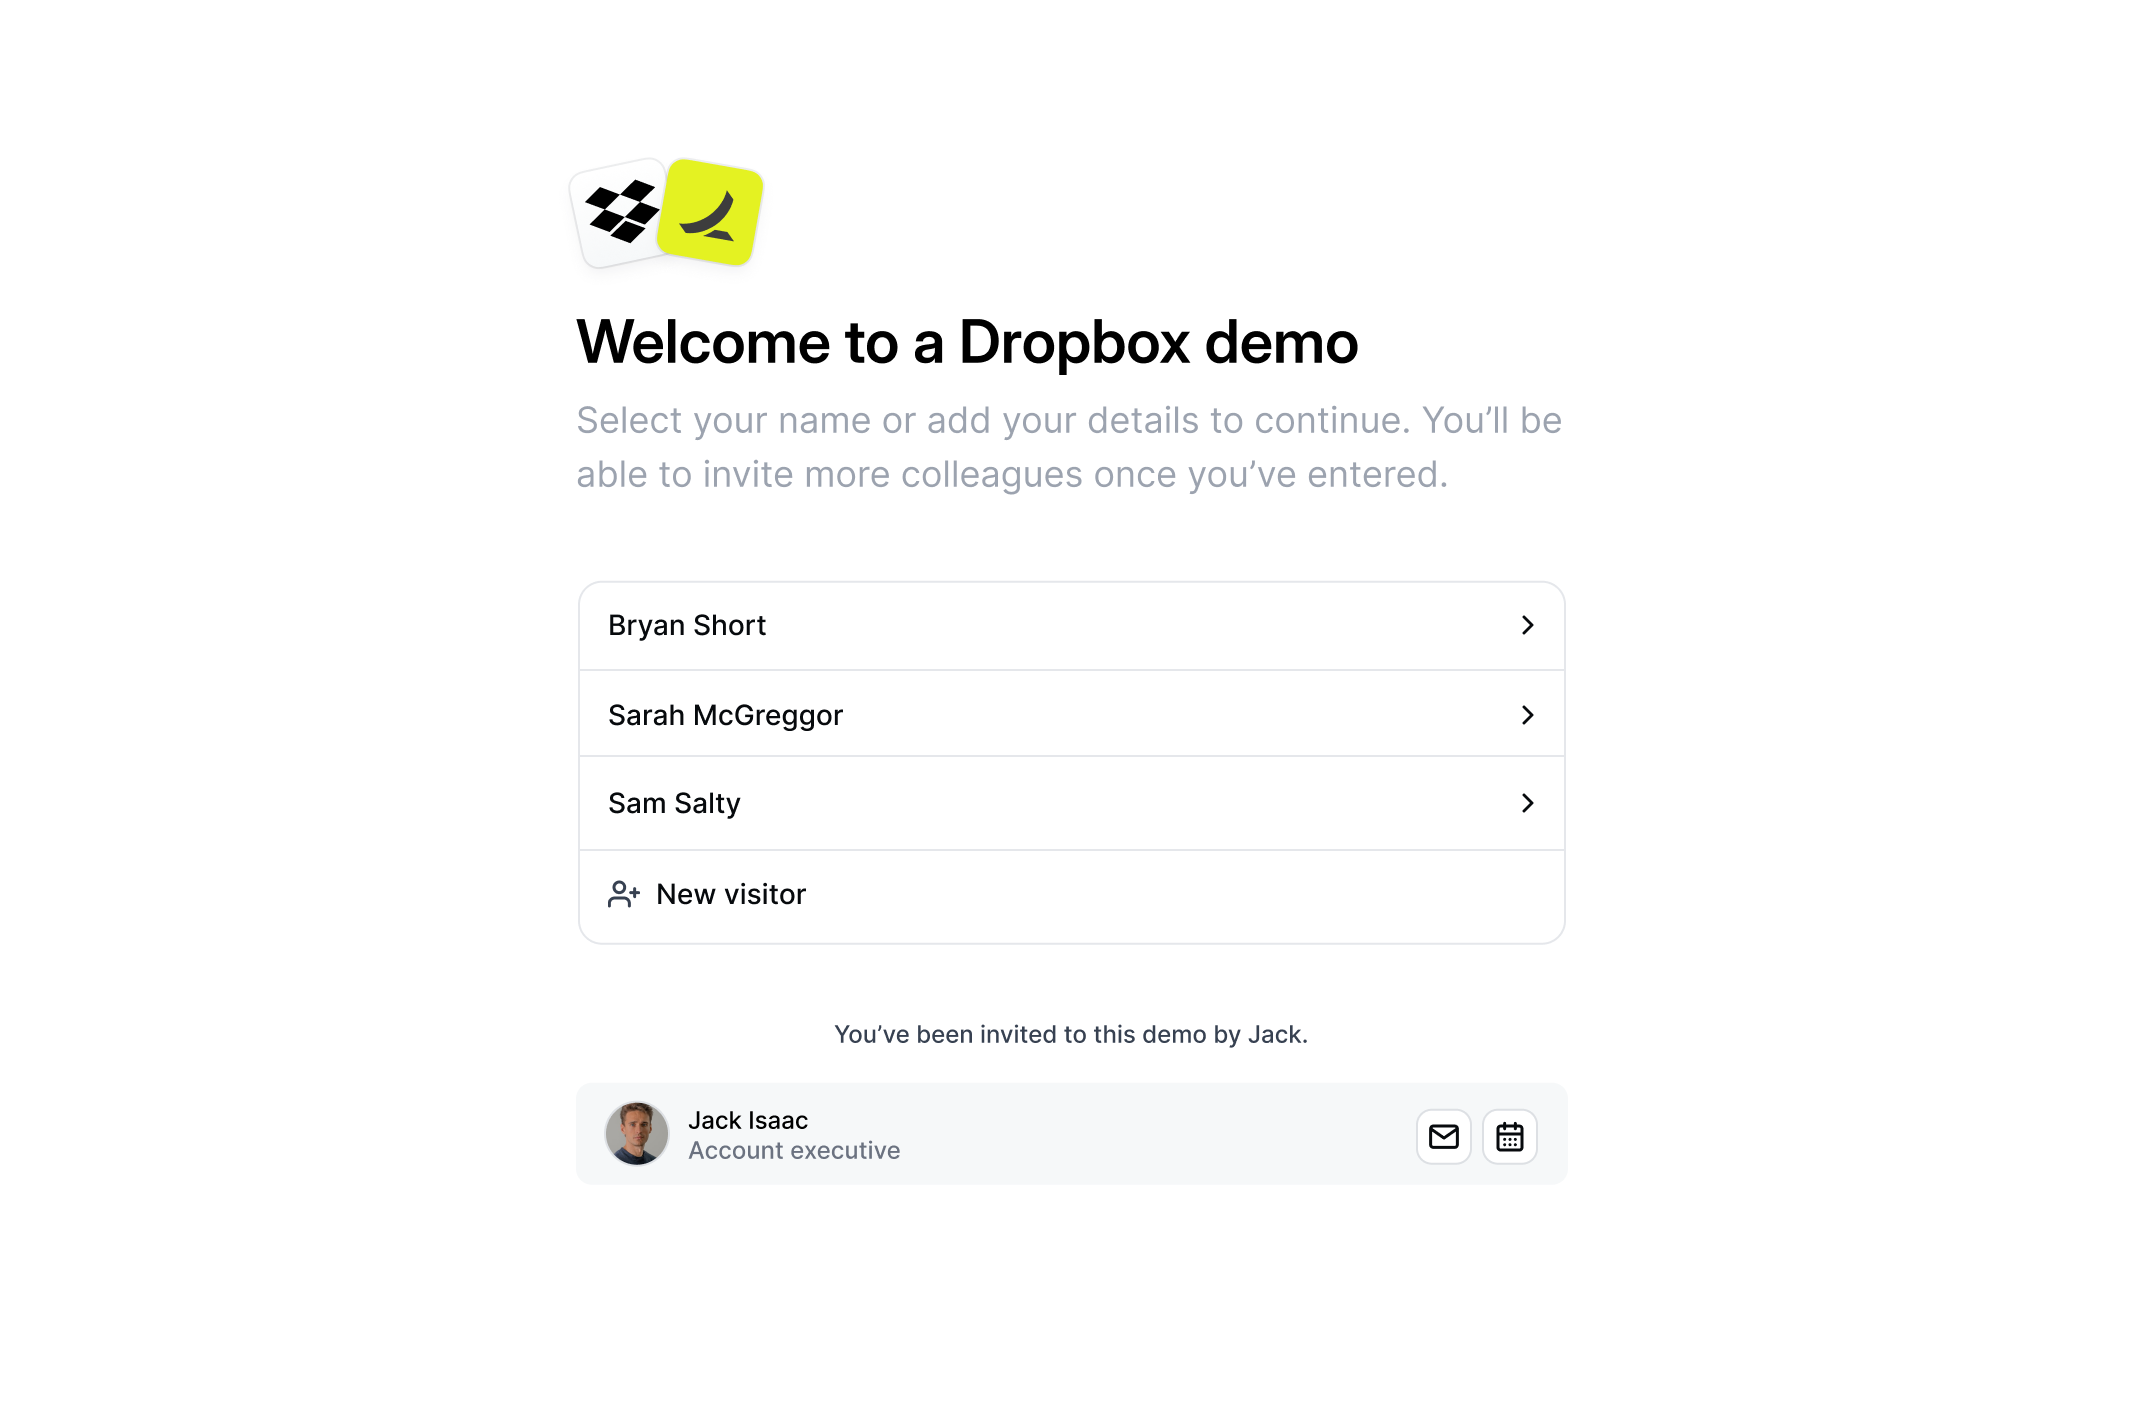
- Name form
- Email form
We recommend using the Recipient name form to increase the personalized-feel of the demo and unlocking more stakeholders.
Access code
Access code
To add an additional layer of identity verification, you can require a unique access code for each recipient. Under the recipient form gate setting, enable 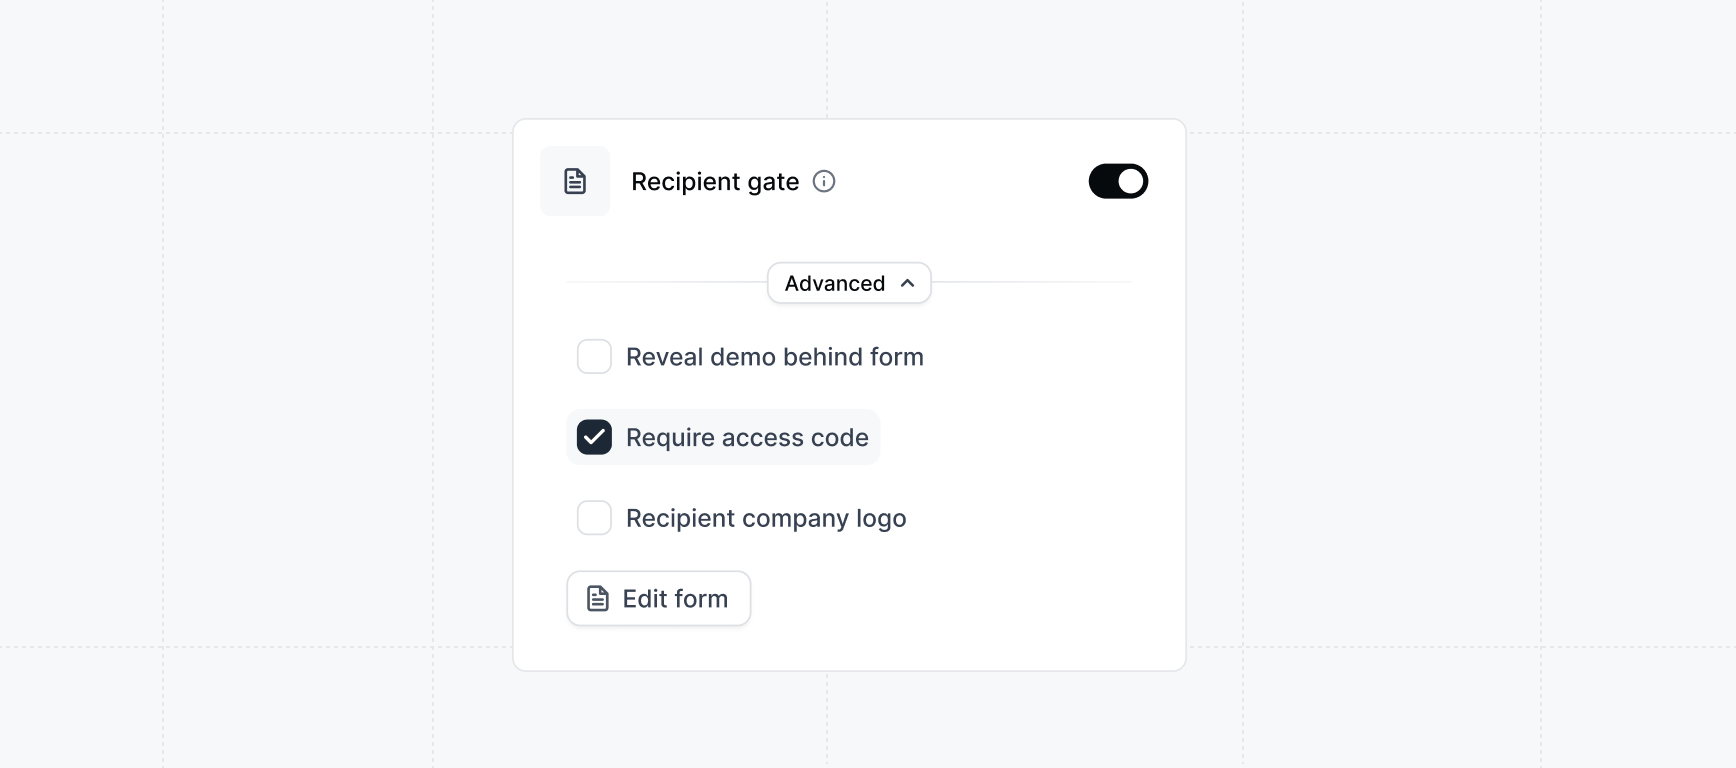
Require access code. After the recipient enters their email address, they will be prompted to enter a unique access code sent to their email.Requiring an access code adds another layer of verification at the expense of friction for the buyer. Consider if this tradeoff is worth it for your use case.Email tracking
Email tracking
When sharing a link using an email platform such as Apollo, Outreach, Salesloft, or HubSpot you can using email tracking to identify the visitor via query parameters.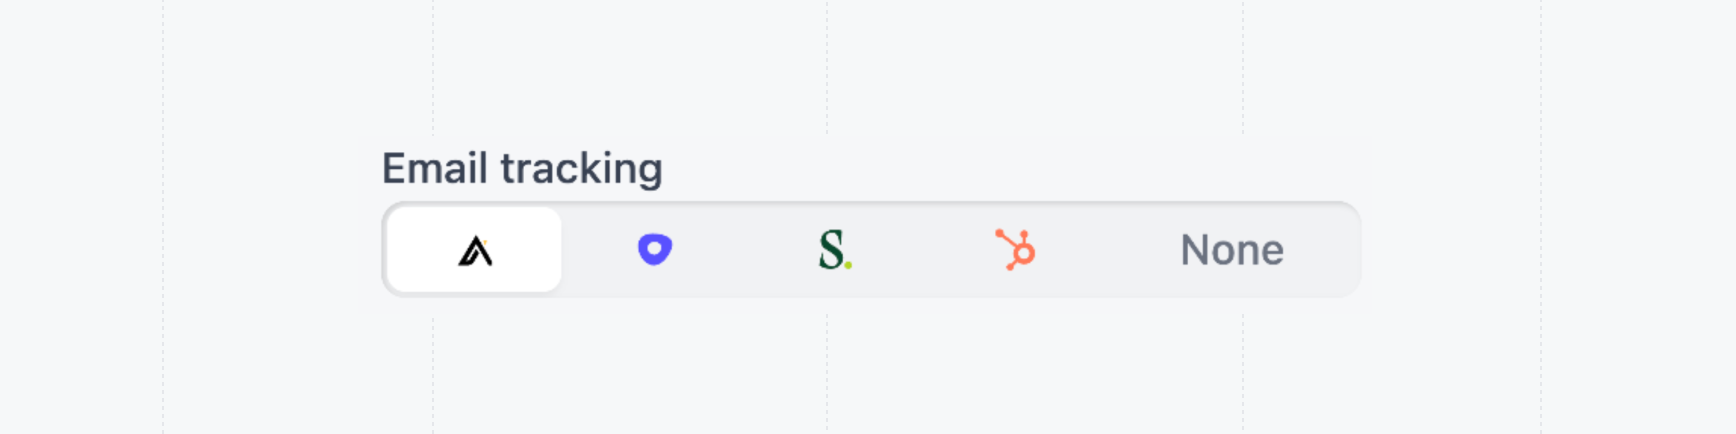
Language
Language
If your demo is available in more than one language, select which language visitors will see when they open this link. This option appears only when multilingual demos are configured for your workspace.Use the Language dropdown to choose from the languages already added to this demo. Each share link can have its own language, so you can send targeted links to different audiences.
5
Create invites
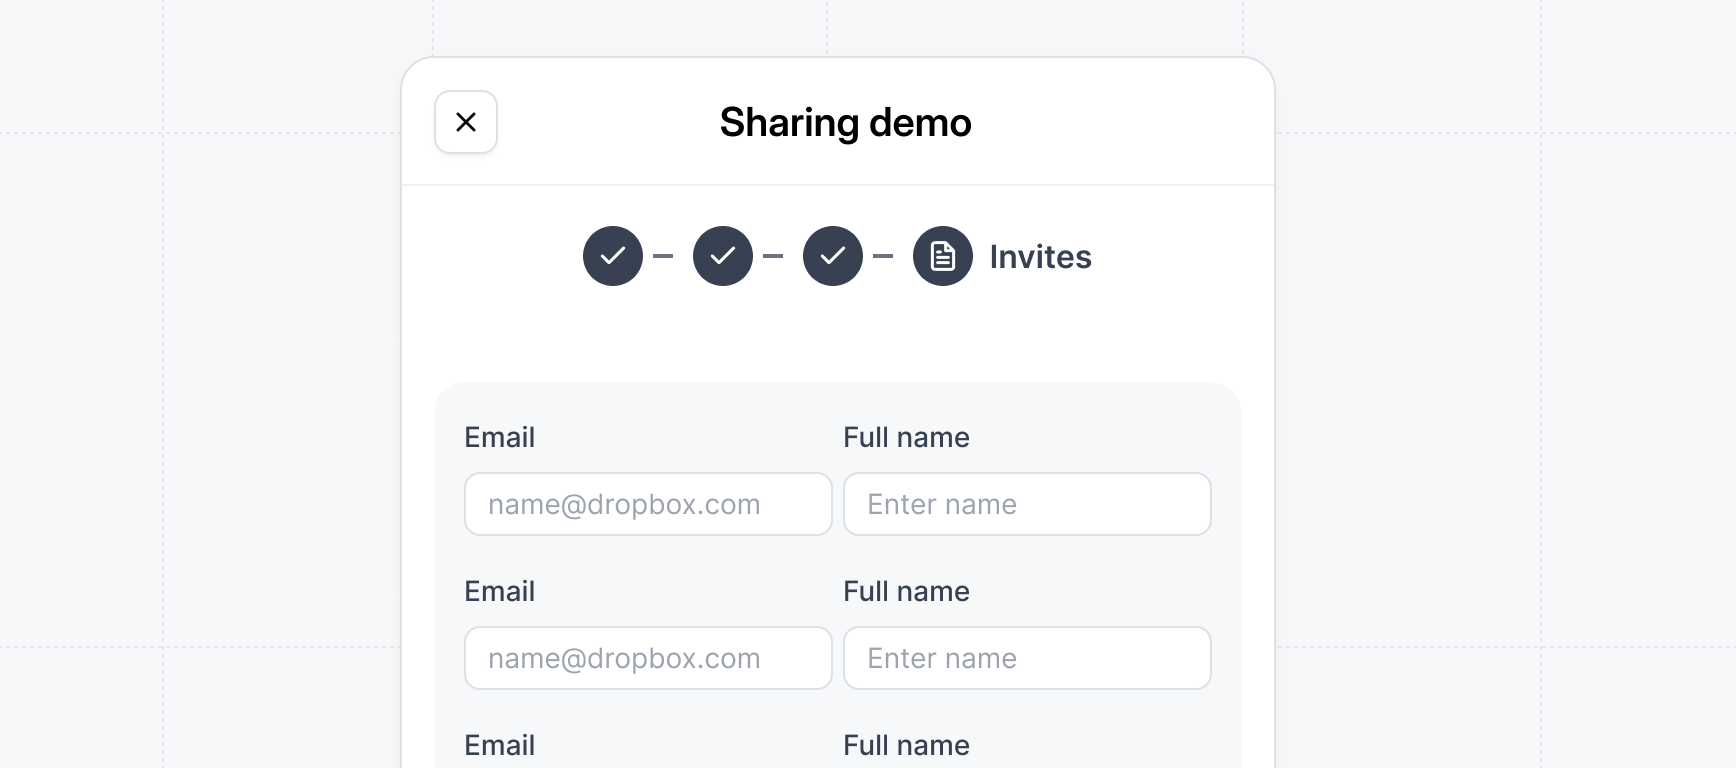
Send invite to demo
Send invite to demo
If you enable 
Send invite to demo, an automatic email invite will be sent to all the invited users asking them to visit the demo. Keep this option unchecked if you want to send the email yourself.6
Copy & send the demo link
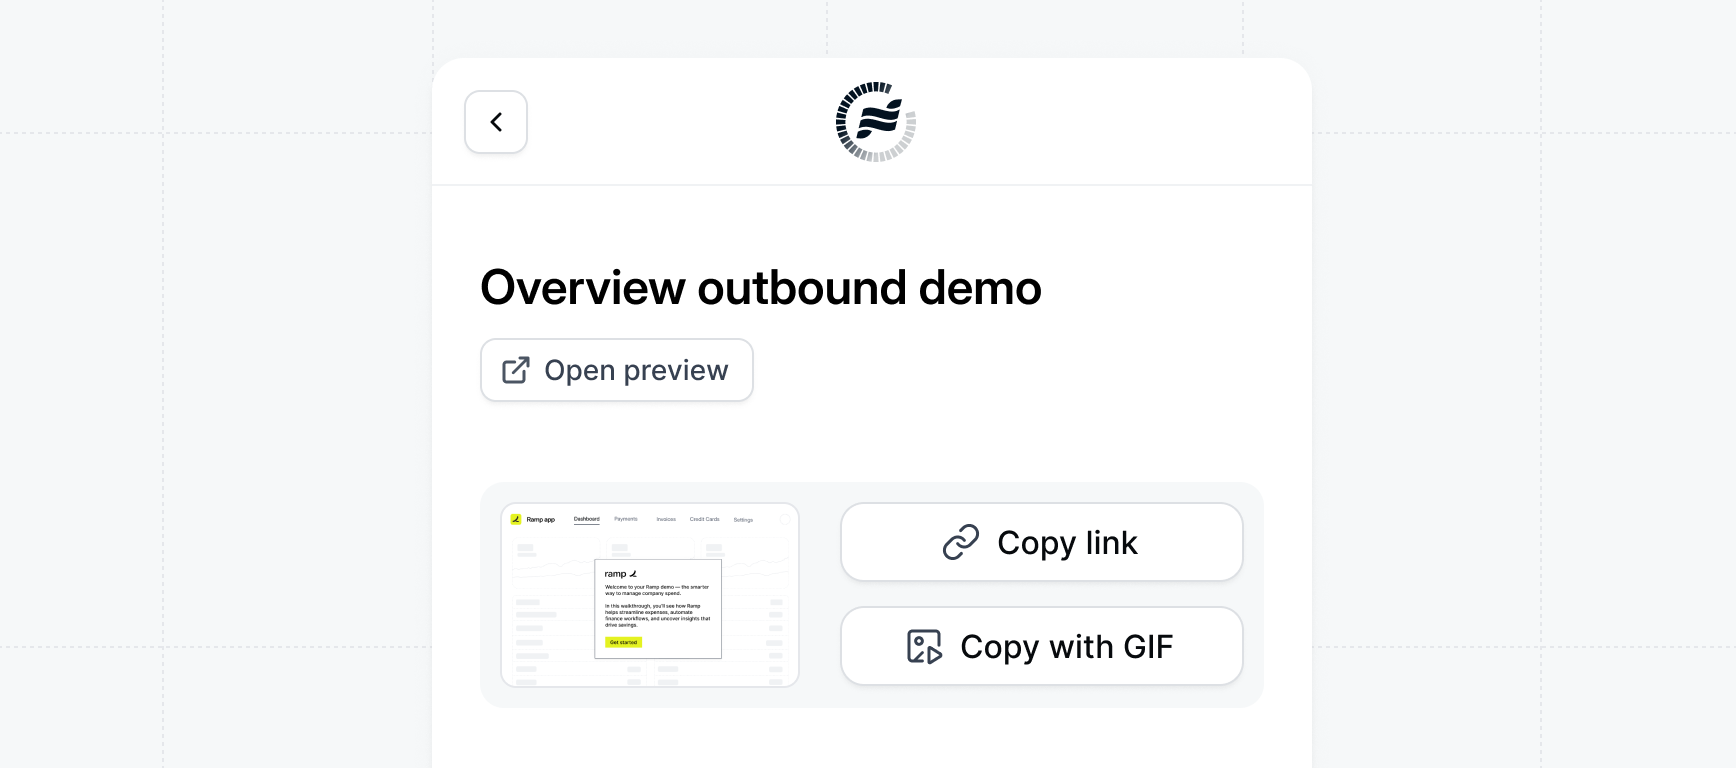
Copy with preview
Copy with preview
When creating a link, you can also include a preview of the demo. This is particularly useful when sharing the link via email and can be an engaging way to showcase the demo.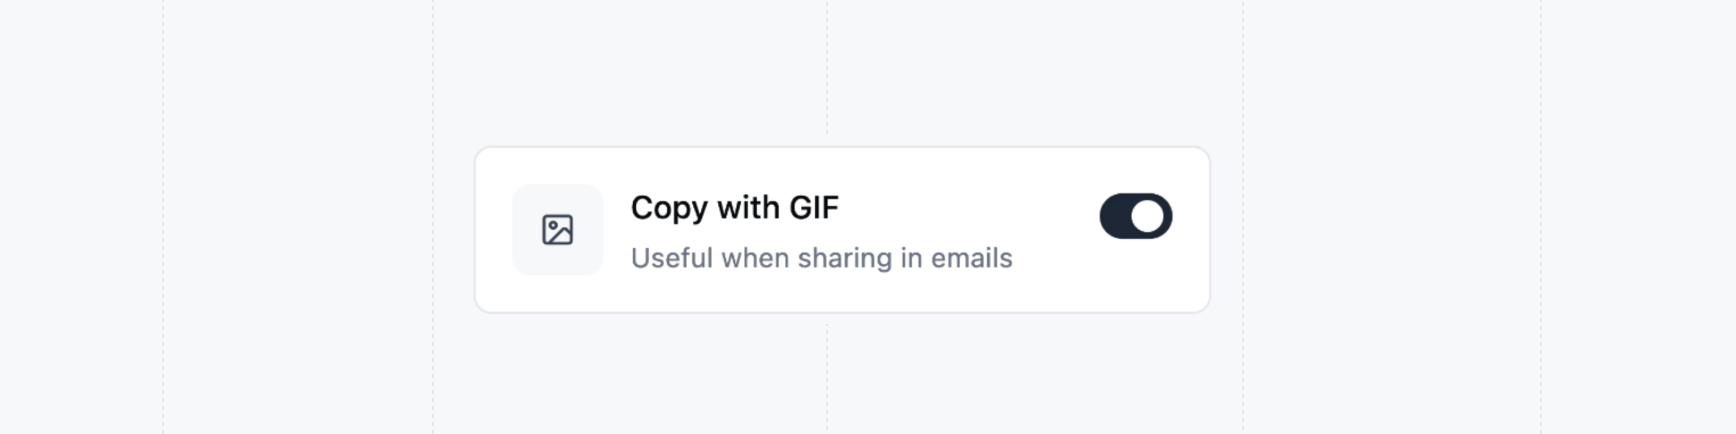
Manage share defaults
To standardize the sharing settings across your workspace, you can set default values for the share settings. This includes the default recipients, personalization properties, and other settings.Customize share defaults
Standardize the demo sharing settings across your workspace