

A workspace admin must complete the admin setup before reps can connect their accounts.
Prerequisites
Before setting up, install the Navattic app from the Seismic App Exchange in Seismic. This step happens in Seismic and requires Seismic admin access.Admin setup
1
Open the Seismic integration
In Navattic, go to Integrations and select Seismic.
2
Connect and enter your Tenant ID
Click Connect. In the modal that appears, enter your Seismic Tenant ID. This is the
subdomain of your Seismic URL, so for 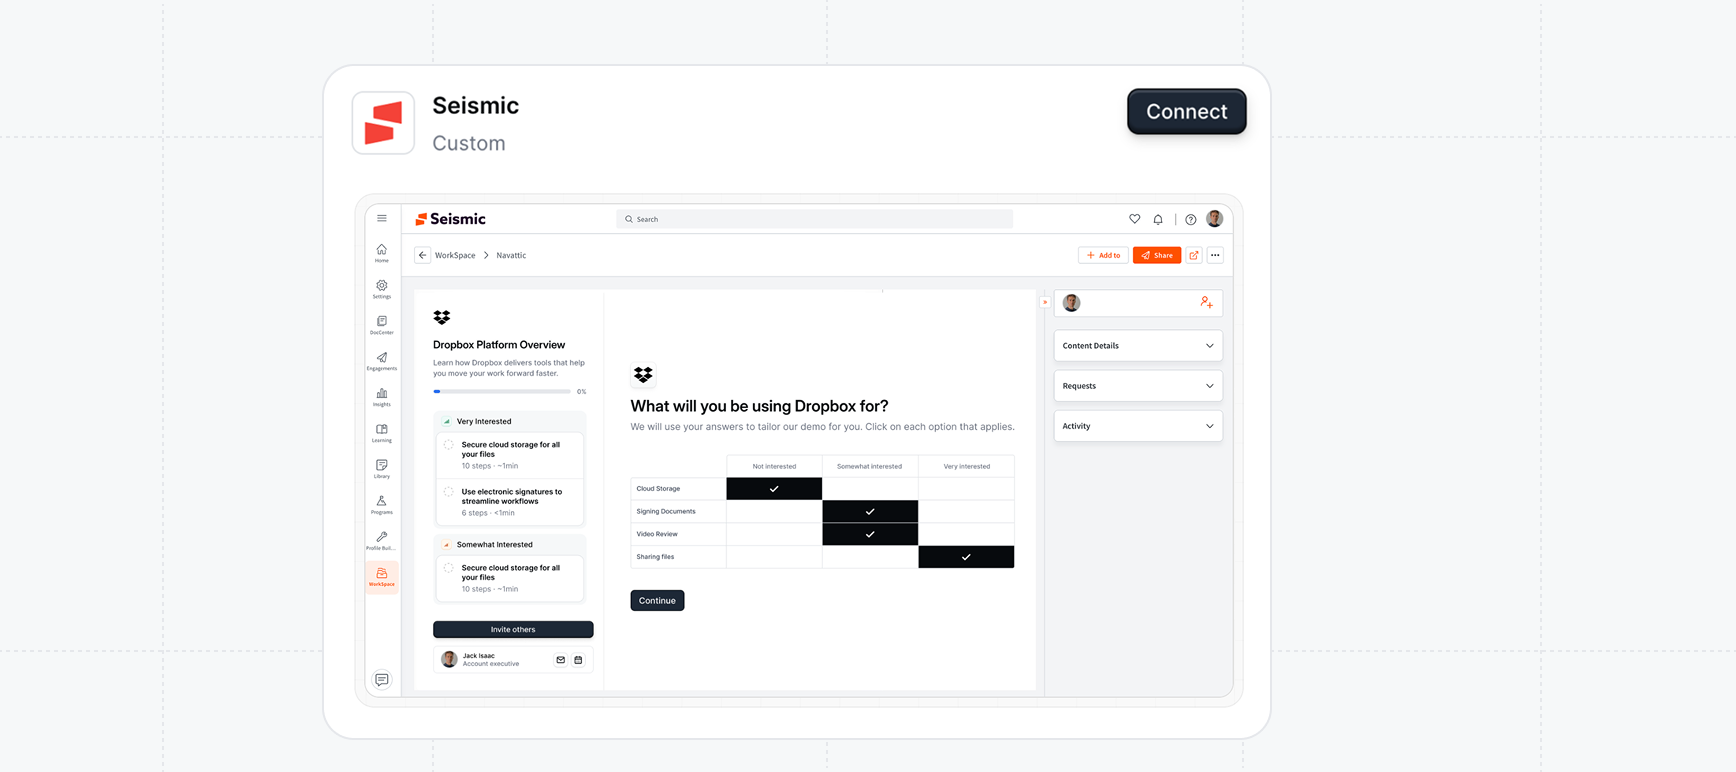
https://acme.seismic.com the Tenant ID is acme. Your
Seismic administrator can confirm it.3
Save
Click Connect to complete the workspace-level setup. Reps can now connect their individual
accounts.
Rep setup
Each rep connects their Seismic account once, from Navattic.1
Open your Launchpad profile
In Navattic, go to Launchpad and open your Profile.
2
Connect Seismic
Find the Seismic card and click Connect. Follow the prompts to authorize your account in
Seismic.
You can’t link your account from inside Seismic. If you open Navattic in Seismic before
connecting, you’ll see a screen asking you to link your account from your Navattic profile first.
As soon as you connect, your existing Navattic share links are copied into a folder named
Navattic in your Seismic Workspace, under My Files. New links are added to that folder
automatically.
Daily use
Once connected, you can access Navattic directly from the Seismic navigation.1
Open Navattic in Seismic
Click Navattic in Seismic’s main navigation.
2
Create or personalize a demo
Build a new demo or personalize an existing one for your prospect.
3
Copy the link into Seismic
Use Copy link or Copy with image to add the demo to a LiveSend message, Digital Sales
Room, or WorkSpace asset.
Troubleshooting
I see a 'session expired' message
I see a 'session expired' message
Close Navattic and reopen it from the Seismic navigation. This refreshes your session.