How to create interest content
Interest flows and Interest videos are the building blocks of custom demos. They allow reps to create a custom demo by assembling pre-built templates. It’s highly recommended to create interest templates for your reps so that when they join the workspace they can create custom demos quickly for their deals.1
Create a New Template
Navigate to Interest Templates and click on 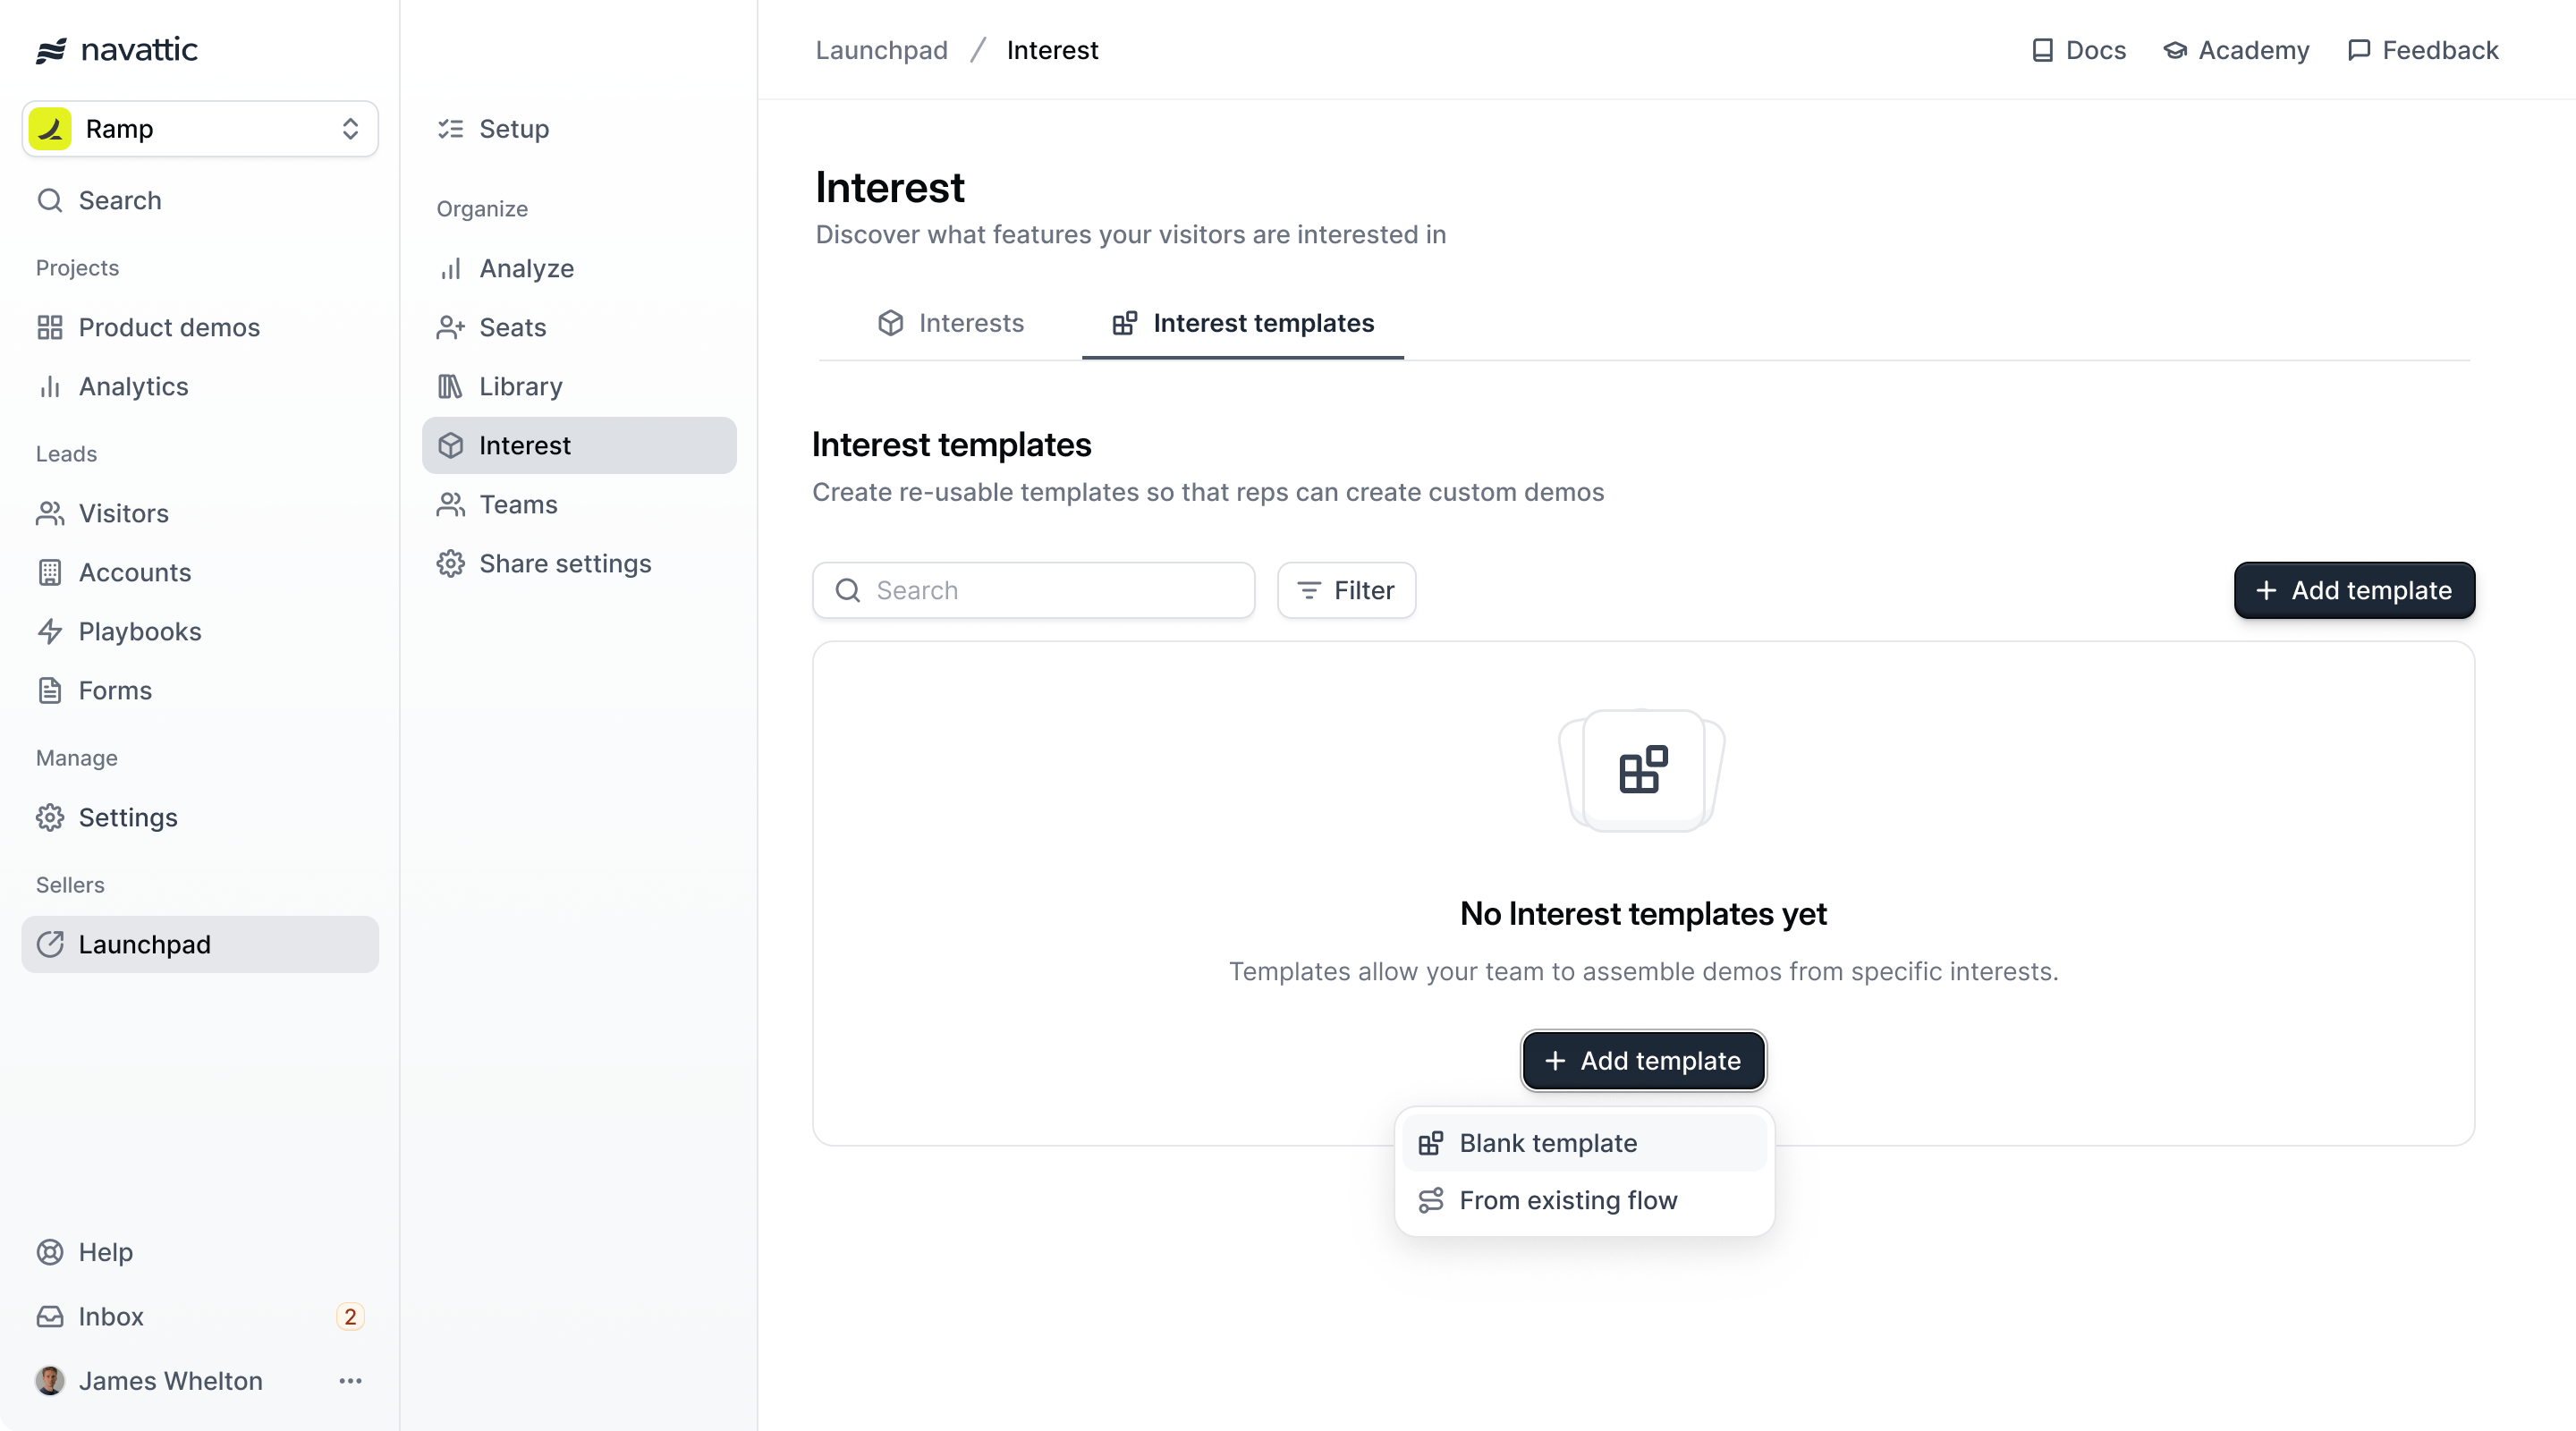
+ Add Template. Choose either to create a blank template or start from an existing flow.If you already have some demos built out, we recommend you use an existing flow so that you have a starting place to work from.2
Enter template details
Select an 
Interest for the type of content you want to include and enter. Enter a checklist task name and description (optional). These will be displayed on the checklist if one is generated for the demo so it’s helpful to use friendly public names.3
Edit the template
Select an
Interest for the type of content you want to include and enter.4
Publish the template
Once you’ve finished editing the template, click the 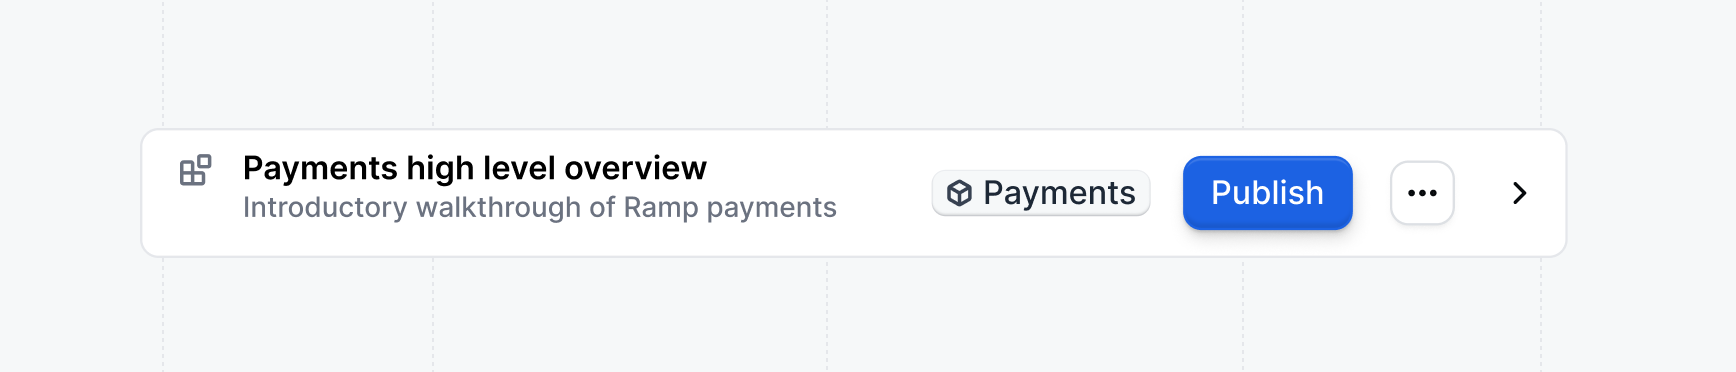
Publish button to make it available for use in custom demos.How reps share demos
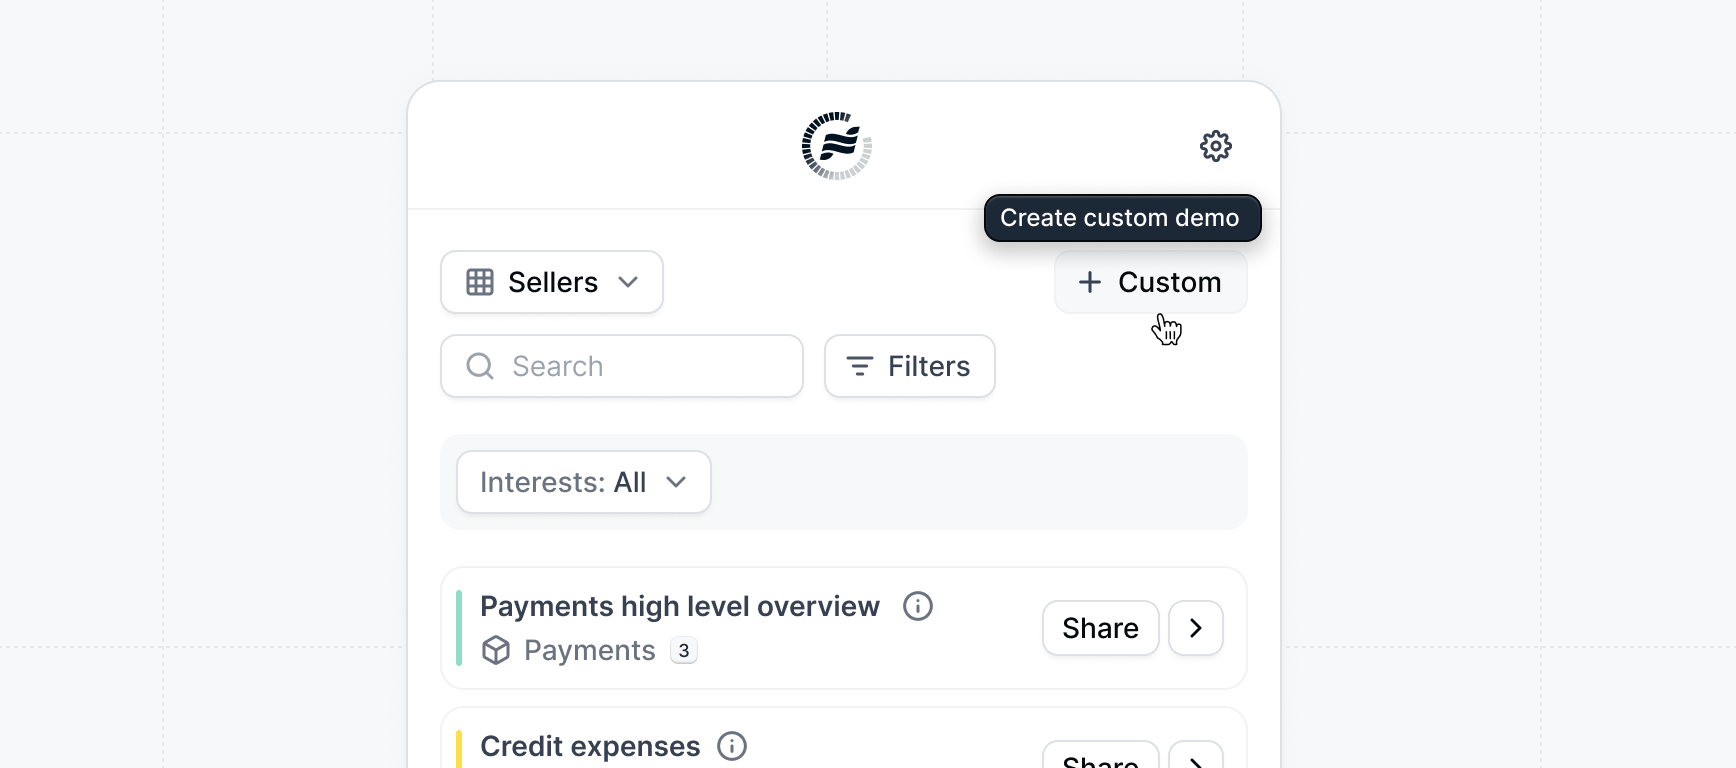
Once you’ve created interest templates, reps can use them to create custom demos. To create a custom demo, follow these steps: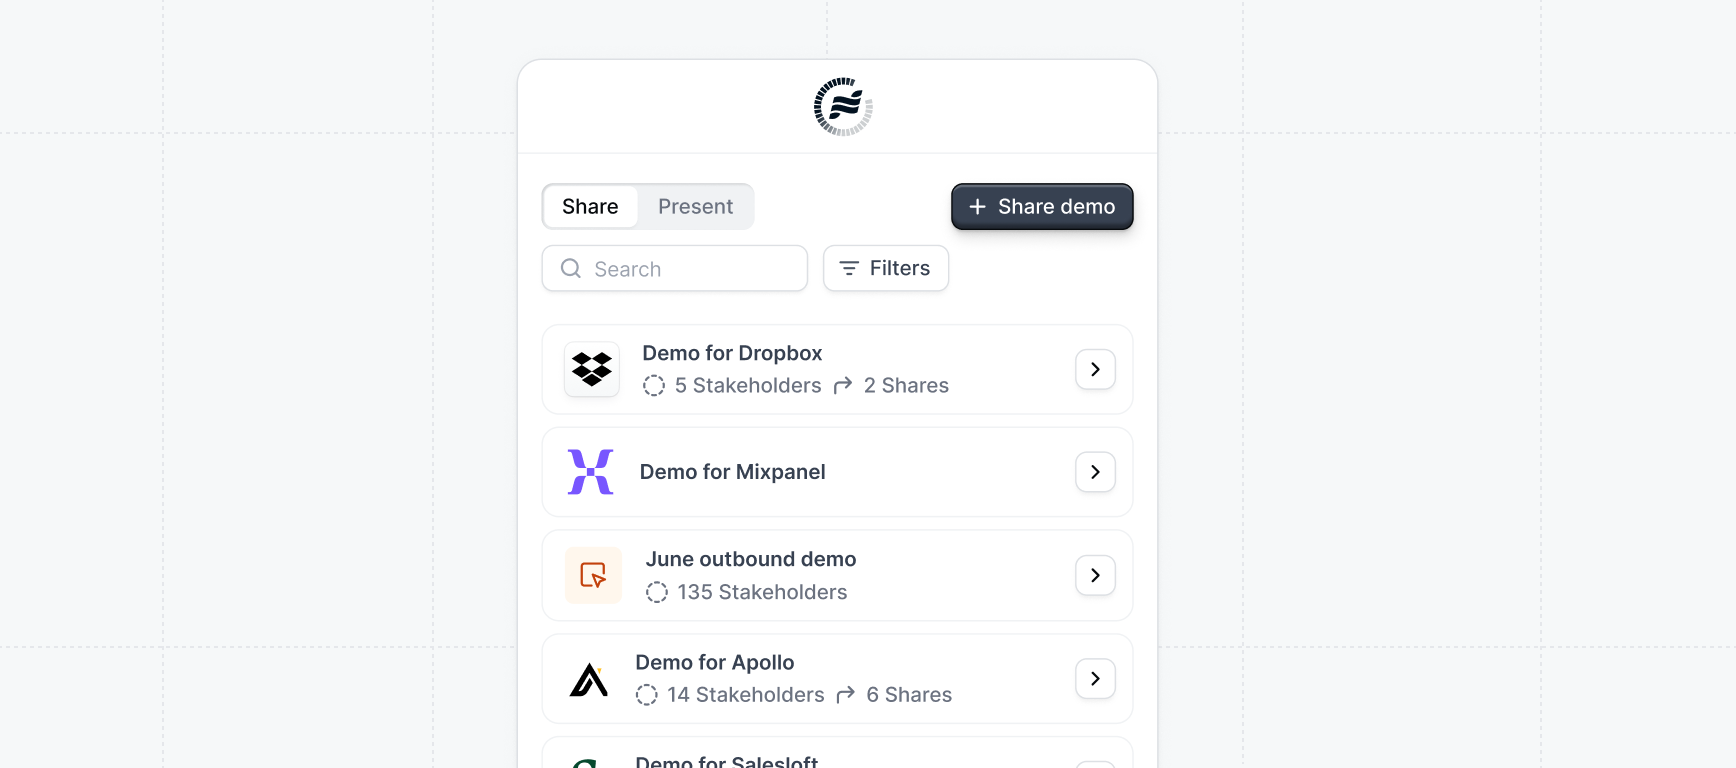
Sharing demos
Sharing demos from Launchpad
Congratulations — you’ve finished building your first Custom demo. Custom demos are a powerful way to follow up with a relevant demo once you know a prospect’s interest. Learn more about how to use custom demos as a Post-call follow-up.
Once you’ve prepared your workspace with initial demos, you’re ready for your sales team. Learn what steps to follow to invite your sales team to the workspace:
Adding the sales team
Customize your docs to your company’s colors and brands