

If your Salesforce org restricts external app authorizations (common in enterprise environments),
use the Salesforce Managed Package instead.
Setting up the Salesforce Integration
Follow these steps or the demo below to set up the Salesforce integration with Navattic:1
Connect Salesforce
Navigate to 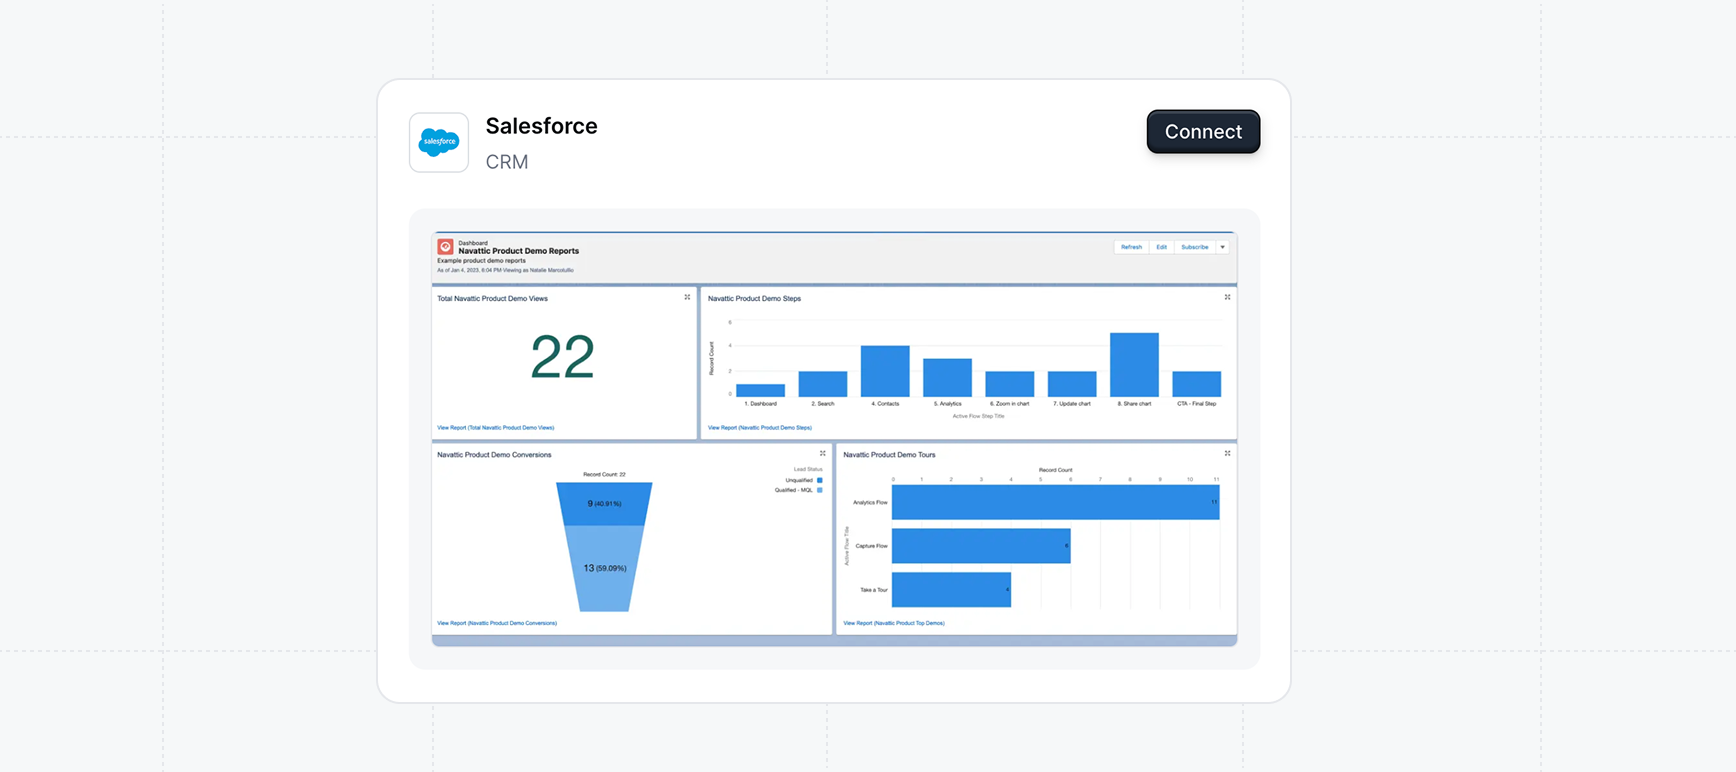
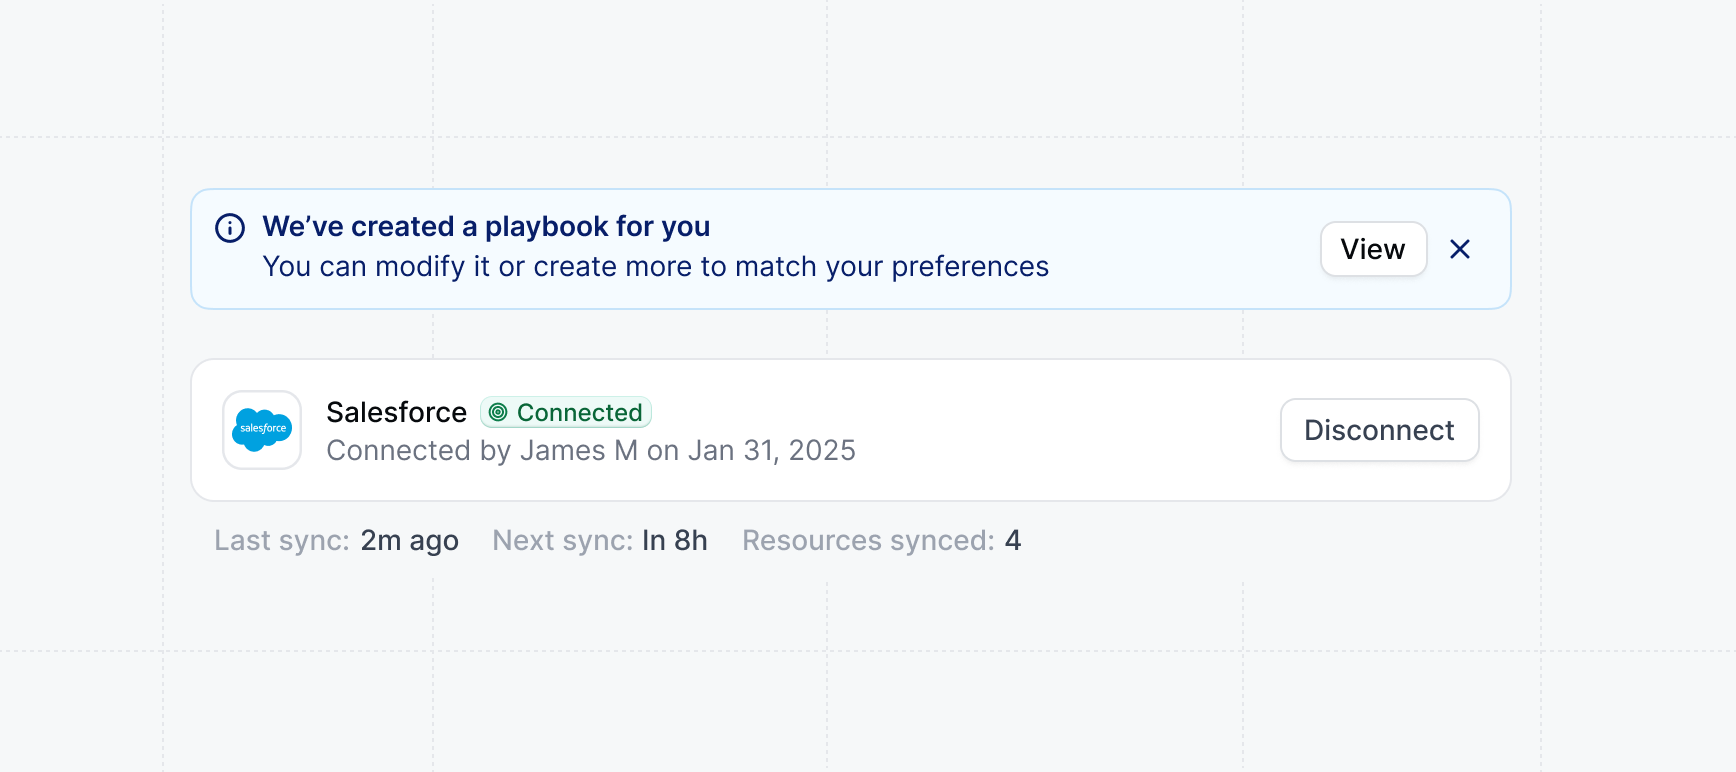
Integrations in Settings and select Salesforce. Click on Connect and follow the instructions to authorize your Salesforce account.Playbook will be automatically created to send engagement data from demos to your Salesforce Opportunity, Leads, Contact, and Accounts.You can click view to manage the Playbook or refine the Audience filters.2
Set Up Field Mapping
Field mappings allow you to control which pieces of Navattic’s data go where. To set up field mapping, go to the Settings tab of your Salesforce integration. Open the Field Mapping dropdown, and start mapping fields. Fields on the left are Navattic data, and fields on the right are destinations within your Salesfoce instance.Navattic provides 20+ Visitor and Account level fields to map. To map fields, you need to first create the recipient field on the Salesforce objects you’re mapping to. We recommend starting with these 3 text fields for Contact, Leads, and Account objects.
Salesforce reference (lookup) fields, including
Owner ID, are supported as mapping targets. If your Salesforce org requires a non-blank Owner ID on Contact inserts, map a Navattic property containing a valid Salesforce User ID to OwnerId in field mappings.Salesforce checkbox (boolean) fields are supported as mapping targets. Map any Navattic property that evaluates to true or false to a Checkbox field on your Salesforce object.
3
Create a Playbook
Once your Salesforce integration is fully set up, visit Playbooks in your Workspace to start pushing data into Salesforce. You can use a Template or create your own Playbook.There are six separate Salesforce Actions that you can set up: Sync lead, Sunc contact, Submit session object, and Send notification to opportunity owner (at the Visitor and/or Account level), and Sync account.
A Playbook consists of Audiences and Actions. You can use one of the default Audiences or you can create your own. If you create your own, remember to add new demos to the Audience if you are choosing to filter by specific demos.
4
Run a Test
Once the Playbook is set up, run a quick test to ensure this test data populates in Salesforce. To run a test, click the three dots next to the Save button > Test run.
5
Edit your Salesforce Object page
Navigate to your Salesforce object page that you’d like to edit (Opportunity, Lead, Contact, or Account). Select 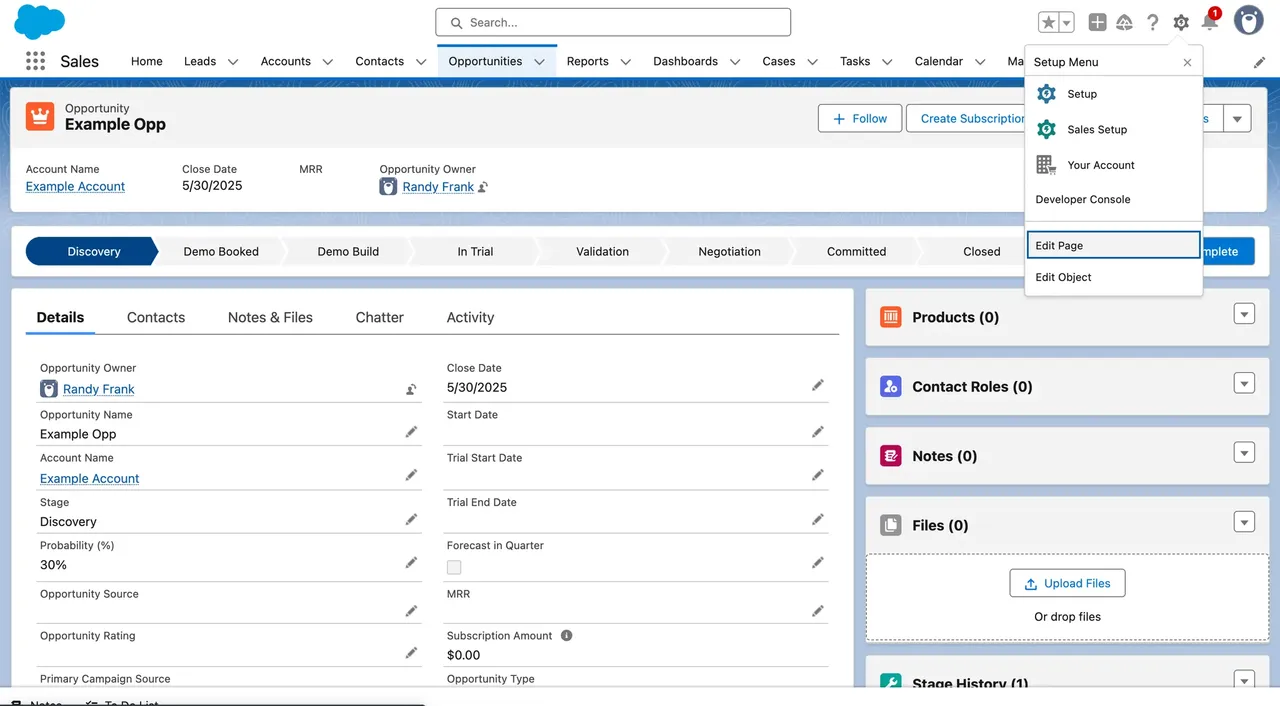
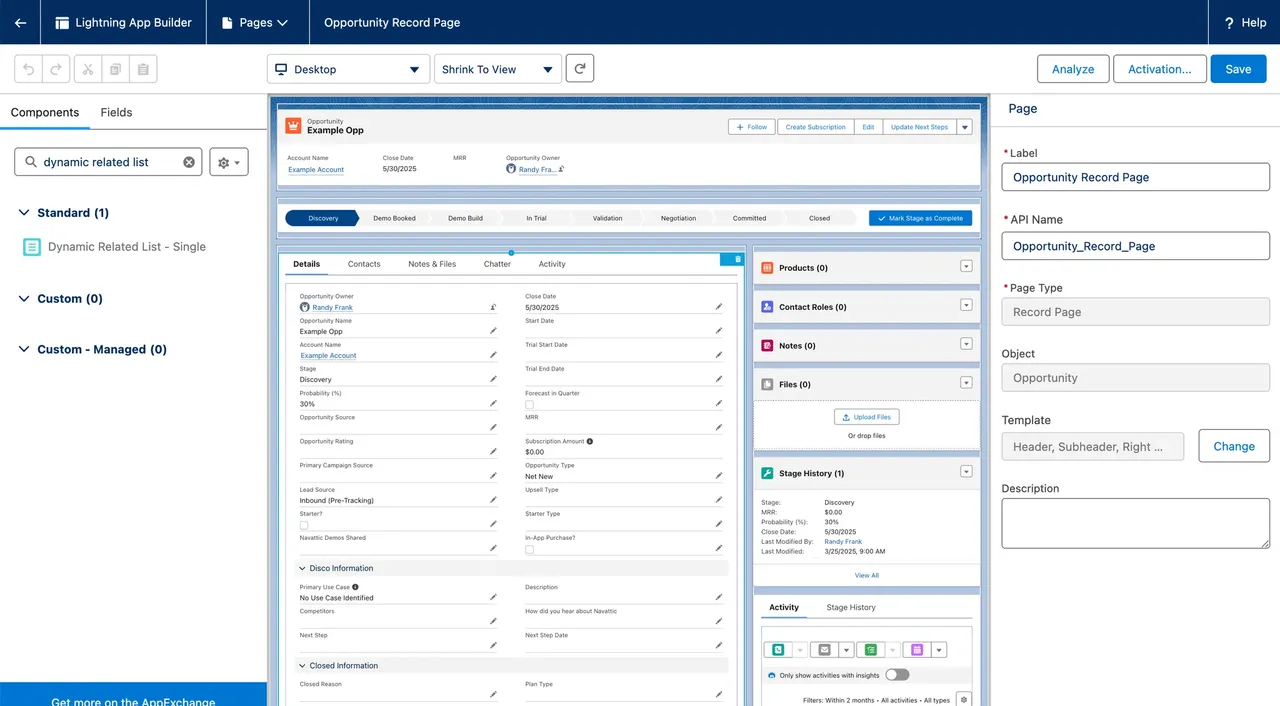
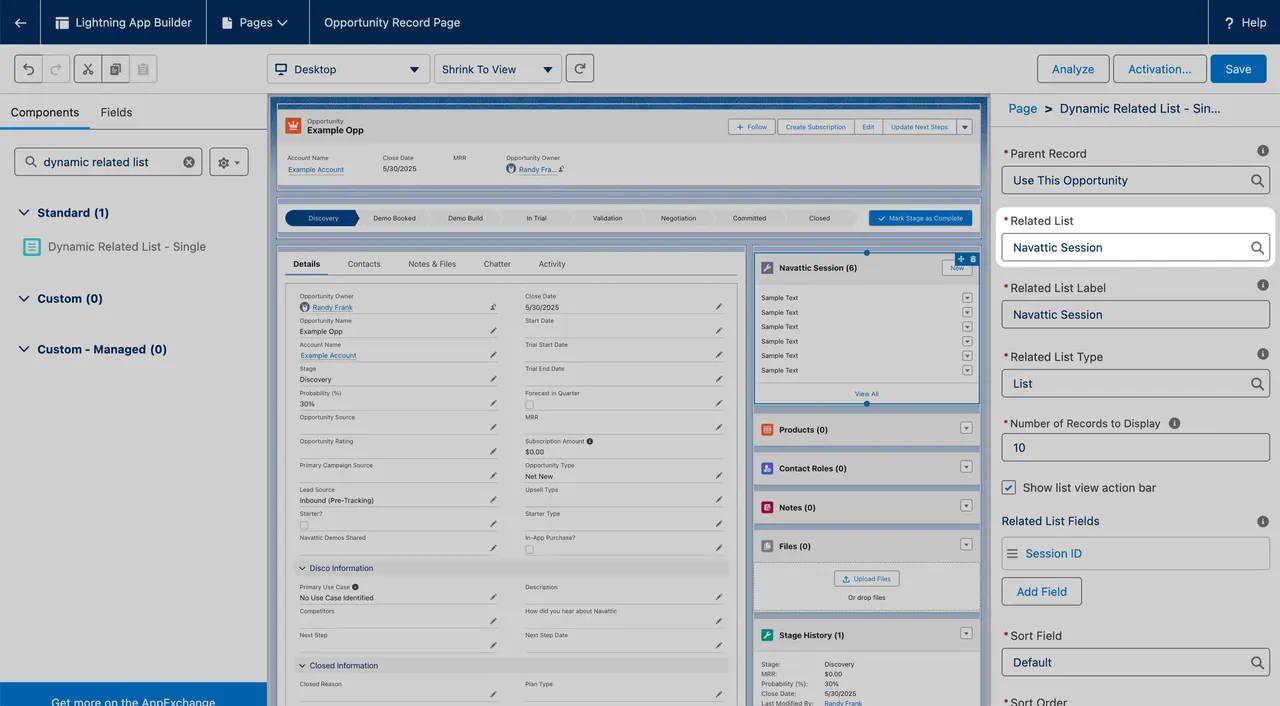
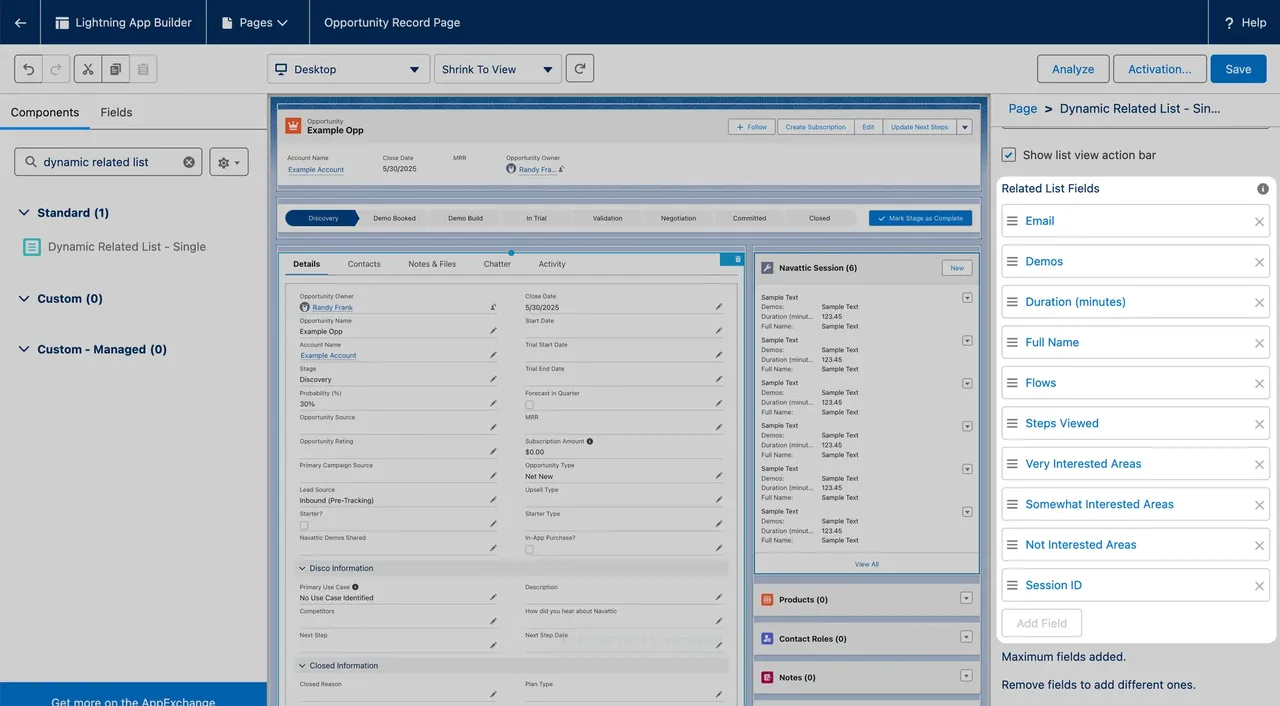
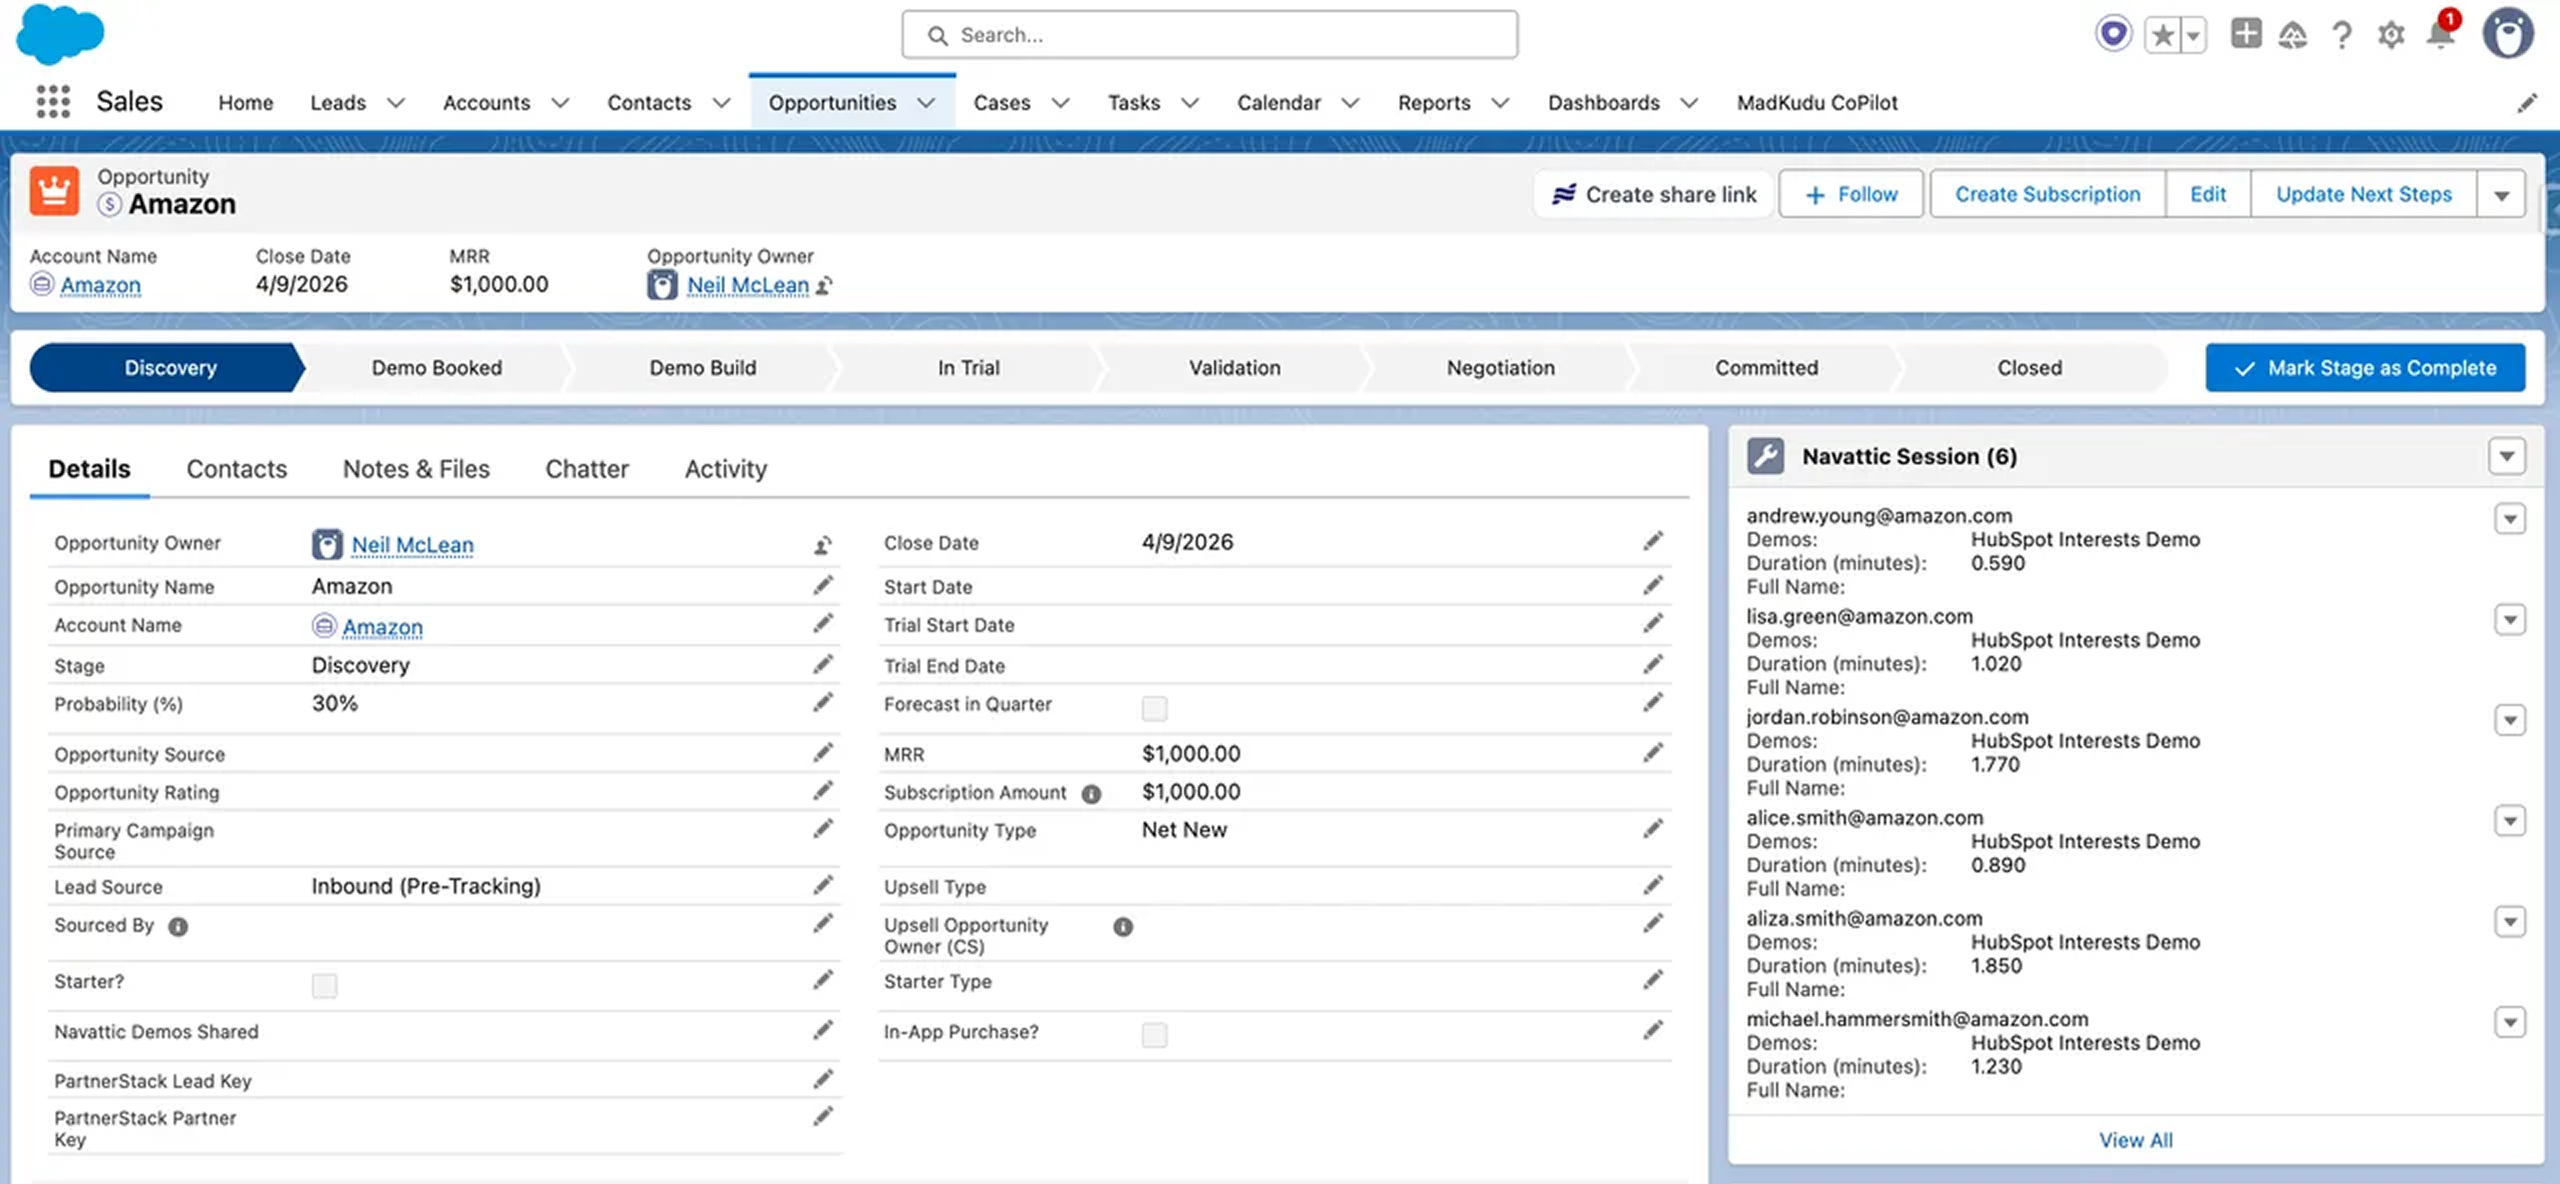

Edit Page under the Setup Menu.Dynamic Related List - Single in the Components search field.Navattic Session in the Related List field. Make sure that the Parent Record is set to the default Use This Opportunity (or the relevant Salesforce object).Related List Fields to show the following fields:- Demos
- Duration (minutes)
- Full Name
- Flows
- Steps Viewed
- Very Interested Areas
- Somewhat Interested Areas
- Not Interested Areas
- Session ID
6
[Optional] Set up a Salesforce Reporting Dashboard
Once your data is flowing into Salesforce, you can create a dashboard to track how your demos are performing. Check out the video below for a step-by-step walkthrough on setting this up. Congratulations — You’ve finished setting up Salesforce with Navattic.
Integration user requirements
The Salesforce user account that connects to Navattic needs specific permissions to sync demo engagement data.Required object permissions
Required object permissions
The connected user must have Read and Edit access to:
- Lead object
- Contact object
- Account object
- Opportunity object
- Navattic Session object (custom)
Required field-level security
Required field-level security
Field-Level Security (FLS) is separate from the object-level Edit permission in the permission set: you can grant object-level Edit while keeping FLS scoped to only the fields Navattic touches.Always required (Read and Edit):
- Email (on Lead and Contact)
- LastName (on Lead and Contact)
- All Navattic custom fields
- Name (on Account): only if account creation is enabled, or if the default Company Name field mapping is kept
- Website (on Account): only if account creation is enabled, or if the default Company Domain field mapping is kept
- FirstName (on Lead and Contact): only if the default FirstName field mapping is kept
- Company (on Lead): only if lead creation is enabled
- Name (on Opportunity): the integration reads but never writes to Opportunity records
Required system permissions
Required system permissions
- API Enabled: This permission must be enabled on the user’s profile or permission set.
- View All Data (recommended): Makes setup easier, though not strictly required.
- Modify All Data (recommended): Makes setup easier, though not strictly required.
Permission set creation
Permission set creation
During the initial connection, Navattic automatically creates a Permission Set that grants access to:
- The Navattic Session custom object
- All fields on the Navattic Session object
- Full CRUD permissions on Lead, Contact, Account, and Opportunity objects
User account recommendations
User account recommendations
Option 1: Dedicated integration user (recommended)Create a dedicated Salesforce user specifically for the Navattic integration:
- Clear audit trail of all Navattic activities
- Easy to troubleshoot permission issues
- Can be disabled without affecting other integrations
- Does not consume a regular user license (use Integration User license if available)
- Create a new user with Integration User or regular license.
- Assign a profile with API Enabled permission.
- Grant the required object and field permissions.
- Use this user to connect Navattic.
- Quick setup with no permission configuration needed
- Guaranteed to have all required permissions
- Less clear audit trail
- All Navattic actions appear as admin actions
- If admin leaves organization, integration may break
Pipeline impact
Once your Salesforce integration is connected, Navattic automatically pulls opportunity data to power the Pipeline Impact dashboard. The dashboard shows how your demos influence pipeline and revenue. It reports sourced and influenced pipeline, new accounts, and deal value across your CRM data. No additional setup is required. The Pipeline Impact dashboard in Analytics will reflect your Salesforce opportunities once the integration is active.The Pipeline Impact dashboard uses Salesforce Opportunity data. Metrics marked with an asterisk
(*) on the dashboard require the Salesforce integration to be connected.