The
recordedEvents list appears in two places in the session_closed payload: under data.session.recordedEvents and under data.endUser.recordedEvents. Both fields contain the same data. Reading from either location is supported.Testing
A free service like webhook.site can be an easy way to get started and test the Webhook integration.Webhook.site is a public webhook testing service, so it is recommended only to send test data when
using this, as you could inadvertently expose customer event data.
Opportunity owner fields
When a Launchpad presentation is connected to a Salesforce opportunity, the webhook payload includes two additional fields for the opportunity owner:| Field | Description |
|---|---|
opportunityOwnerEmail | Email address of the Salesforce user who owns the opportunity |
opportunityOwnerId | Salesforce user ID of the opportunity owner |
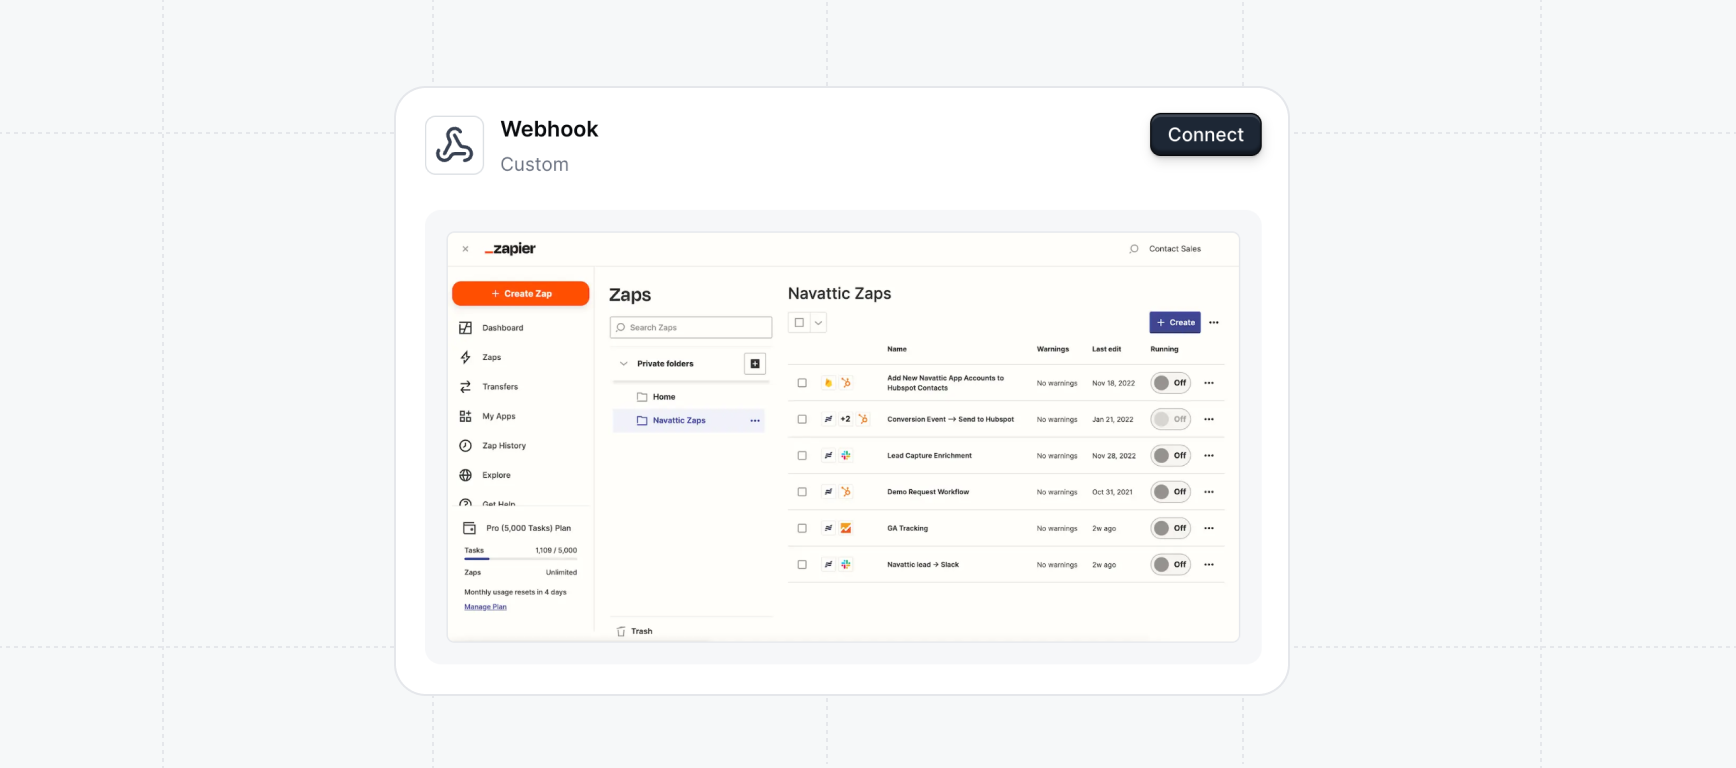
Send data to Zapier using Webhook
Sending webhook events to Zapier allows you further filter and format the data within Zapier before sending it to additional destinations like Google Sheets, Gmail, Notion, or more. This setup demo includes all the steps you need to send data from Navattic to Zapier.Use the Webhook integration to integrate with a Zapier workflow using a Zap URL. Learn more about
triggering Zaps from
webhooks.