The MCP server is available on the Base plan and above.
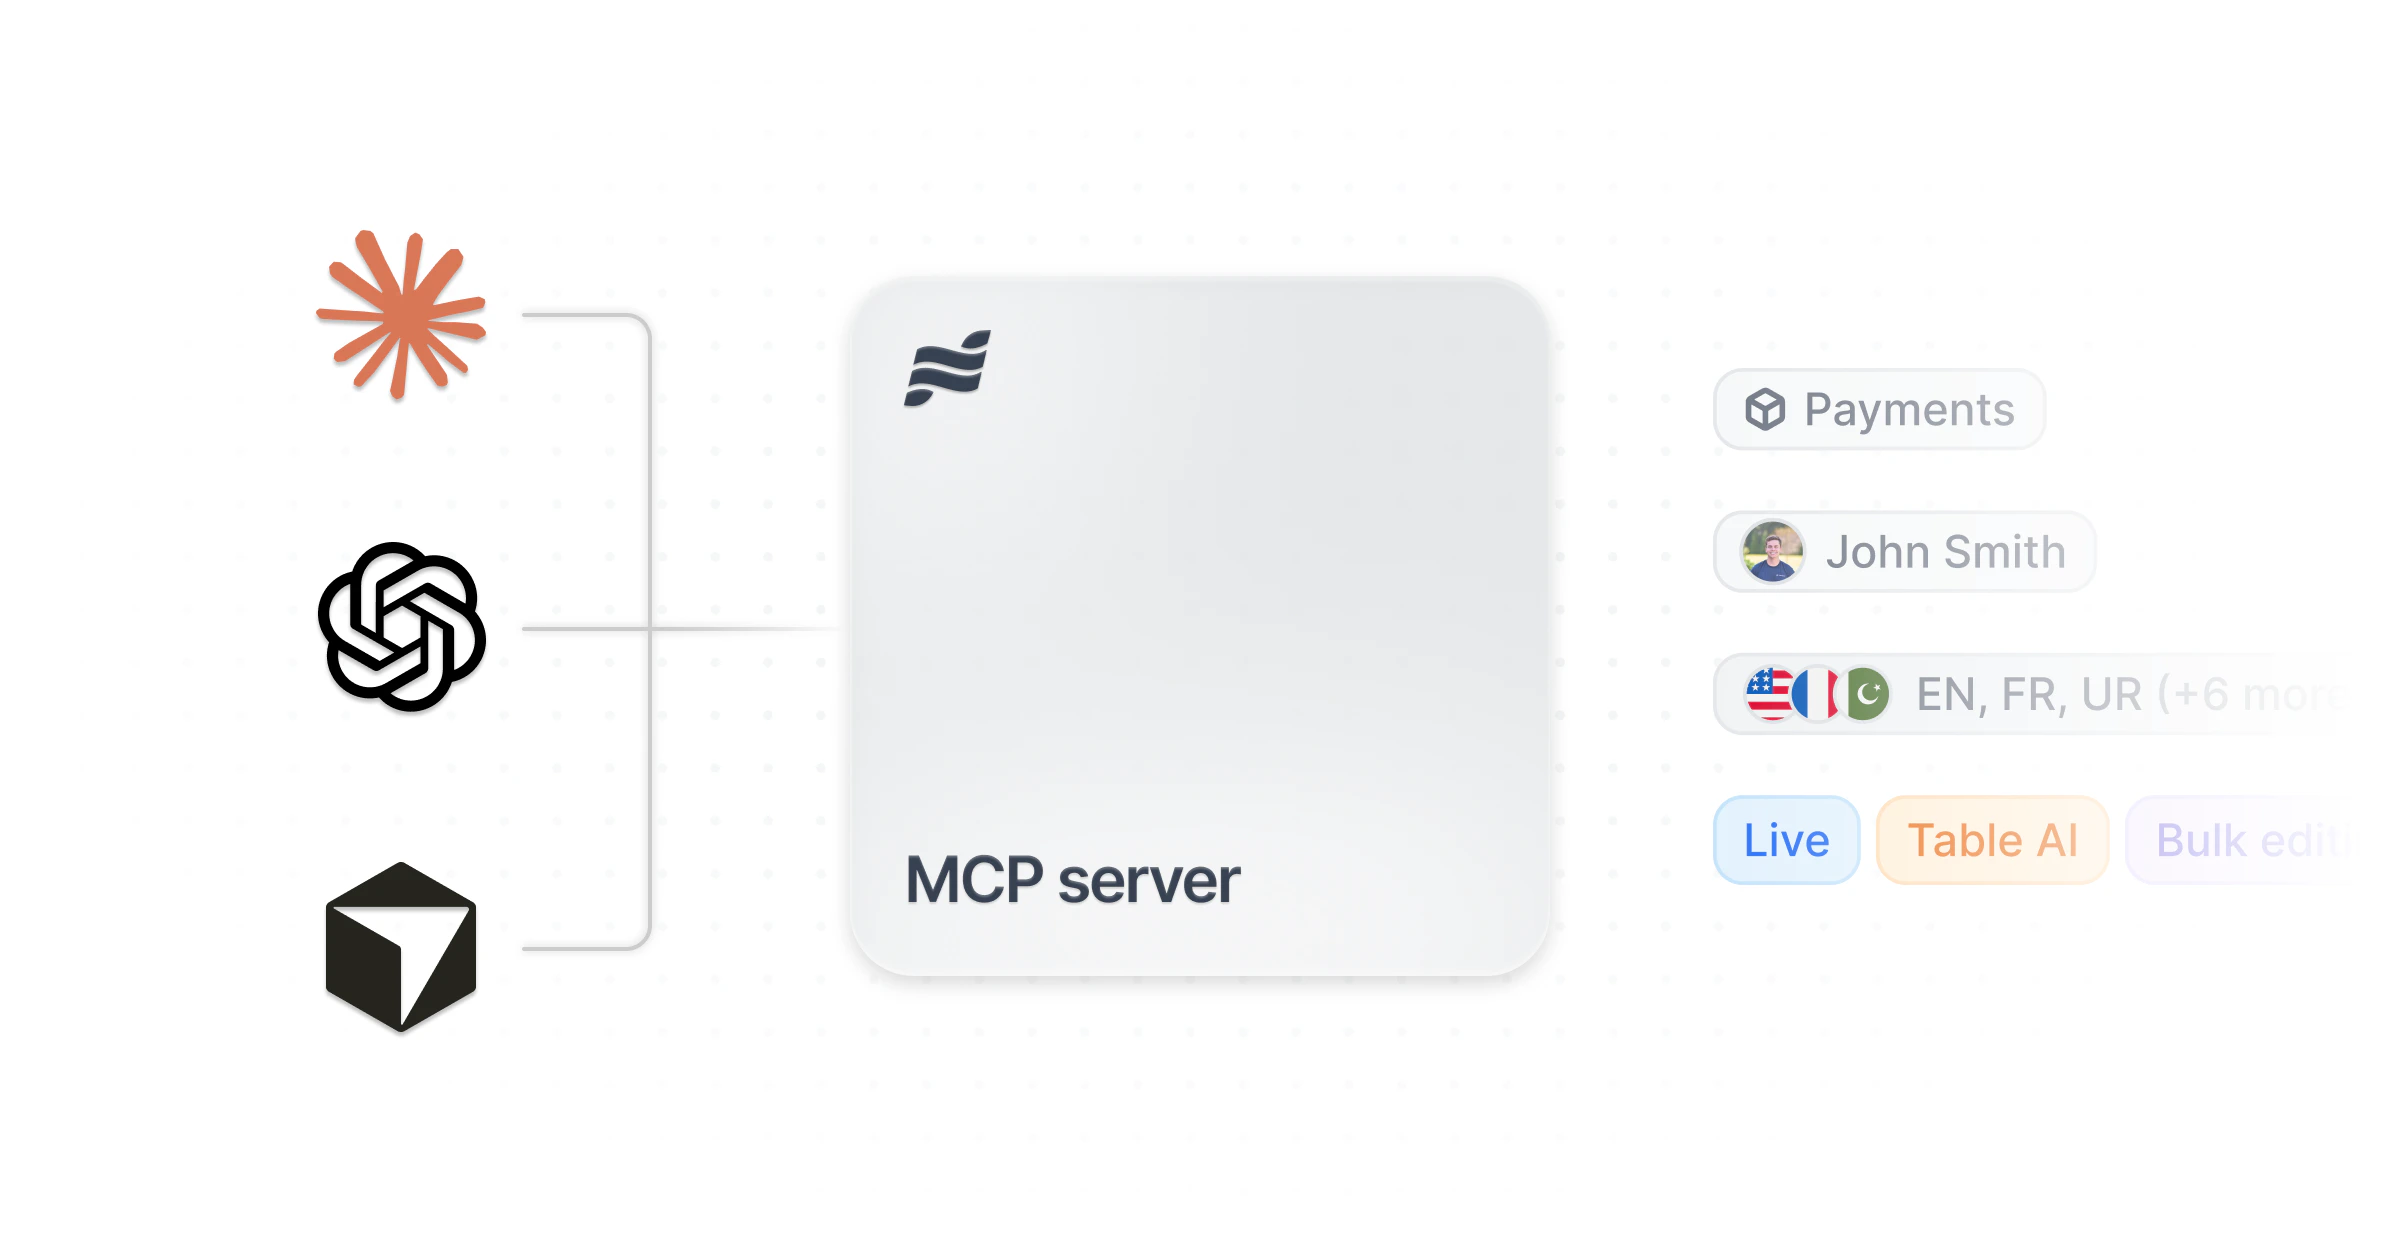
How it works
The Navattic MCP server supports two authentication methods depending on your AI client:- OAuth (Claude Desktop, Claude Code, ChatGPT, Gemini Enterprise) — sign in to Navattic when prompted. No Personal Access Token required.
- Bearer token (Cursor, VS Code, Windsurf, Codex, IBM Bob, Microsoft Copilot Studio) — create a Personal Access Token and add it to your client’s config file.
Step 1: Create a Personal Access Token (bearer token clients only)
If you’re using Cursor, VS Code, Windsurf, Codex, IBM Bob, or Microsoft Copilot Studio, you need a Personal Access Token. Skip this step if you’re using Claude Desktop, Claude Code, ChatGPT, or Gemini Enterprise.Only workspace Admins can create Personal Access Tokens. Builders can view existing tokens in Settings > Workspace > Access Tokens but cannot create or revoke them.
1
Go to MCP settings
Navigate to Settings > AI > MCP in your Navattic workspace.
2
Create a new token
Click Manage personal access tokens, then click Create token. Enter a name for the token (for example, “Cursor agent”).
3
Select scopes
Choose the scopes your agent needs. Each scope grants access to a specific set of tools:
The Launchpad scope is only available in workspaces with Launchpad enabled and is only shown to users with the Launchpad app role. The scope picker will not display it otherwise.
4
Set an expiration
Choose a token lifetime: 7, 30, 60, 90, or 180 days. Tokens expire automatically; you’ll need to create a new token when one expires.
5
Copy the token
After creating the token, copy it immediately. You won’t be able to see it again.
Step 2: Configure your MCP client
Connect your AI agent using the Navattic MCP server URL:- ChatGPT
- Claude Desktop
- Claude Code
- Codex
- Cursor
- VS Code
- Windsurf
- IBM Bob
- Gemini (Enterprise)
- Microsoft Copilot Studio
ChatGPT uses OAuth — no Personal Access Token needed.
1
Open ChatGPT settings
Open ChatGPT on the web → your profile → Settings → Connectors.
2
Enable developer mode
Open Advanced and enable Developer mode.
3
Create a connector
Go to Connectors → Create.
4
Add the Navattic MCP URL
Enter a name, choose OAuth, and paste the Navattic MCP URL:
https://app.navattic.com/api/mcp.5
Authorize
Click Create, then sign in to Navattic when prompted.
What you can do
Once connected, your agent can perform actions based on the scopes granted to its Personal Access Token. The available capabilities depend on which scopes you selected when creating your token. Analytics View demo engagement metrics and visitor data. Ask your agent to surface views, session counts, and click-through rates across all active demos, or drill into individual visitors and company accounts — including session history, demos viewed, and firmographic details. Filter by demo, company, location, industry, employee count, and custom properties. Demo browsing Search and read your workspace library. Your agent can list all projects, find demos by name or keyword, read flow step content, and see which share links exist for each project. It can also read the workspace’s product knowledge base and browse the captures available to anchor new or edited steps. Demo building Create new flows in an existing project and edit existing flows — update step text and button labels, insert or remove steps, add voiceover, move steps, and more. Edits are validated and applied atomically: if any action fails, nothing is saved. You can also copy captures from one demo into another, and duplicate existing flows for reuse across projects. Demo management Create new projects, rename projects, and create share links. Demo publishing Archive projects. Archiving affects the project’s live demo URLs. Personalization List custom properties set up for visitor personalization. Launchpad (Launchpad workspaces only) Browse, create, and look up 1-1 Launchpad share links with recipient and engagement data. Search interest flows by name or description. Your agent also has access to three workspace resources regardless of scopes:- Workspace overview — current project count, member count, and plan type
- Navattic concepts — a reference guide to the Navattic data model (projects, flows, steps, share links)
- Flow editing guide — explains the read→edit loop, step and button locators, the entity_tag concurrency token, and how index positions shift after structural changes
When asking your agent to edit a flow, have it read the current flow document first to get the step structure and a version token. Pass that version token when requesting edits — if the flow has been changed since the read, the edit is rejected to prevent conflicts. After any structural change (inserting, moving, or removing a step), step indices shift; re-read the flow before sending the next batch. All edits in a batch apply atomically — if any action fails, nothing is saved.
Suggested prompts
Copy any of these prompts into your AI agent to get started. Replace the placeholder text in brackets with your own values. Analytics- “Which of our demos has the highest engagement rate over the past 30 days?”
- “List the top 10 visitors by total time spent across all demos this month.”
- “Show me all visitors from [company name] who have viewed our demos.”
- “Which companies in the [industry] sector have engaged with our demos recently?”
- “How many unique visitors did [demo name] get last week, and what was the average session duration?”
- “List all projects in the workspace and show how many flows each one has.”
- “Find all demos related to [product area or keyword].”
- “What share links are set up for [project name]?”
- “Read the flow document for [flow name] in [project name] and summarize what each step says.”
- “Update step 3 of [flow name] in [project name] to say: [new text].”
- “Add a new step after step 5 in [flow name] with the title [title] and body text [body].”
- “Rename the project [current name] to [new name].”
- “Create a new project called [name].”
- “Duplicate the flow [flow name] in [project name].”
- “Copy the captures from [source demo name] into [target demo name] so I can reuse them.”
- “Create a Launchpad share link for [first name] [last name] at [company] using the [interest flow name] interest flow.”
- “List all Launchpad share links created this week and show which recipients have viewed their demos.”
- “Find the Launchpad share link for [recipient name] and show me their engagement details.”
- “List all custom properties configured in the workspace.”
Use cases
Analyze demo performance in your coding environment
Analyze demo performance in your coding environment
Ask your AI agent questions about demo engagement and visitor behavior. For example: “Which of our demos got the most engagement last quarter?”, “Who from Acme Corp has viewed our demos recently?”, or “What companies are showing the most interest this month?” The agent uses the analytics tools to query your workspace data and present results directly in your editor.
Build demos programmatically
Build demos programmatically
Use your agent to create new projects and flows, duplicate existing flows, or copy captures between demos. Describe the steps you want in natural language and let the agent structure and create them for you. This is useful when building many similar demos, scaling a template across multiple projects, or automating demo creation as part of a deployment workflow.
Browse your demo library
Browse your demo library
Ask the agent to list all projects and find specific demos by name or description. The agent has access to your full workspace library, including flow structure and share links.
Automate demo maintenance
Automate demo maintenance
Use the agent to rename or archive projects as part of a release workflow. For example, archive old version demos automatically when a new version is deployed.
Edit a demo using AI
Edit a demo using AI
Use the Demo Building scope to read and update steps in an existing flow. The agent first reads the current flow to understand the step structure, then applies a batch of ordered edits — updating text, buttons, beacons, voiceover, and more. All edits in the batch apply atomically, so a partial failure leaves the flow unchanged. After any structural change (inserting, moving, or removing a step), the agent re-reads the flow because step indices shift. This approach makes it straightforward to apply consistent changes across many steps or flows at once.
Managing tokens
You can view all active tokens from Settings > Workspace > Access Tokens. From there you can:- See each token’s name, scopes, creation date, and expiration
- Revoke a token at any time — revocation takes effect immediately
Frequently asked questions
Can I create multiple tokens for different agents?
Can I create multiple tokens for different agents?
Yes. Create a separate token for each agent or environment, and name them to make revocation easier. For example, “Cursor - local dev” or “VS Code - production”.
Is there a limit to how many tokens I can have?
Is there a limit to how many tokens I can have?
Yes. Each user can have up to 25 active (non-expired, non-revoked) tokens per workspace. If you reach the limit, revoke unused tokens from Settings > Workspace > Access Tokens before creating new ones.
What happens if my token is compromised?
What happens if my token is compromised?
Revoke the token immediately from Settings > Workspace > Access Tokens. Then create a new token and update your agent configuration. The revoked token stops working as soon as you revoke it.
Who can create Personal Access Tokens?
Who can create Personal Access Tokens?
Only workspace Admins can create Personal Access Tokens. Builders have view-only access to the tokens list and cannot create or revoke tokens. Viewer and Launchpad Rep roles cannot access the tokens settings at all.
Can a Viewer-role user create a token with write scopes?
Can a Viewer-role user create a token with write scopes?
No. The scope picker automatically disables write scopes (Demo Building, Demo Management, Demo Publishing) for users with Viewer-only roles.
Does the agent see all my workspace data?
Does the agent see all my workspace data?
The agent can only access data within the scopes you selected when creating the token. All data is also restricted to your workspace — the agent cannot access data from other workspaces.
Why don't I see the Launchpad scope when creating a token?
Why don't I see the Launchpad scope when creating a token?
The Launchpad scope is only available to workspaces with Launchpad enabled and only shown to users with the Launchpad app role. If you don’t see it, confirm your workspace has Launchpad and that your account has the Launchpad role. Contact your workspace admin if you need access.
Do I need a Personal Access Token for Claude Desktop or Claude Code?
Do I need a Personal Access Token for Claude Desktop or Claude Code?
No. Claude Desktop, Claude Code, ChatGPT, and Gemini Enterprise authenticate via OAuth — you simply sign in to Navattic when prompted. Personal Access Tokens are only needed for Cursor, VS Code, Windsurf, Codex, IBM Bob, and Microsoft Copilot Studio.