Invite members
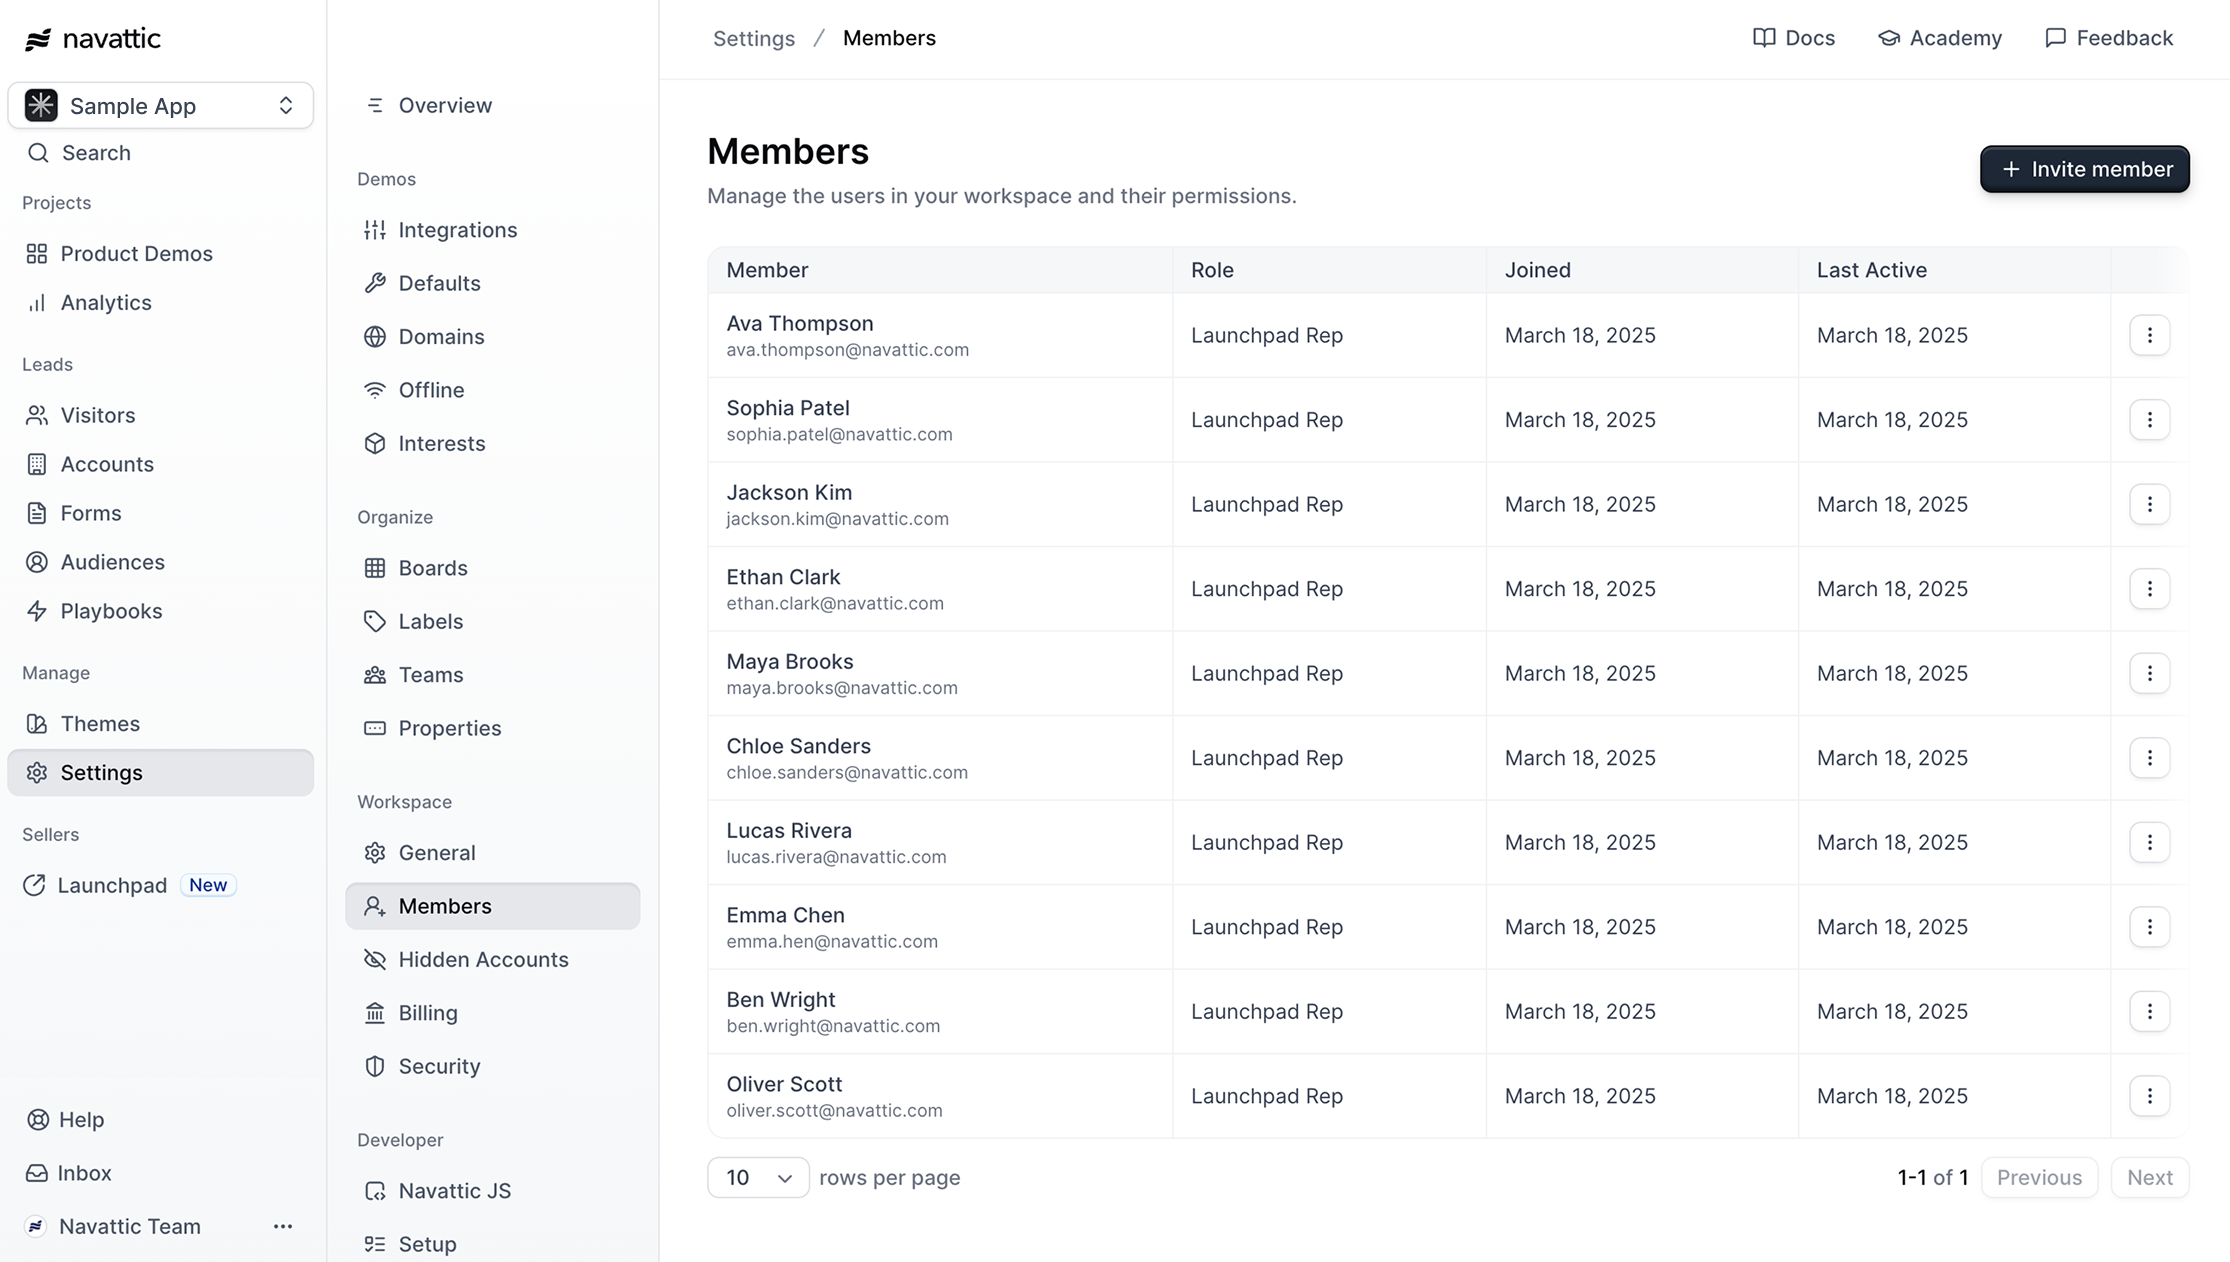
To invite a new colleague to your workspace:- Navigate to your workspace Settings and select Members.
- Click the Invite member button.
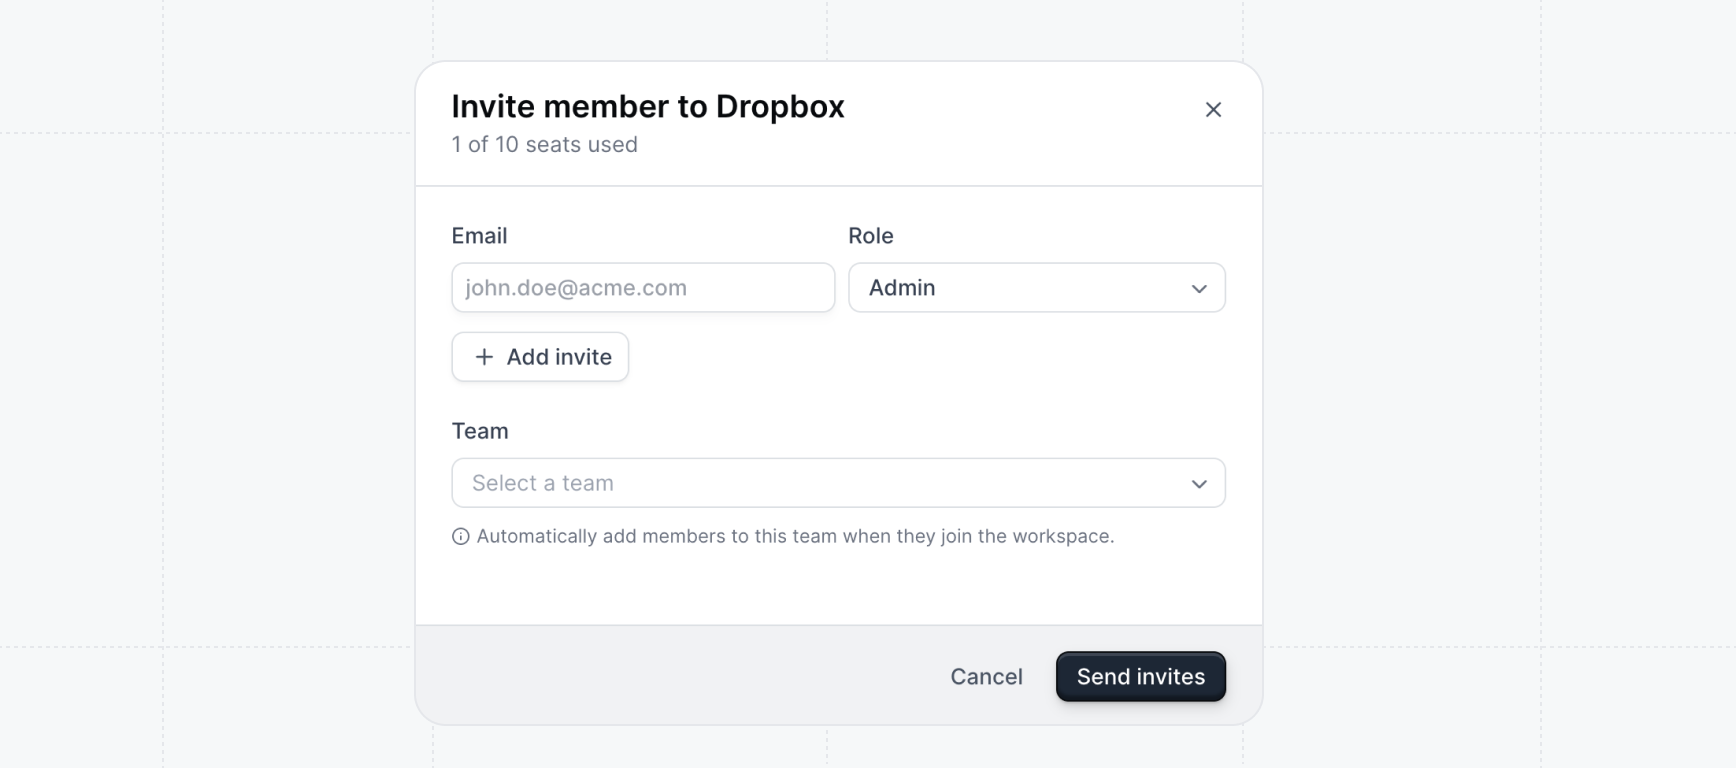
- Enter the new member’s Email and select their Role (e.g., Admin, Builder, Viewer, or Launchpad Rep).
- Choose their Platform access. You can grant access to Interactive Demos (for building and editing demos), Launchpad, or both.
- Click Add invite to invite more users at once, then click Send invites.
Bulk invite users
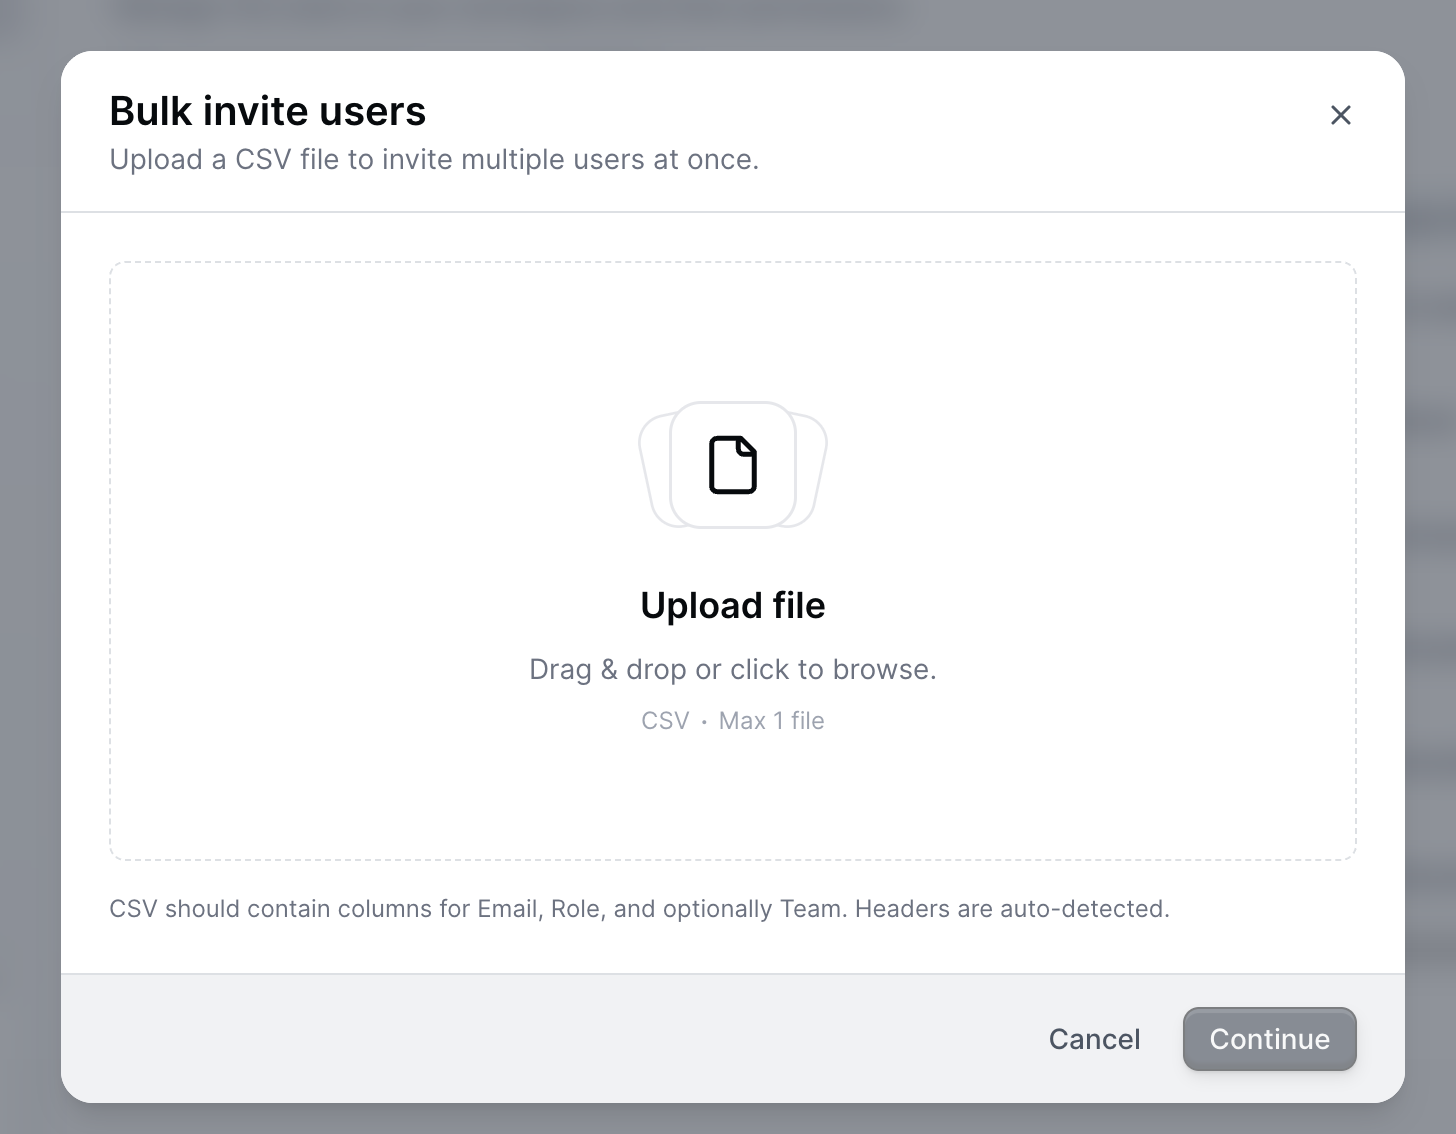
If you are onboarding a large team, you can invite multiple users at once using a CSV upload:-
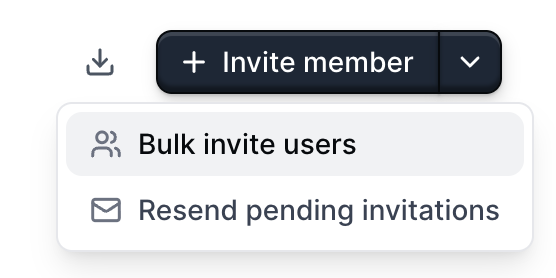
On the Members page, click the dropdown arrow next to the “Invite member” button and select Bulk invite users.
- Upload a CSV file that includes columns for Email, Role, and optionally Team.
- The system will automatically attempt to map your CSV columns. You can manually adjust them if needed.
- Review the mapped users. The platform will flag any duplicate emails, invalid roles, or missing teams so you can correct them before proceeding.
- Click Invite users to send the invitations in the background.
Resend pending invitations
If you have members who haven’t accepted their invitation yet, you can easily resend them:- On the Members page, click the dropdown arrow next to the “Invite member” button.
- Select Resend pending invitations.
- Confirm the action.
Roles
Select the appropriate role for each member based on their responsibilities and access requirements. Admin — Full workspace access. Admins can create and edit demos, manage workspace settings, invite and remove members, configure integrations, manage billing, and access all analytics. Use this role for team leads and workspace owners. Builder — Build and publish demos. Builders can create, edit, and publish demos, manage captures, and customize themes. They have view-only access to analytics, integrations, billing, and API keys. Builders cannot invite members or update workspace settings. Use this role for anyone who creates or maintains demos. Viewer — View and share demos. Viewers can browse the demo library and share demos with others, but cannot build or edit demos. Use this role for stakeholders who need visibility without editing access. Launchpad Rep — Access demos through Launchpad only. Launchpad Reps can view and share demos from their Launchpad, but cannot access the demo builder or workspace settings. Use this role for sales reps and other external-facing team members.Permissions matrix
Launchpad access is available to all roles but is required for the Launchpad Rep role. When inviting a member, enable Launchpad under Platform access to grant it alongside any role.
Setting up Directory Sync
Rolling out Navattic to a larger teams? Use directory sync to automate the provisioning and deprovisioning of users.Directory Sync
Automatically provision users and configure their roles using your organization’s identity provider, such as Okta.