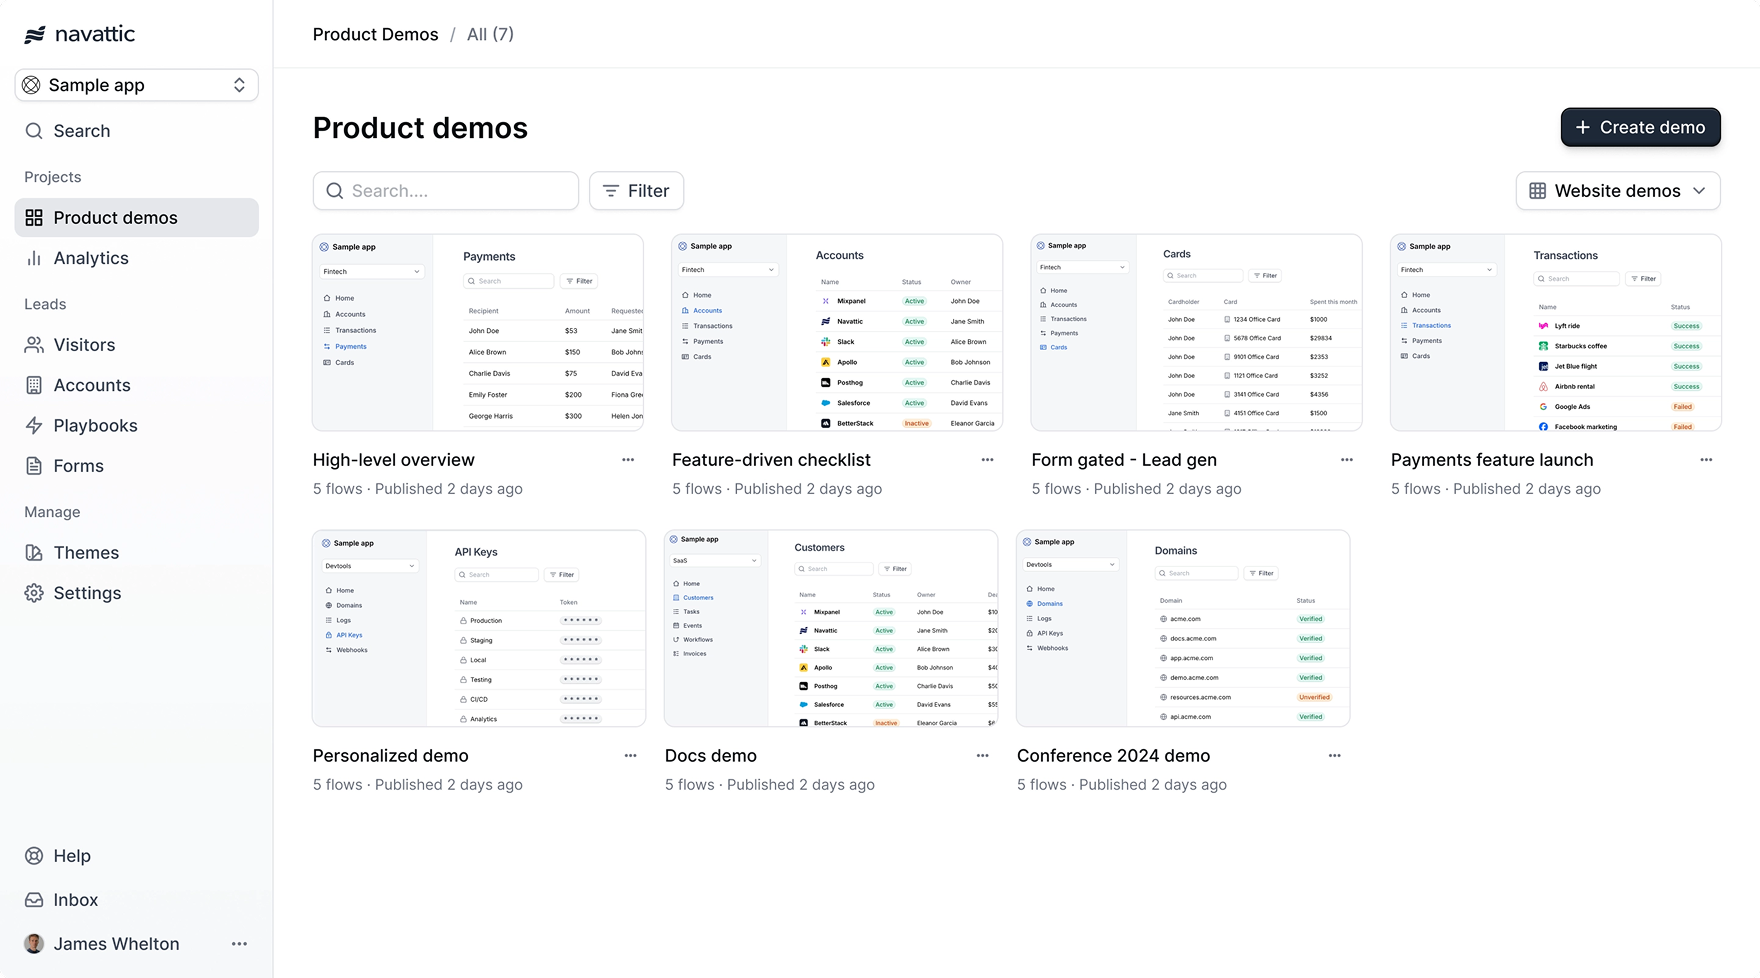
Welcome to Navattic
Navattic makes it easy to build and share interactive product demos across your team. With Navattic, teams can organize, access, and distribute demos in a consistent, scalable way. This documentation will guide you through setting up your workspace—from creating demos to tracking engagement—so you can start using interactive demos throughout your workflows.Building demos
Creating clear, engaging demos is key to making the most of Navattic. In this section, you’ll learn how to build demos tailored to a variety of use cases—whether you’re personalizing for an individual, showcasing a key feature, or creating something entirely custom. We’ll also walk through how to build your first gold-standard demo that matches your company’s brand and style.Build your first demo
Create a demo for your first use case in minutes.
Creating flows
Break down your demo into smaller stories.
Checklist demos
Allow visitors to choose their own adventure with a checklist.
Customize your theme
Build a theme that reflects your brand and style.
Supporting screen sizes
Learn how to make your demos look great on every screen size.
Advanced demos
Take your demos a step further with advanced features that add flexibility and depth. In this section, you’ll learn how to personalize content, support multiple languages, showcase mobile apps, and even use demos offline or to track feature interest.Personalized demos
Make demos personalized by adding user and account properties.
Multilingual demos
Support multiple languages in your demos.
Interest demos
Unlock a powerful insight - what features prospects are interested in seeing.
Offline demos
Use your demos offline at tradeshows and conferences.
Sandbox demos
Learn how to quickly build a lightweight sandbox demo.
Sharing demos
Once your demo is ready, it’s time to get it in front of your audience. This section covers best practices for sharing—whether you’re embedding it on your website or sending it out via trackable share links.Tracking
Tracking helps you understand how demos are being used and who’s engaging with them. In this section, you’ll learn how to install tracking scripts, identify visitors, and connect demo activity to your other analytics tools.Navattic JS
Install and configure the Navattic JS tracking script.
Identifying visitors
Identify who is visiting your demos.
Tracking scripts
Add third-party tracking scripts to your demos.
Integrations
Connect Navattic with your existing tools to streamline demo sharing and surface insights. This section covers how to embed demos in outbound campaigns, sync engagement data with your CRM, and use integrations to understand visitor behavior.Playbooks
Send demos in outbound email campaigns to book more meetings.
Integrations
Learn about what the prospect is interested in before the first call.
Workspace
Your shared workspace is for building, organizing, and managing demos as a team. Here, you’ll learn how to invite members, set shared defaults, structure your workspace, and collaborate efficiently.Inviting members
Invite members to your workspace and manage their access.
Demo defaults
Standardize defaults for demos across your workspace.
Workspace organization
Organize your workspace to scale to meet your needs.
Collaboration
Leave comments on demos for your team to review.
Security Features
Keep your workspace secure and compliant with enterprise-grade controls. This section covers how to manage access with SSO and directory sync, host demos on custom domains, and monitor activity with audit logs.SSO
Require all workspace members to authenticate using your organization’s identity provider, such
as Okta.
Directory Sync
Automatically provision users and configure their roles using your organization’s identity
provider, such as Okta.
Custom Domains
Custom domains allow you to host demos on your own domain such as
demo.acme.com.Audit Logs
View an event stream of notable actions that members take in your workspace.