- Sales teams that share demo landing pages or demo centers as leave-behind
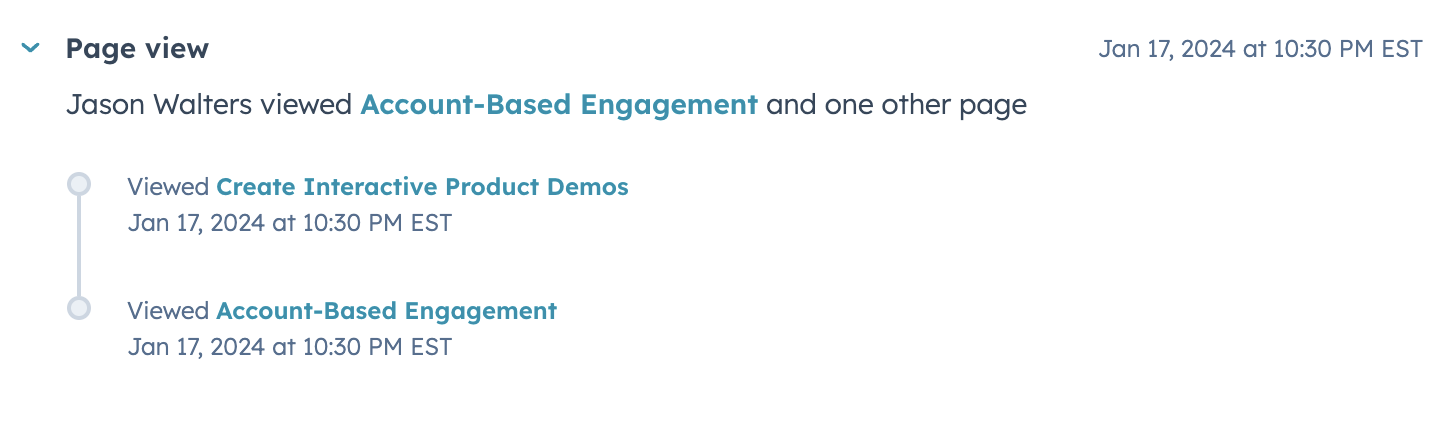
- Quickly tagging contacts with a Navattic page view event.
This differs from the direct HubSpot integration which documents demo activity as Contact
Properties; features like field mapping for UTMs and form fills, and activity timeline events are
only available with the direct HubSpot integration.
Add Hubspot tracking to your demos
Follow these steps to add Hubspot tracking to your Navattic demos:Setup a Custom Domain
HubSpot will track the various activities that occur on a dedicated domain (ex. “stripe.com” or “arc). To configure this, first setup a Custom Domains.
Locate your Hubspot Account ID
To enable this tracking script, you’ll need to find your HubSpot Account ID (or “Hubspot ID”). To find this, log into HubSpot. Then, open the Account dropdown in the top right corner. Your Account ID will be listed just under your HubSpot account name.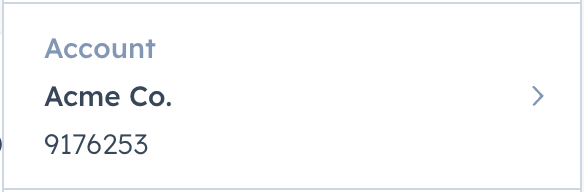
Add your Hubspot Account ID to Navattic Demos
Visit your Navattic demo > select the three dots next to the Share button > Tracking
scripts. Paste your HubSpot ID into the HubSpot input field. Once the HubSpot ID is added,
publish your demo in Navattic.