Documentation Index
Fetch the complete documentation index at: https://docs.navattic.com/llms.txt
Use this file to discover all available pages before exploring further.
How Agent Demos work
Agent Demos combine three powerful capabilities to create interactive product demonstrations:- Voice conversation - Visitors speak naturally with an AI agent that understands questions and responds in real-time
- Capture playback - The agent navigates through pre-recorded captures of your application, guiding visitors through relevant features and flows
- Personalized guidance - Each demo adapts based on the conversation, showing relevant features and answering specific questions
Use cases for Agent Demos
Agent Demos are particularly effective for scenarios where personalization and interactivity matter most:24/7 demo availability
24/7 demo availability
The problem: Your sales team can’t be available around the clock, causing you to miss prospects in different time zones.How Agent Demos help: Provide live product demonstrations around the clock, even when your sales team is offline. Add an Agent Demo option alongside your demo request form so prospects can choose an instant AI-guided demo instead of waiting. Configure after-hours routing to direct visitors to an Agent Demo rather than a “we’ll get back to you” message, capturing high-intent traffic that would otherwise go cold.
International demo requests
International demo requests
The problem: Language barriers limit your ability to engage global prospects without hiring multilingual sales staff.How Agent Demos help: Deliver demos in any language and engage global prospects without adding operational overhead. The agent localizes explanations, answers questions, and runs the demo environment in the visitor’s language. Create localized landing pages for key markets, use geo-detection to route visitors to demos in their preferred language, or equip regional sales teams with multilingual Agent Demo links for outbound prospecting.
Qualifying leads before sales calls
Qualifying leads before sales calls
The problem: Sales teams spend too much time on discovery calls with prospects who aren’t familiar with the product basics.How Agent Demos help: Let the agent handle initial product education and qualification, so your sales team can focus on high-value conversations. Send Agent Demo links before scheduled calls so prospects arrive already familiar with your product. Use engagement data like session duration, questions asked, and features explored to enrich lead scores and prioritize follow-ups. Prompt engaged prospects to book a call immediately after their demo session while interest is at its peak.
Feature-specific deep dives
Feature-specific deep dives
The problem: Complex workflows or technical features are difficult to explain without real-time interaction and demonstration.How Agent Demos help: Guide prospects through complex workflows or technical features that benefit from real-time explanation. Link Agent Demos from your documentation so users can see features in action as they read. CSMs can share feature-specific demos to help customers unlock value from underutilized parts of your product, scaling customer education without requiring live walkthroughs for every request.
SMB sales support
SMB sales support
The problem: High-touch demos don’t scale for smaller deals, and technical sales bandwidth is too limited to cover every prospect.How Agent Demos help: Enable SMB customers to have a stellar sales experience, as if they had a demo from a top SE, without requiring dedicated sales engineering resources. Route demo requests from smaller companies (e.g., fewer than 15 employees) to an automated email with the Agent Demo link, or direct them to a thank you page with an embedded demo for instant access. Equip SMB reps with Agent Demo links they can share directly, delivering consistent, high-quality demonstrations while maintaining a personal touch.
Creating an Agent Demo
Set up an environment
Before creating your first Agent Demo, you’ll need to configure an environment. Environments hold the captures your agent will navigate during demos and define how the agent appears to visitors.Navigate to Agents > Environments and click Create environment. Choose how you want to populate the environment:
- Take new captures - Enter your app’s URL, then use the Navattic Chrome extension to capture screens. This lets you build captures from scratch.
- Start from existing demo - Select an existing Navattic interactive demo to import its captures as the starting point for your environment.
- Environment name - An internal name to identify this setup (e.g., “Product Tour” or “Pricing Demo”)
- App URL - The URL associated with your application
- Avatar - Optional image that represents your agent
- Cursor color - The color of the cursor when the agent is navigating
Environments can be reused across multiple Agent Demos, making it easy to maintain consistent demo experiences.
Create your Agent Demo
With your environment ready, navigate to Agents and click Create Agent Demo.Start by configuring the basic settings:
- Demo name - An internal identifier for this Agent Demo
- Environment - Select the environment you created in the previous step
- Language - Choose the language the agent will speak (defaults to English)
Configure the agent's behavior
Define how your agent will present your product using these key settings:Objective — Describe what the agent should accomplish during the demo. This guides the overall conversation and demonstration strategy.Example:Presentation message — The agent’s opening message when visitors join the demo. Keep this welcoming and set clear expectations.Example:Personality and tone — Shape how the agent communicates:Example tone:
- Personality - Define the agent’s character traits (professional, friendly, enthusiastic, etc.)
- Tone - Set the communication style (conversational, formal, technical, etc.)
Add guidelines and guardrails
Help your agent provide the best possible experience by defining guidelines and guardrails.Guidelines — Instructions that shape how the agent conducts demos. These help ensure consistent, effective demonstrations.Guardrails — Boundaries that define what the agent should avoid discussing or promising to keep the agent focused and ensure accurate responses.
Provide product context
Supply the agent with knowledge about your product through multiple resource types:Product context — General information about your product, key features, and value propositions. This helps the agent understand what to demonstrate and when. Click Upload context to have Copilot extract context automatically from a website URL or an uploaded document (PDF, Word, or text file). Copilot shows you a preview of the extracted content before applying it.Knowledge resources — Add documentation, support articles, or other materials that the agent can reference.When you add a URL, Navattic will automatically crawl the site and format the content for the agent to reference during demos.FAQs — Common questions and their answers help the agent respond accurately to frequently asked questions.Pronunciations — Specify how the agent should pronounce product names, technical terms, or company names that might be unclear.
Configure call-to-action (optional)
Add a call-to-action that appears after the demo session:
- CTA text - The button or link text (e.g., “Schedule a call with our team”)
- CTA URL - Where visitors should go next
Managing environment flows
After setting up your environment, you can edit and refine the flows your agent uses during demos.Deleting a step
To remove a step from a flow, open the environment and select the flow you want to edit. Hover over the step preview thumbnail to reveal a menu button (the three-dot icon in the top-right corner of the thumbnail). Click the menu and select Delete step.Deleting a step is permanent. The agent will no longer navigate to that screen during demos. You can recapture a step by taking new captures and adding them to the flow.
Archiving a flow
To remove an entire flow from an environment, open the environment, select the flow, and choose Archive flow from the flow options menu. Archived flows are no longer shown to the agent during demos.Sharing Agent Demos
After publishing your Agent Demo, you’ll receive a shareable URL that you can distribute to prospects. When visitors access this link: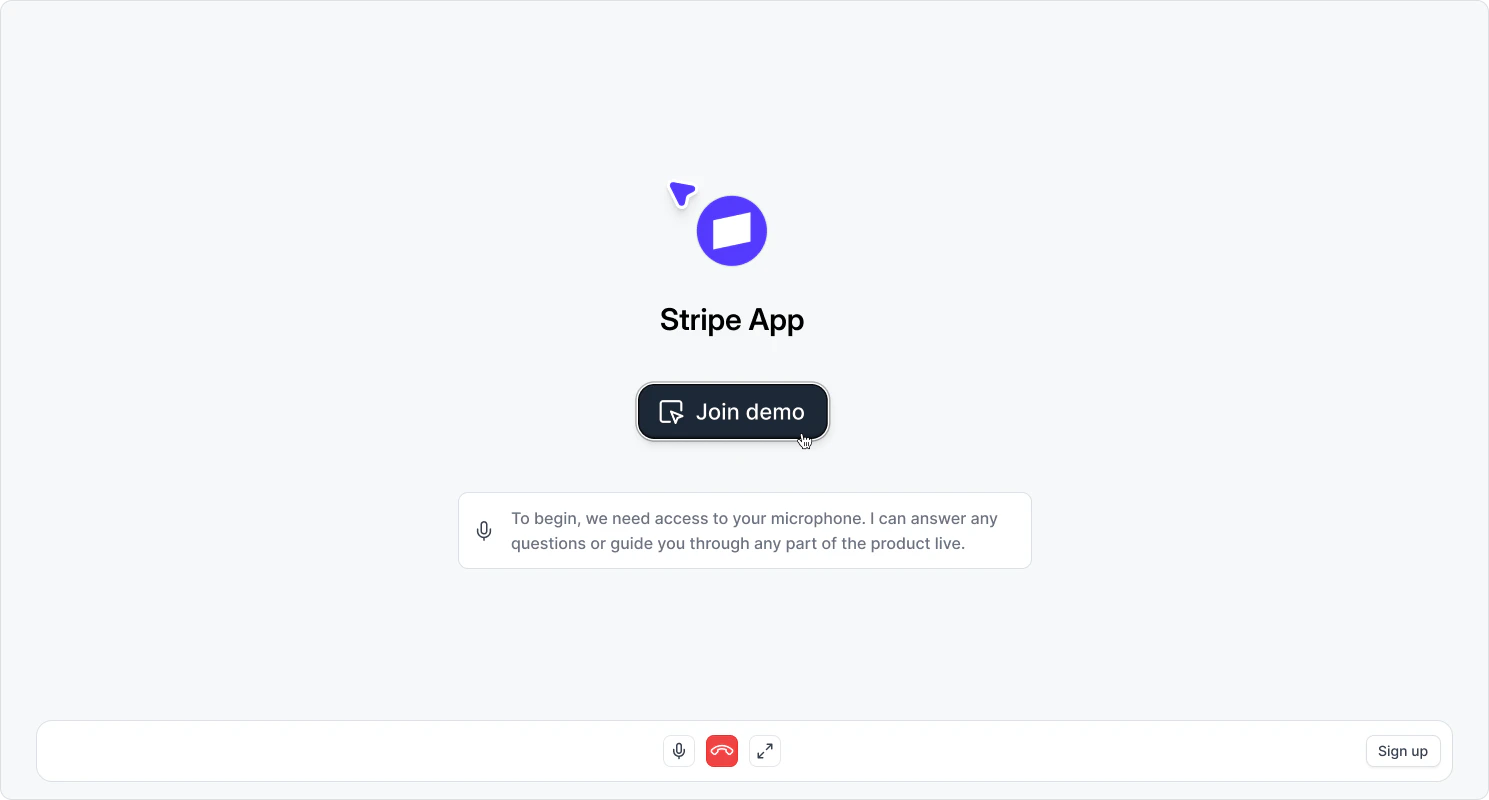
- They’ll be prompted to allow microphone access
- The agent will greet them with your configured presentation message
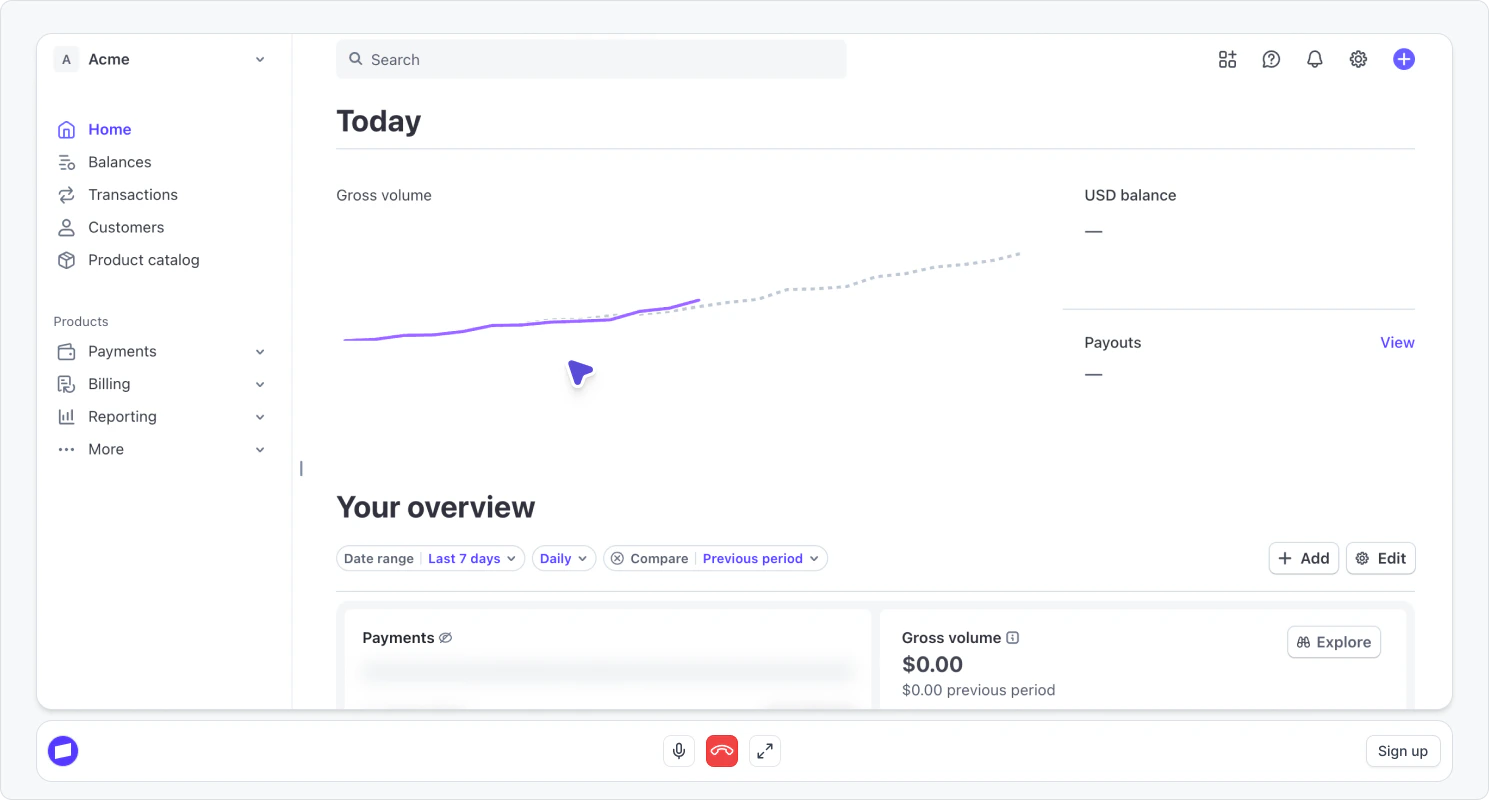
- A recording of your application will open, showing your pre-captured screens
- The agent will guide the visitor through relevant captures based on the conversation
Best practices
Follow these guidelines to create effective Agent Demos: Start with clear objectives — Define specific goals for your agent before configuring behavior. What should prospects learn? What actions should they take? Provide comprehensive product context — The more information you give the agent about your product, the better it can answer questions and demonstrate relevant features. Test thoroughly before sharing — Run through several demo sessions yourself to ensure the agent behaves as expected and can handle common questions. Review session transcripts regularly — Check actual conversations to identify gaps in the agent’s knowledge or opportunities to improve responses. Update content as your product evolves — When you add features or change pricing, update your Agent Demo’s product context to keep information current. Set appropriate guardrails — Be specific about what the agent should not promise or claim, especially around pricing, custom features, and implementation timelines.Frequently asked questions
What languages do Agent Demos support?
What languages do Agent Demos support?
Agent Demos support multiple languages including English, Spanish, French, German, Japanese, and more. Select your preferred language when creating the demo.
What happens if the agent doesn't know the answer to a question?
What happens if the agent doesn't know the answer to a question?
The agent will acknowledge uncertainty and, based on your guardrails, either redirect to documented information or suggest connecting with your sales team for specific questions.
How do I update a live Agent Demo?
How do I update a live Agent Demo?
Edit the draft version and click Publish when ready. The published version will update with your changes while maintaining your demo URL.