How to identify visitors
There are a few different ways to identify visitors in Navattic:Forms
Add a form gate to your demo (Good for website embeds)
Query Params
Add tracking params to the URL (Good for email campaigns)
Navattic JS
Track logged in users in your app (Good for in-app demos)
- Forms
- Query Params
One easy way to identify visitors to your interactive demos is through a form. Follow these steps to add a Navattic or third-party (ex Marketo, Hubspot, etc) form:
Navattic Forms
Capture and track visitor information through forms in your demos.
Embedded forms
Integrate third-party forms and scheduling tools directly in your demo.
Other Use Cases and Workflows
The following workflows require you to add the Navattic JS snippet to thehead of your website(s).
Identifying visitors across subdomains
If you have demos embedded on multiple subdomains or you want to identify Visitors on one subdomain and track their demo engagement on another subdomain, it is possible for the Visitors identity to be shared across these subdomains. This can be enabled with the following steps:- Install Navattic JS on each site
- On the Navattic JS Configuration page (in your Navattic Workspace under Settings > Navattic JS), enable Domain-level Visitor Tracking
- Follow the above steps to identify Visitors
Tracking UTM Parameters
Embedded iframe demos do not automatically receive UTM parameters from the page on which they are embedded. However, you can automatically pass on UTM parameters by adding Navattic JS to the <head> of your site and enabling the Query Parameter Tracking option shown below.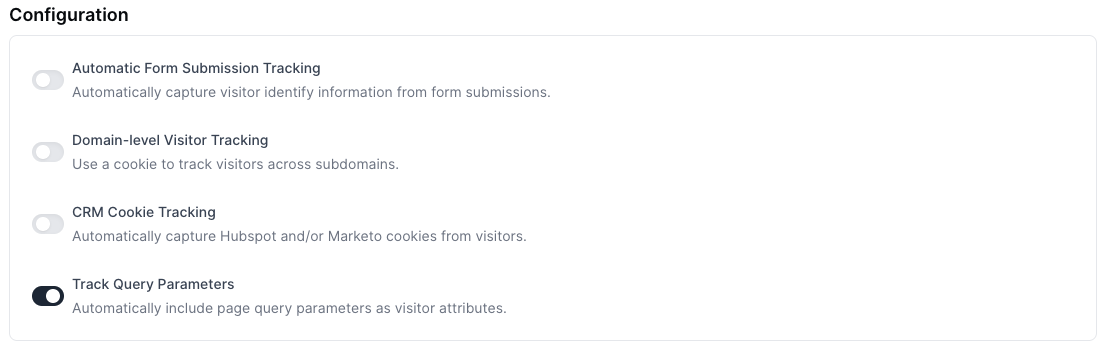
Manually Tracking UTMs
If you would prefer to manually set up UTM tracking use these steps to pass UTM parameters from the landing page URL into the iframe src URL. This step makes UTMs visible to Navattic. Once this is set up, navigate to the Flow Builder and select the CTA button that uses a Navigate to URL action > include your UTM variables using this format:?utm_medium={{utm_medium}}&utm_campaign={{utm_campaign}}
To automatically add utm_source=navattic, check the box for Add tracking params.

Passing non-standard parameters
The standard UTM set (utm_source, utm_medium, utm_campaign, utm_term, utm_content, utm_referrer) is the only set forwarded automatically when you enable Add tracking params. Parameters outside this set — such as Google Ads click parameters (gad_source, gbraid, gclid) or any custom attribution params — are not auto-forwarded and require a manual placeholder setup.
Set up a custom property placeholder
Create a custom property
In your Navattic workspace, go to Settings > Custom properties and create a new property for each non-standard parameter you want to carry (for example,
gad_source).Pass the value in the iframe src
On the page where your demo is embedded, append the parameter to the iframe If you use a tag manager, populate the value dynamically from the page URL before injecting it into the src.
src URL so Navattic can read it:Reference the property as a placeholder on your CTA button
In the Flow Builder, open the Navigate to URL action on your CTA button and include the property as a placeholder:
https://your-destination.com/register?gad_source={gad_source}Navattic substitutes {gad_source} with the value that was passed in via the iframe src.Empty-parameter behavior
When a placeholder resolves to an empty value — for example, if a visitor arrives without agad_source param in the page URL — Navattic substitutes an empty string, producing a URL like:
https://your-destination.com/register?gad_source=
Navattic does not strip parameters with empty values. If you need to omit the parameter entirely when no value is present, handle the conditional logic before it reaches the iframe. The most common approach is to build the full query string conditionally in Google Tag Manager and pass the result as a single custom property:
- In GTM, create a variable that reads
gad_sourcefrom the page URL. - Write a custom JavaScript variable that returns
&gad_source=VALUEonly when the value is non-empty, or an empty string otherwise. - Concatenate this output into the iframe
srcbefore injecting it into the page.
Tracking CRM Cookies
If you are using a Hubspot or Marketo cookie on your marketing site, Navattic JS can associate the cookie when identifying Visitors. This can make it easier to route Visitor and engagement data to these CRMs. To include CRM cookies when identifying visitors, enable the Navattic JSCRM Cookie Tracking.
Benefits of Identifying visitors
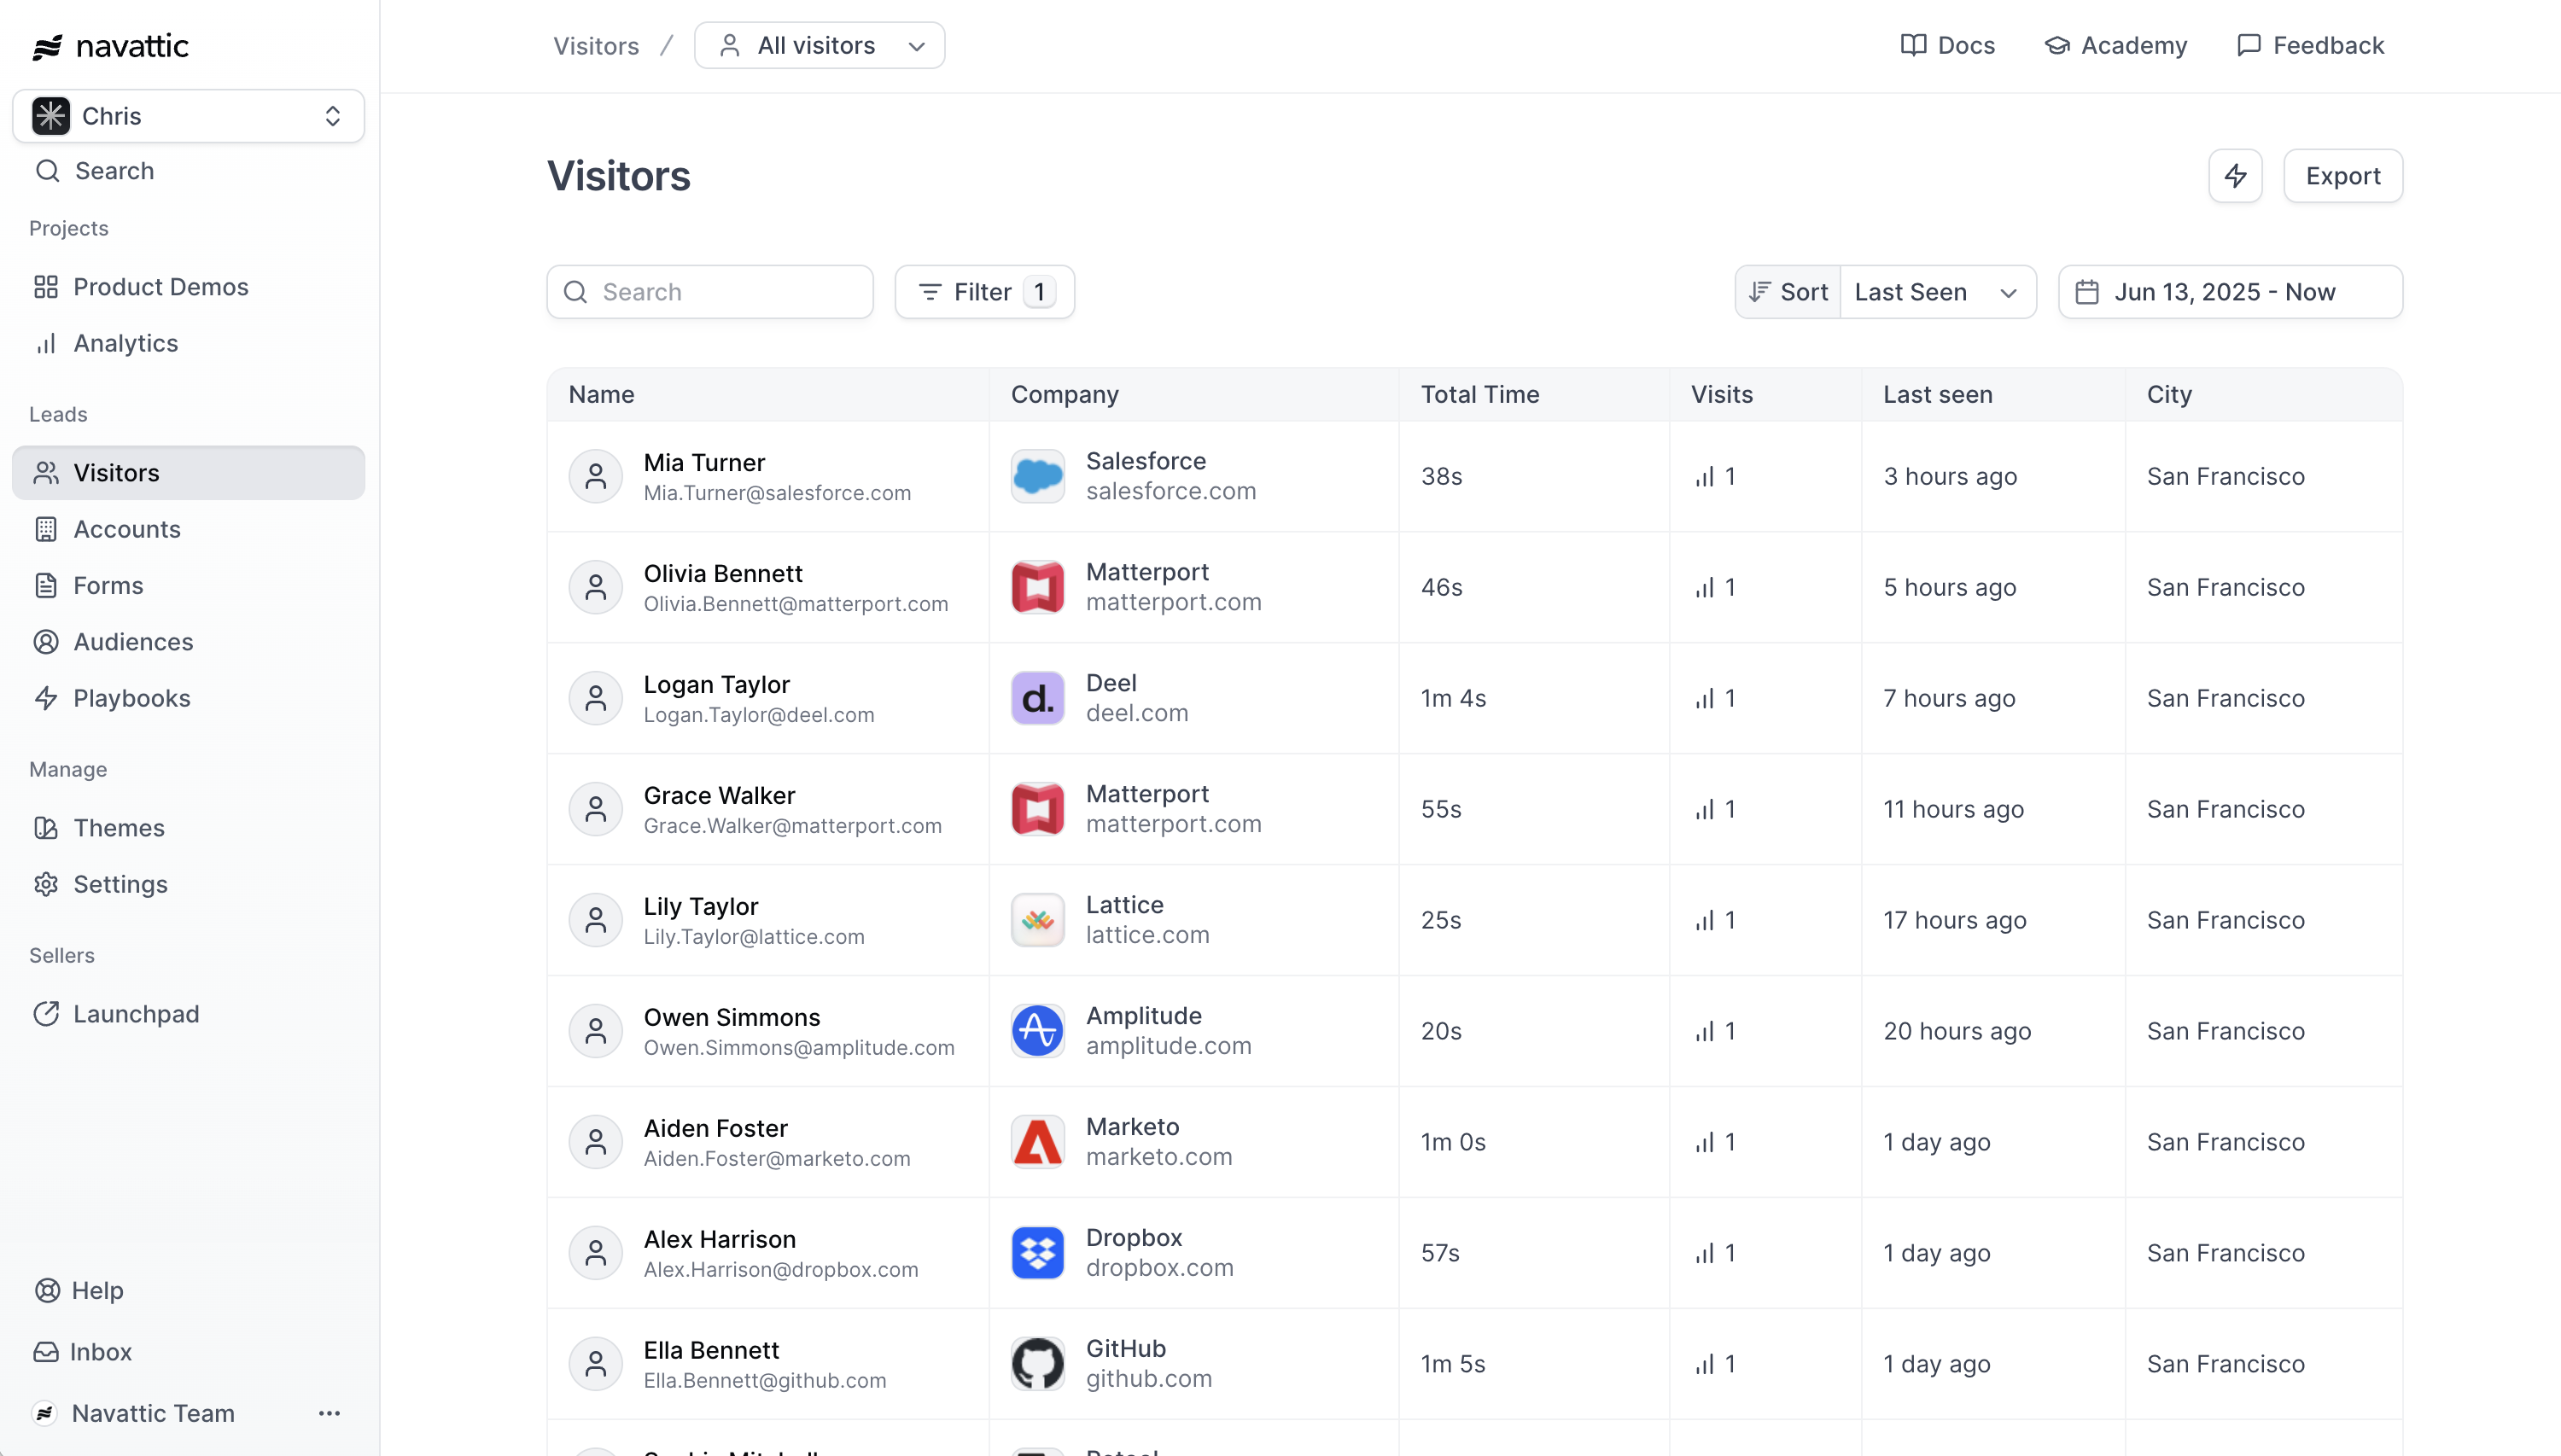
Once a Visitor is identified, you can:- Connect demo engagement data with the correct Visitor record in the Visitors tab
- Send combined visitor and demo engagement data to third-party platforms for additional analysis (ex. see in Hubspot, “Jessica at Navattic viewed 8 steps of the Get Started Product Tour”)
- Personalize demos for the visitor (ex., “Hi, , welcome to your demo!”)
- Prioritize your most engaged Accounts in ABM strategies
- See which demos the Account interacted with to prepare relevant resources
- Send this data to Slack, Salesforce, or Hubspot to alert the right teams
If a visitor is identified by email, their associated account is always visible in the Visitors tab — even if Account Based Engagement (ABE) is not enabled on your workspace.