> ## Documentation Index
> Fetch the complete documentation index at: https://docs.navattic.com/llms.txt
> Use this file to discover all available pages before exploring further.
# Teams
> Organize workspace members into teams and control their access to demos.
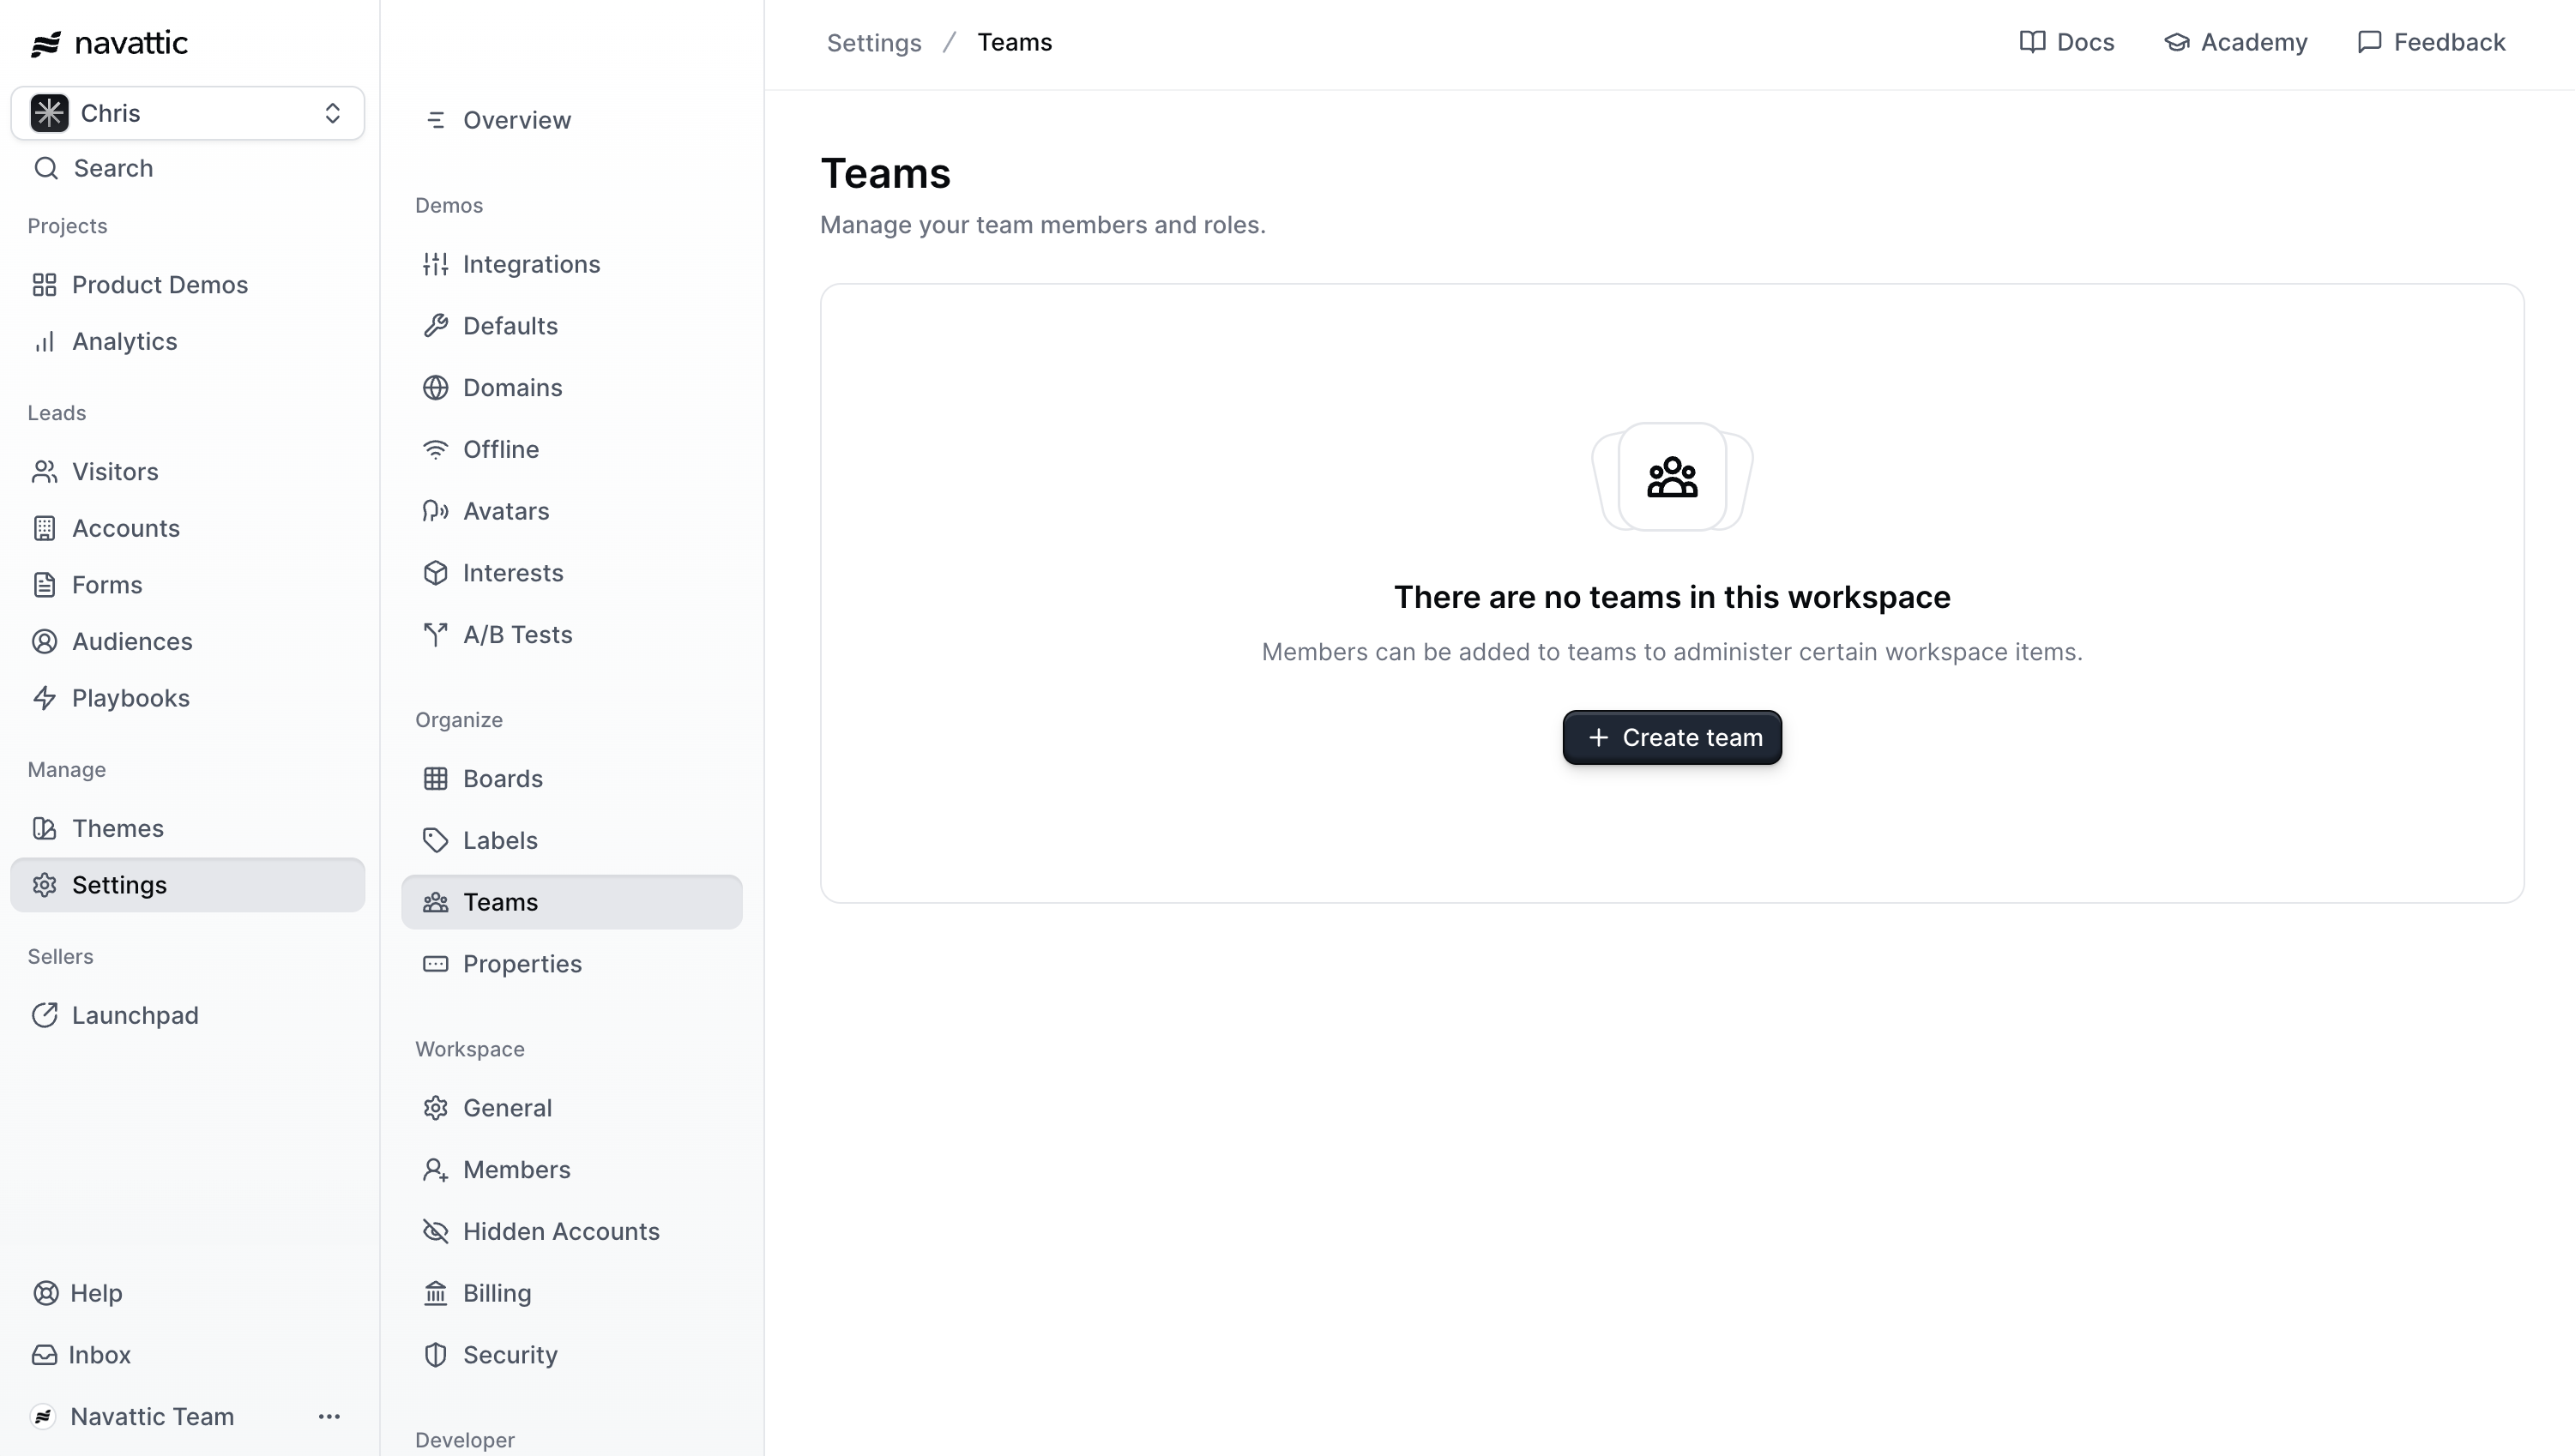 Teams let you group workspace members together and control which demos and boards each group can access. Each team member is assigned a role that determines what they can do within that team.
## Creating a team
Navigate to **Settings** > **Teams** and click **Create team**.
Enter a **Name** for the team — something recognizable for your organization, such as "Sales Team" or "North America Sales."
Optionally add a **Description** to explain the team's purpose. This helps other admins understand the team's scope at a glance.
Click **Create** to save. You'll be taken directly to the team's detail page.
## Managing team members
From a team's detail page, you can add members, assign roles, and remove members.
### Adding members
Click **Add member** from the team detail page. In the modal:
1. Select one or more workspace members from the **User(s)** list.
2. Choose a **Role** to assign to all selected members. The role controls what each member can do within Navattic:
| Role | What they can do |
| ----------- | ----------------------------------------------------------- |
| **Admin** | Full access: manage settings, publish demos, invite members |
| **Builder** | Create and edit demos, manage flows |
| **Viewer** | View and share demos; no editing access |
Click **Add users** to confirm.
### Changing a member's role
On the team detail page, click the role chip next to any member's name to open a dropdown. Select a new role — the change takes effect immediately.
Launchpad Rep members are automatically assigned the Launchpad Rep role and cannot have their role changed from the team settings page.
### Designating a manager
Workspace admins can designate any Launchpad Rep as a **Manager** on a team. Managers get access to the Launchpad Analyze pages — including Sharing activity, Buyer interest, and Sales impact — which are otherwise restricted to workspace admins.
To toggle manager status, open the team detail page, find the rep, and use the **Manager** toggle next to their name. The change takes effect immediately.
### Removing a member
Click **Remove** next to a member's name on the team detail page. Removing a member from a team does not remove them from the workspace.
### Searching members
Use the search bar at the top of the team detail page to filter members by name or email.
## Controlling demo access with teams
Teams work with [boards](/workspace/boards) to restrict which demos groups of users can see.
Go to the **Boards** page and click **Edit** on the board you want to restrict.
Set the **Access level** to **Team** and select the team you want to grant access to.
Click **Save**. The board — and all demos it contains — will now only be visible to members of the selected team.
Team-scoped boards can include any type of demo — Interactive Demos, Launchpad boards, or a mix. You do not need a Launchpad-only workspace to restrict board access to a team.
## Editing a team
To change a team's name or description, open the team detail page and click **Team settings** in the top right. Update the name or description and save.
## Managing workspace roles
Navigate to **Settings** > **Roles** to view and manage the roles in your workspace.
The redesigned Roles settings page shows each role and its permissions in a table. You can see at a glance what each role can do across areas like demo building, publishing, sharing, and workspace administration.
### Theme permission
All workspaces can control which roles have access to themes. On any role's detail page, use the **Themes** permission toggle to allow or restrict that role from viewing and applying themes. When theme permission is off for a role, members in that role will not see the Themes section in the sidebar.
### Enhanced permissions
Creating or fully editing custom roles requires **Enhanced permissions**, available on the Enterprise plan. Without enhanced permissions, the Roles settings page is read-only — you can view the default role configuration but cannot modify it beyond the theme permission toggle.
To upgrade, visit **Settings** > **Billing** or contact your account team.
## Frequently asked questions
Yes. Workspace members can be added to multiple teams, each with a different role if needed.
Removing a member from the workspace does not automatically remove them from any teams they belong to. If you see an error related to a removed member on the Teams page, contact support to have the underlying data cleaned up.
Team limits depend on your plan. If you have reached your team limit, you'll see a notice on the Teams settings page. Contact sales to request an increase.
Teams let you group workspace members together and control which demos and boards each group can access. Each team member is assigned a role that determines what they can do within that team.
## Creating a team
Navigate to **Settings** > **Teams** and click **Create team**.
Enter a **Name** for the team — something recognizable for your organization, such as "Sales Team" or "North America Sales."
Optionally add a **Description** to explain the team's purpose. This helps other admins understand the team's scope at a glance.
Click **Create** to save. You'll be taken directly to the team's detail page.
## Managing team members
From a team's detail page, you can add members, assign roles, and remove members.
### Adding members
Click **Add member** from the team detail page. In the modal:
1. Select one or more workspace members from the **User(s)** list.
2. Choose a **Role** to assign to all selected members. The role controls what each member can do within Navattic:
| Role | What they can do |
| ----------- | ----------------------------------------------------------- |
| **Admin** | Full access: manage settings, publish demos, invite members |
| **Builder** | Create and edit demos, manage flows |
| **Viewer** | View and share demos; no editing access |
Click **Add users** to confirm.
### Changing a member's role
On the team detail page, click the role chip next to any member's name to open a dropdown. Select a new role — the change takes effect immediately.
Launchpad Rep members are automatically assigned the Launchpad Rep role and cannot have their role changed from the team settings page.
### Designating a manager
Workspace admins can designate any Launchpad Rep as a **Manager** on a team. Managers get access to the Launchpad Analyze pages — including Sharing activity, Buyer interest, and Sales impact — which are otherwise restricted to workspace admins.
To toggle manager status, open the team detail page, find the rep, and use the **Manager** toggle next to their name. The change takes effect immediately.
### Removing a member
Click **Remove** next to a member's name on the team detail page. Removing a member from a team does not remove them from the workspace.
### Searching members
Use the search bar at the top of the team detail page to filter members by name or email.
## Controlling demo access with teams
Teams work with [boards](/workspace/boards) to restrict which demos groups of users can see.
Go to the **Boards** page and click **Edit** on the board you want to restrict.
Set the **Access level** to **Team** and select the team you want to grant access to.
Click **Save**. The board — and all demos it contains — will now only be visible to members of the selected team.
Team-scoped boards can include any type of demo — Interactive Demos, Launchpad boards, or a mix. You do not need a Launchpad-only workspace to restrict board access to a team.
## Editing a team
To change a team's name or description, open the team detail page and click **Team settings** in the top right. Update the name or description and save.
## Managing workspace roles
Navigate to **Settings** > **Roles** to view and manage the roles in your workspace.
The redesigned Roles settings page shows each role and its permissions in a table. You can see at a glance what each role can do across areas like demo building, publishing, sharing, and workspace administration.
### Theme permission
All workspaces can control which roles have access to themes. On any role's detail page, use the **Themes** permission toggle to allow or restrict that role from viewing and applying themes. When theme permission is off for a role, members in that role will not see the Themes section in the sidebar.
### Enhanced permissions
Creating or fully editing custom roles requires **Enhanced permissions**, available on the Enterprise plan. Without enhanced permissions, the Roles settings page is read-only — you can view the default role configuration but cannot modify it beyond the theme permission toggle.
To upgrade, visit **Settings** > **Billing** or contact your account team.
## Frequently asked questions
Yes. Workspace members can be added to multiple teams, each with a different role if needed.
Removing a member from the workspace does not automatically remove them from any teams they belong to. If you see an error related to a removed member on the Teams page, contact support to have the underlying data cleaned up.
Team limits depend on your plan. If you have reached your team limit, you'll see a notice on the Teams settings page. Contact sales to request an increase.