Invite members
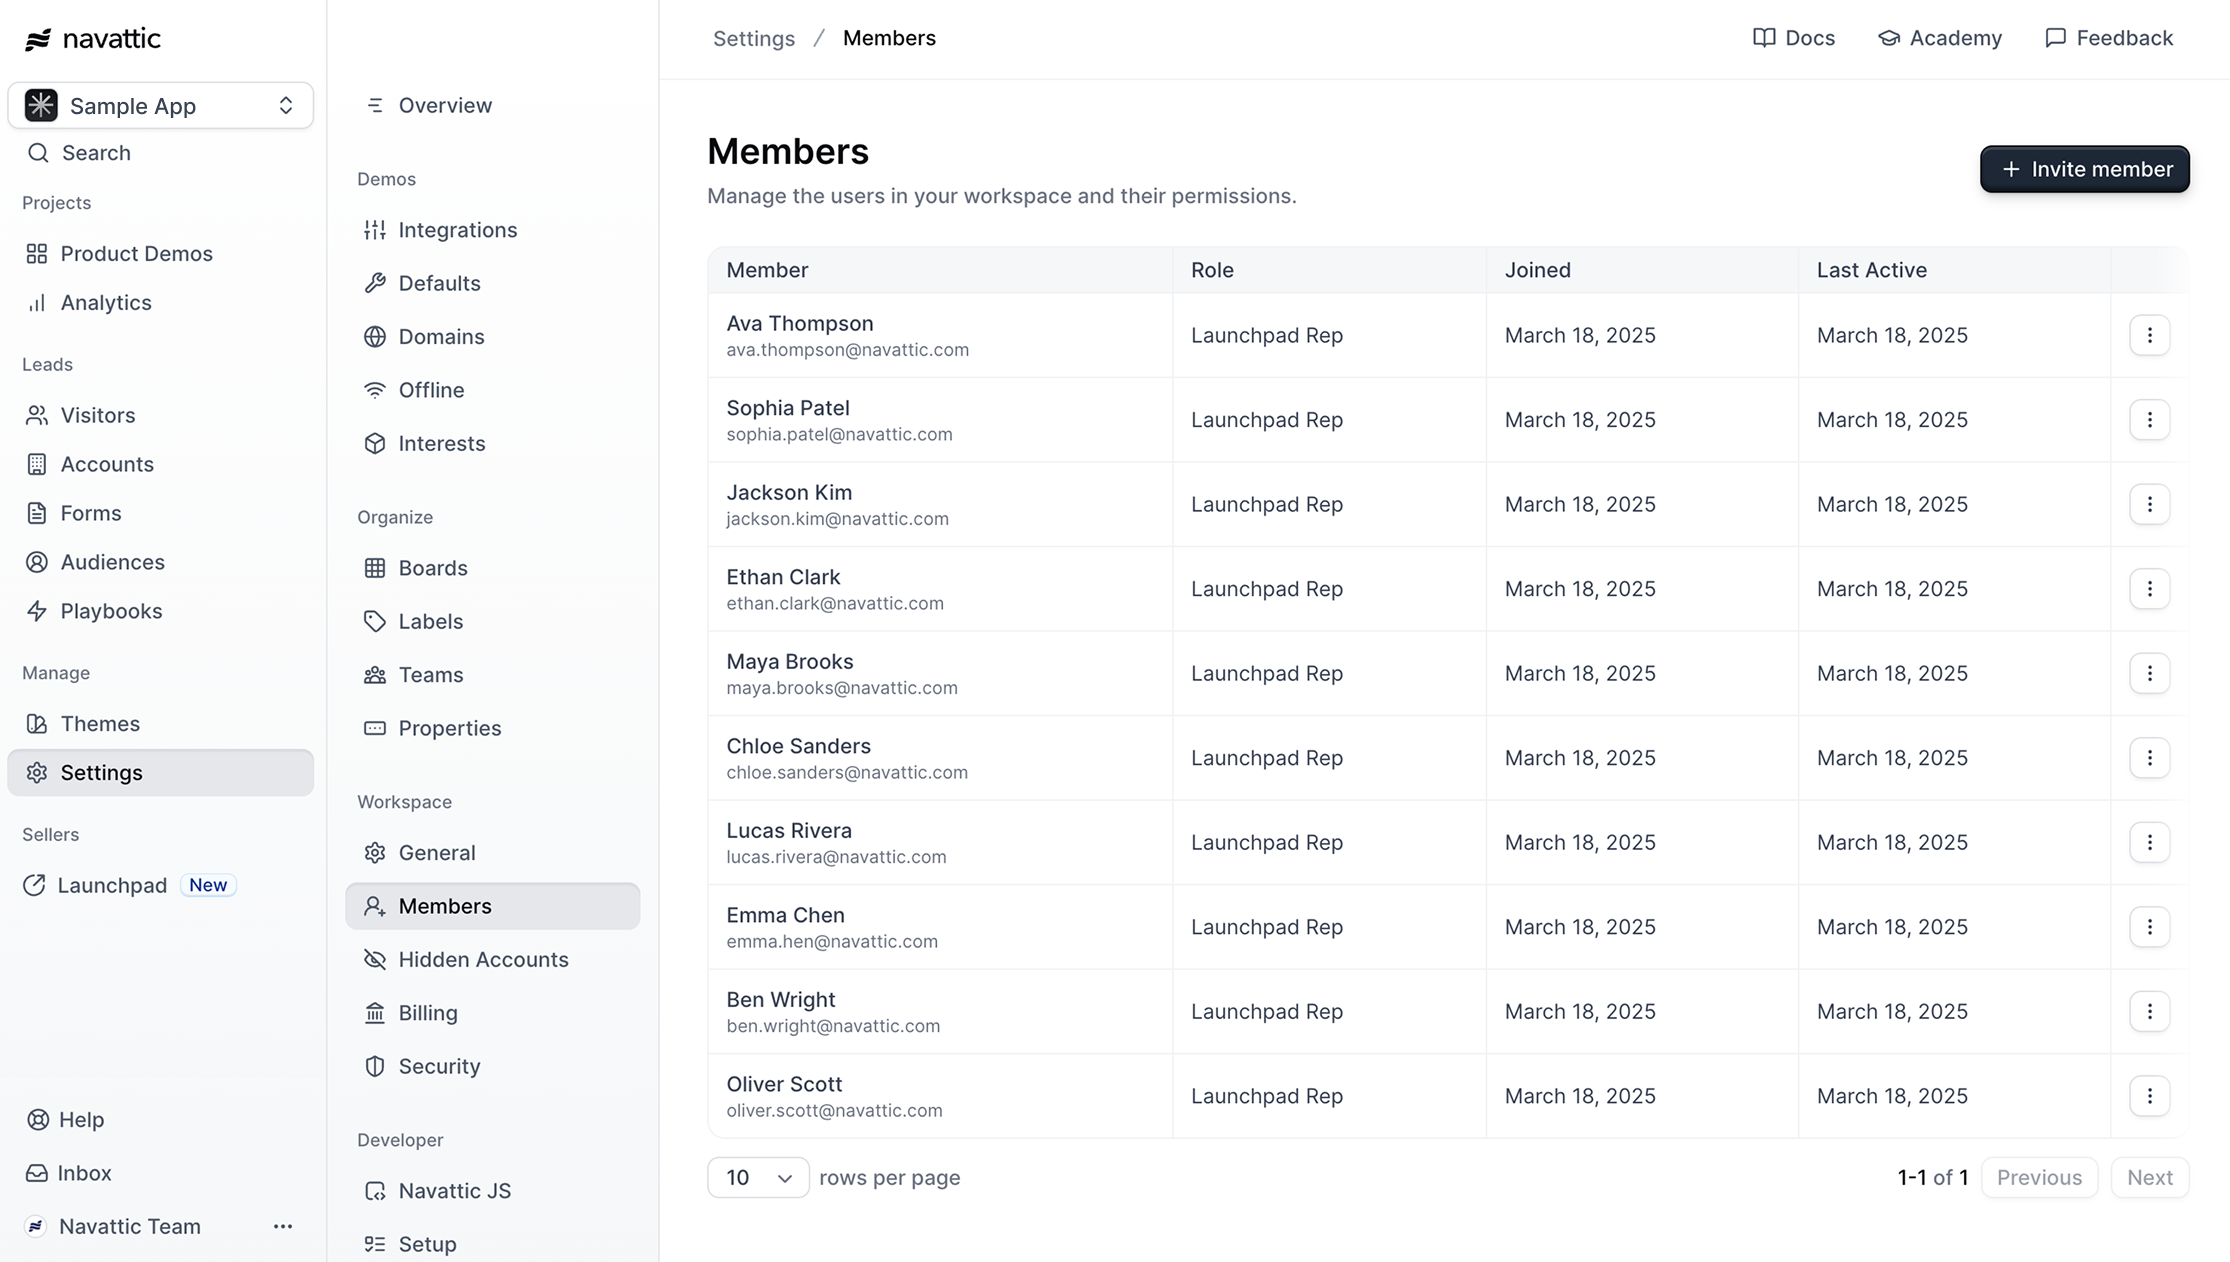
To invite a new colleague to your workspace:- Navigate to your workspace Settings and select Members.
- Click the Invite member button.
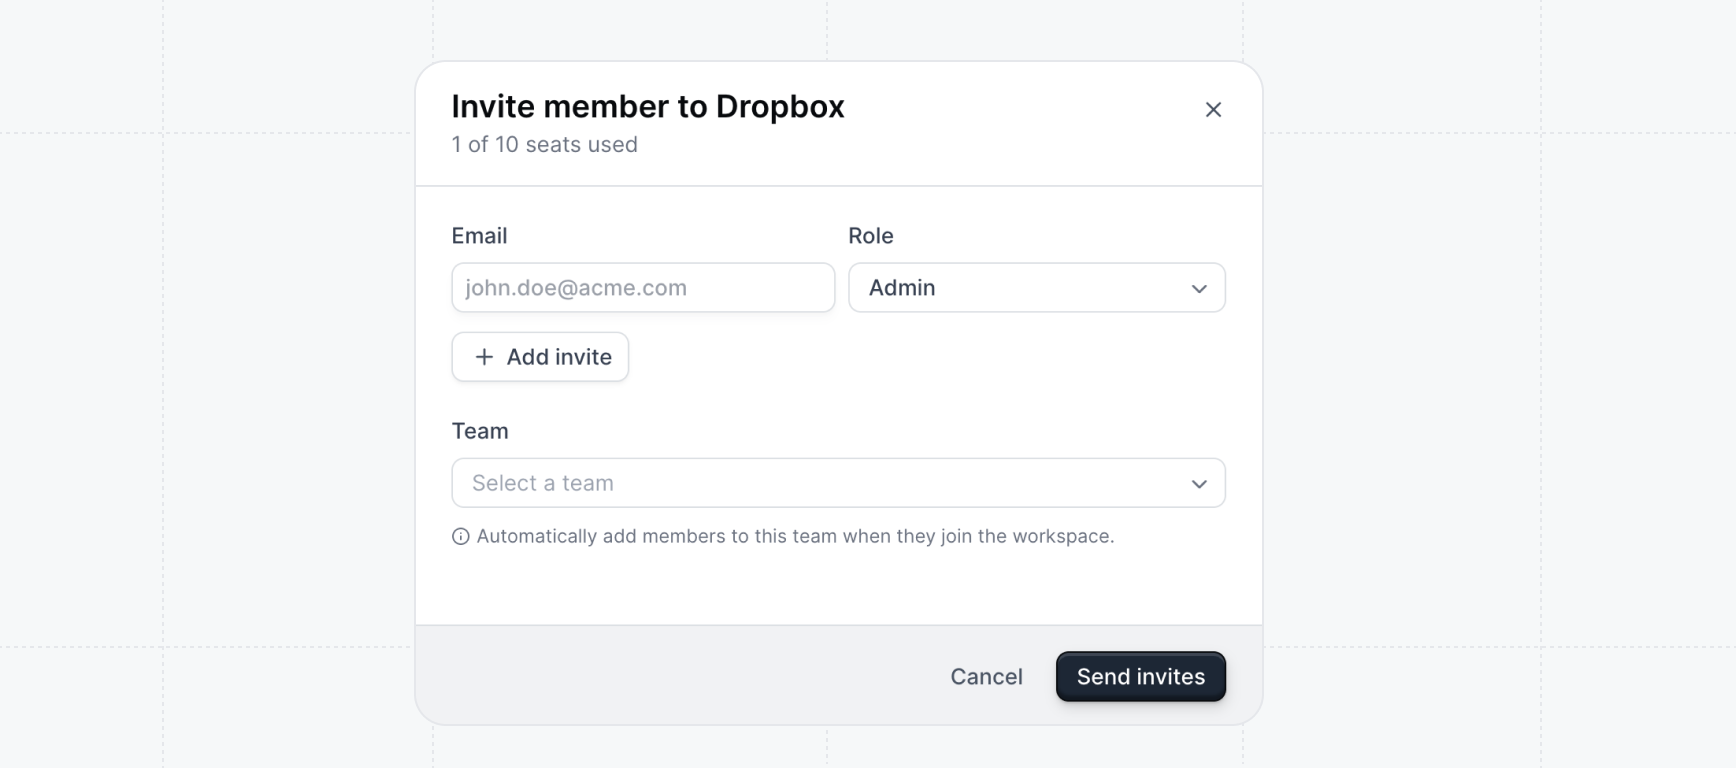
- Enter the new member’s Email and select their Role (e.g., Admin, Builder, Viewer, or Launchpad Rep).
- Choose their Platform access. You can grant access to Interactive Demos (for building and editing demos), Launchpad, or both.
- Click Add invite to invite more users at once, then click Send invites.
Bulk Invite Users
If you are onboarding a large team, you can invite multiple users at once using a CSV upload:-
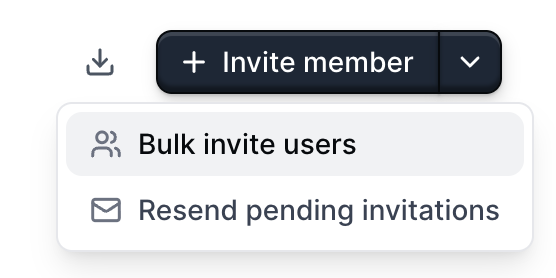
On the Members page, click the dropdown arrow next to the “Invite member” button and select Bulk invite users.
- Upload a CSV file that includes columns for Email, Role, and optionally Team.
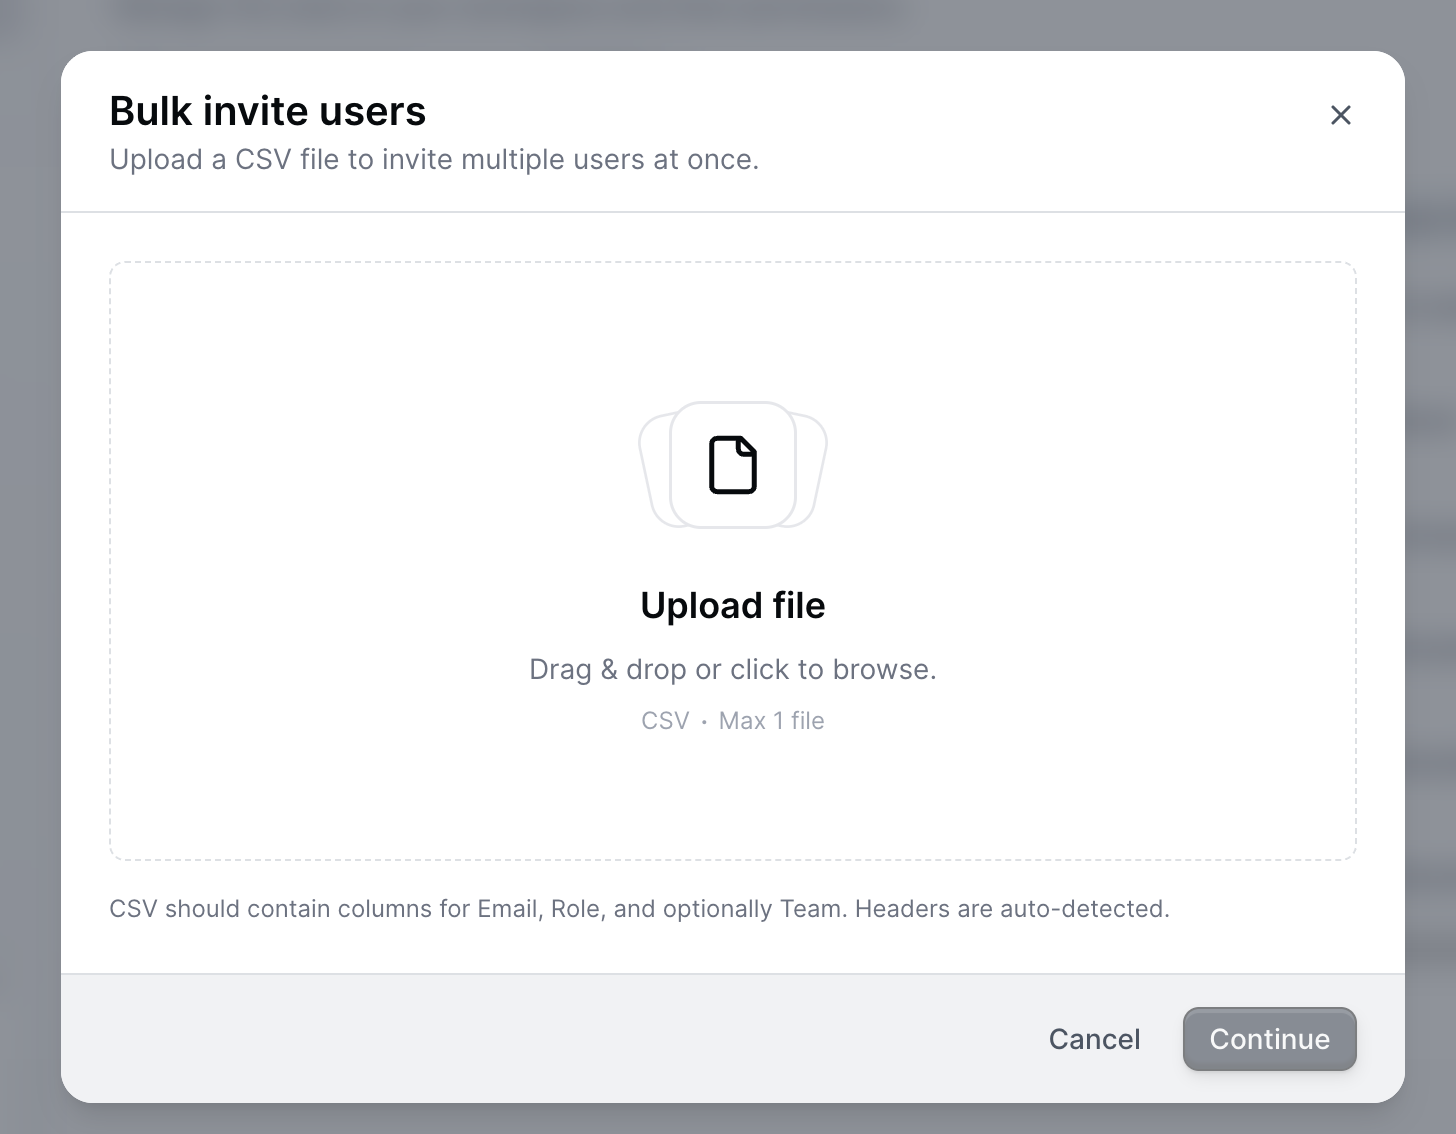
- The system will automatically attempt to map your CSV columns. You can manually adjust them if needed.
- Review the mapped users. The platform will flag any duplicate emails, invalid roles, or missing teams so you can correct them before proceeding.
- Click Invite users to send the invitations in the background.
Resend Pending Invitations
If you have members who haven’t accepted their invitation yet, you can easily resend them:- On the Members page, click the dropdown arrow next to the “Invite member” button.
- Select Resend pending invitations.
- Confirm the action.
Roles
Select the appropriate role for each member based on their responsibilities and access requirements.| Permissions | Admin | Builder | Viewer | Launchpad rep |
|---|---|---|---|---|
| Create and edit demos | x | x | ||
| View and share demos | x | x | x | x - in Launchpad |
| Add labels | x | |||
| Create boards | x | |||
| Invite new teammates | x | |||
| Update workspace settings | x | |||
| Update payment methods | x | |||
| Access to Launchpad | optional | optional | optional | x |
Setting up Directory Sync
Rolling out Navattic to a larger teams? Use directory sync to automate the provisioning and deprovisioning of users.Directory Sync
Automatically provision users and configure their roles using your organization’s identity provider, such as Okta.