> ## Documentation Index
> Fetch the complete documentation index at: https://docs.navattic.com/llms.txt
> Use this file to discover all available pages before exploring further.
# Install Navattic JS
> Install and configure the Navattic JS tracking script.
**Navattic JS** is a script that can be added to your website or application to identify and track visitors to your demos.
It's a powerful tool to track visitors since it integrates with the existing identity layer of your application or website. There are two useful ways to use Navattic JS:
Unlock significantly more identified visitors by calling `navattic.identify()` whenever you have the visitor's email.
Integrate with any tracking scripts already installed on your website by calling `navattic.onEvent()`.
## Navattic JS Setup
Follow these steps to add the Navattic JS tracking scripts to your websites and applications.
Navigate to the [Navattic JS settings](https://app.navattic.com/w/settings/js) and then follow steps to add the Navattic JS tracking scripts to your website and app.
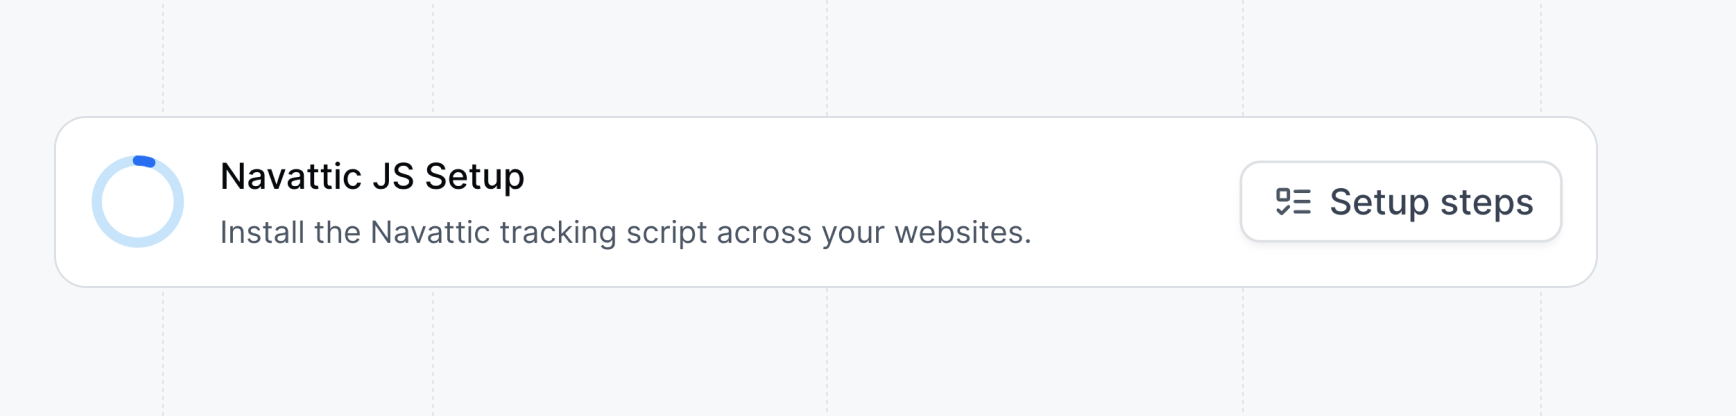 Navattic JS can be added to any website or application that you want to track.
To unlock the greatest number of identified visitors, we recommend adding Navattic JS to your app (**app.company.com**), as well as any websites hosting your demos.
Navattic JS can be added to any website or application that you want to track.
To unlock the greatest number of identified visitors, we recommend adding Navattic JS to your app (**app.company.com**), as well as any websites hosting your demos. 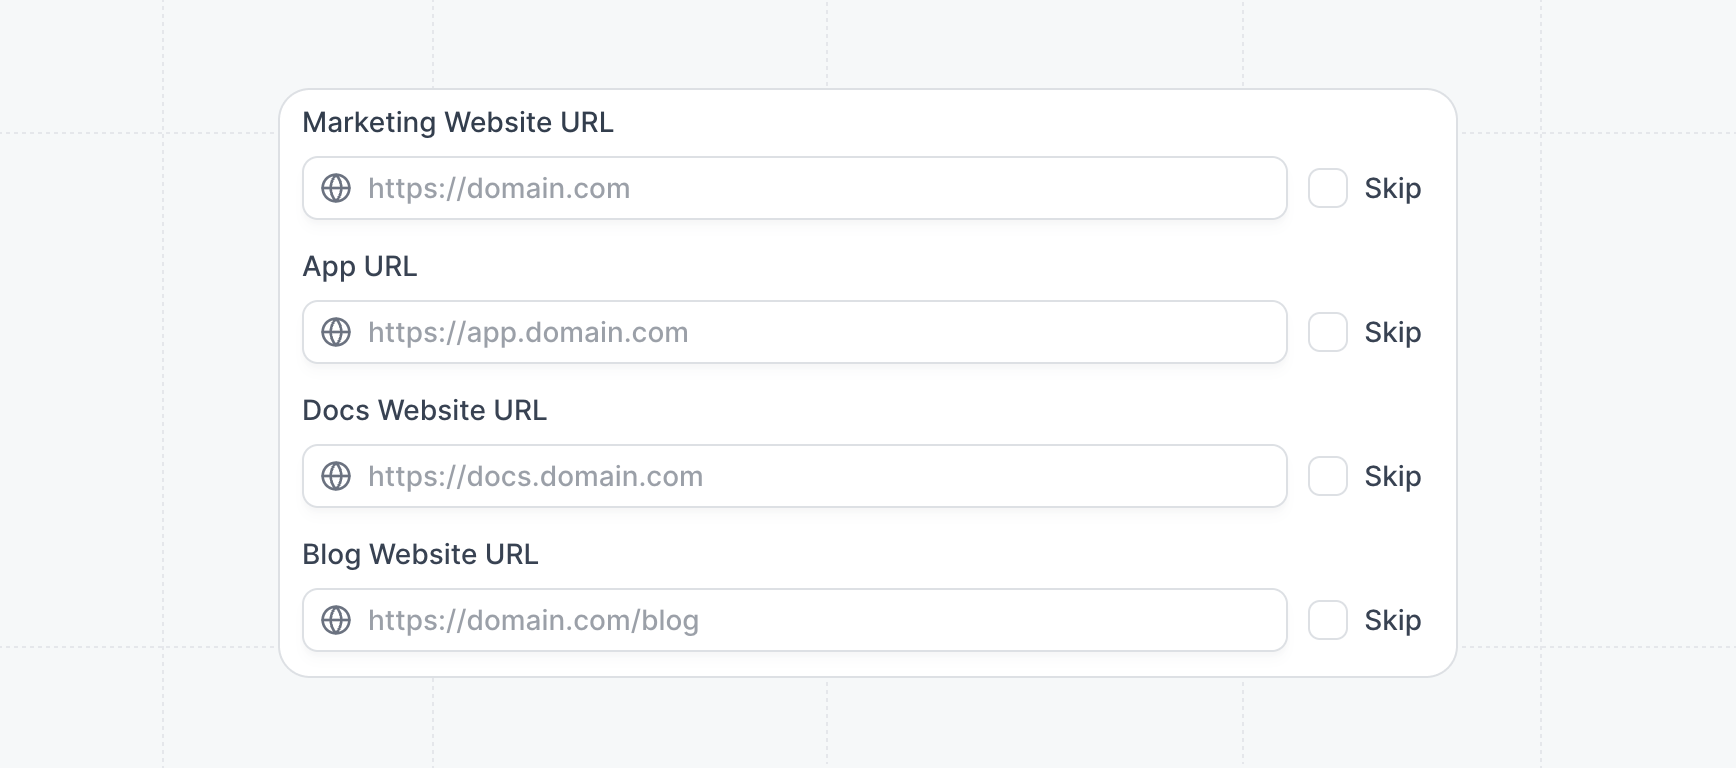 Under the `Implementation checklist`, copy the script and follow instructions to add it to the `` of your website or application.
[Calling Navattic JS Identify](#calling-navattic-js-identify) (Recommended).
Customize the behavior of Navattic JS by adjusting the configuration settings.
Automatically track visitor information from external forms embedded outside of your Navattic demo.
For example, if a Visitor completes a HubSpot form elsewhere on your marketing website, their email address will now be surfaced in the Navattic Visitors tab and available to use in Navattic Playbooks (i.e., Integrations).
See [Capturing forms in iframes](#capturing-forms-in-iframes) for details on browser and Pardot restrictions.
Track visitors across sub-domains. For example, this will allow you to track the same visitor on your marketing website (**company.com**), docs (**docs.company.com**), and blog (**blog.company.com**).
Navattic JS can automatically match demo visitors to HubSpot or Marketo contacts using existing cookies. Their demo activity will sync to your CRM, and if email capture is enabled (via automatic form submissions or JavaScript), the visitor’s email will also appear in the Navattic Visitors tab.
Automatically include page query parameters from the parent page as Navattic visitor attributes. For example, if a demo visitor views an embedded demo on `navattic.com/pricing?utm_medium=internal\&client_id=chromestore`, the parameters `utm_medium` and `client_id` will automatically turn into Visitor properties.
## Identify visitors with Navattic JS
Once you've [installed Navattic JS](#navattic-js-setup), you can call the `identify` method to anytime you have the visitor's email address available.
This identification method will be prioritized over other [automatic tracking configuration methods](#auto-form-tracking).
```javascript theme={null}
// Add to a place where user.email is available
navattic.identify({ email: user.email })
```
### FAQ
Due to browser security restrictions, [Navattic JS](/tracking/navattic-js) can’t automatically capture form submissions from iframes. For those cases, as a workaround, it is possible to add code to the form that will send the submission to the parent page so that Navattic JS can identify the visitor and associate them with the demos elsewhere on your site.
For Pardot and other form providers that allow you to include a script tag within the form, below is an example of a script that can be added to your form that will pass the form submission to Navattic JS.
Note: you may need to update the `KEYS_TO_SEND` and the element ID values of your script with values that are specific to your form configuration.
```html theme={null}
```
Under the `Implementation checklist`, copy the script and follow instructions to add it to the `` of your website or application.
[Calling Navattic JS Identify](#calling-navattic-js-identify) (Recommended).
Customize the behavior of Navattic JS by adjusting the configuration settings.
Automatically track visitor information from external forms embedded outside of your Navattic demo.
For example, if a Visitor completes a HubSpot form elsewhere on your marketing website, their email address will now be surfaced in the Navattic Visitors tab and available to use in Navattic Playbooks (i.e., Integrations).
See [Capturing forms in iframes](#capturing-forms-in-iframes) for details on browser and Pardot restrictions.
Track visitors across sub-domains. For example, this will allow you to track the same visitor on your marketing website (**company.com**), docs (**docs.company.com**), and blog (**blog.company.com**).
Navattic JS can automatically match demo visitors to HubSpot or Marketo contacts using existing cookies. Their demo activity will sync to your CRM, and if email capture is enabled (via automatic form submissions or JavaScript), the visitor’s email will also appear in the Navattic Visitors tab.
Automatically include page query parameters from the parent page as Navattic visitor attributes. For example, if a demo visitor views an embedded demo on `navattic.com/pricing?utm_medium=internal\&client_id=chromestore`, the parameters `utm_medium` and `client_id` will automatically turn into Visitor properties.
## Identify visitors with Navattic JS
Once you've [installed Navattic JS](#navattic-js-setup), you can call the `identify` method to anytime you have the visitor's email address available.
This identification method will be prioritized over other [automatic tracking configuration methods](#auto-form-tracking).
```javascript theme={null}
// Add to a place where user.email is available
navattic.identify({ email: user.email })
```
### FAQ
Due to browser security restrictions, [Navattic JS](/tracking/navattic-js) can’t automatically capture form submissions from iframes. For those cases, as a workaround, it is possible to add code to the form that will send the submission to the parent page so that Navattic JS can identify the visitor and associate them with the demos elsewhere on your site.
For Pardot and other form providers that allow you to include a script tag within the form, below is an example of a script that can be added to your form that will pass the form submission to Navattic JS.
Note: you may need to update the `KEYS_TO_SEND` and the element ID values of your script with values that are specific to your form configuration.
```html theme={null}
```