> ## Documentation Index
> Fetch the complete documentation index at: https://docs.navattic.com/llms.txt
> Use this file to discover all available pages before exploring further.
# Outreach
> Create and share demos from within Outreach.
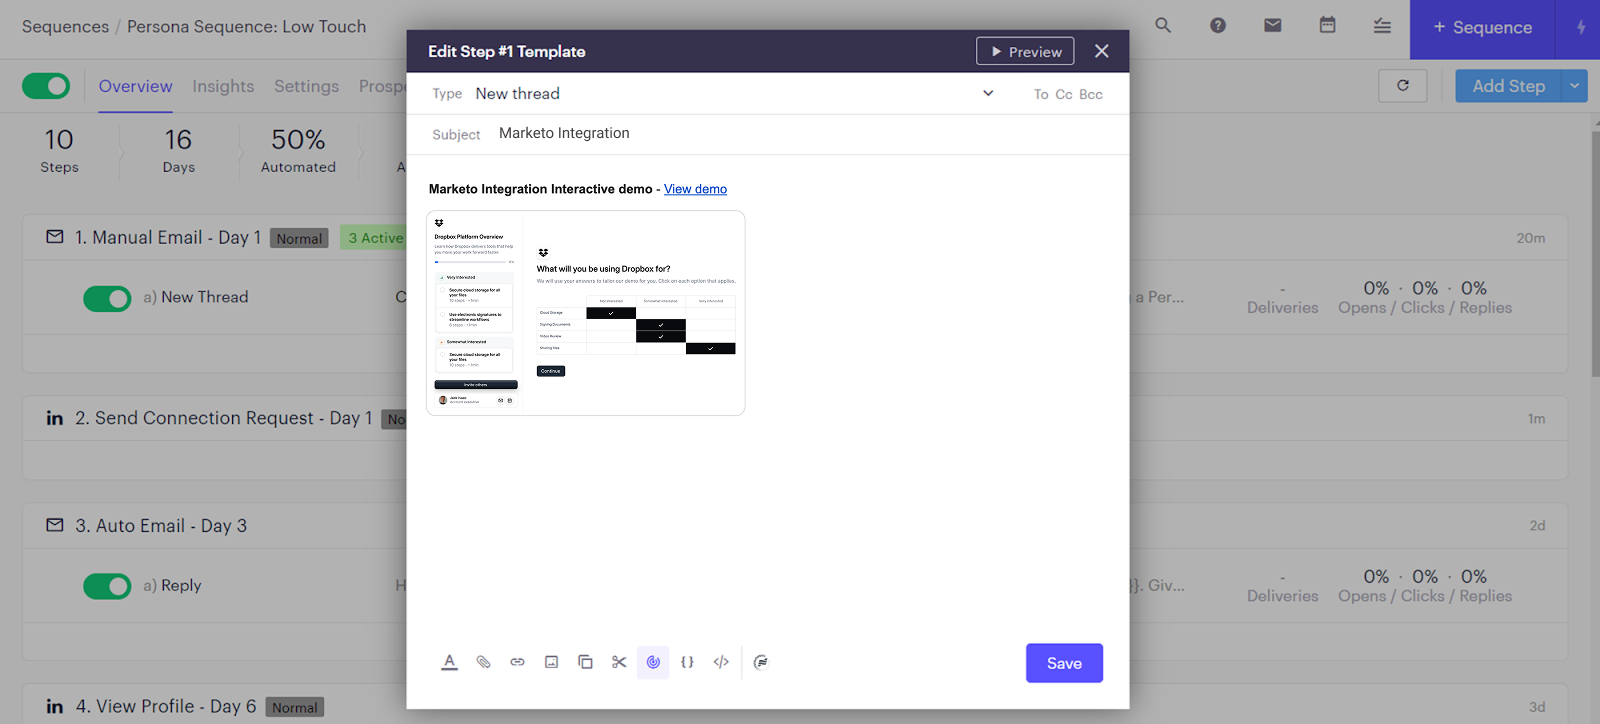 Sales reps can create and share demos from within
  **Outreach**.
To access the Outreach integration, please install the Navattic integration from the [Outreach marketplace](https://marketplace.outreach.io/apps/navattic).
}>
Download from the Outreach marketplace.
**Outreach**.
To access the Outreach integration, please install the Navattic integration from the [Outreach marketplace](https://marketplace.outreach.io/apps/navattic).
}>
Download from the Outreach marketplace.
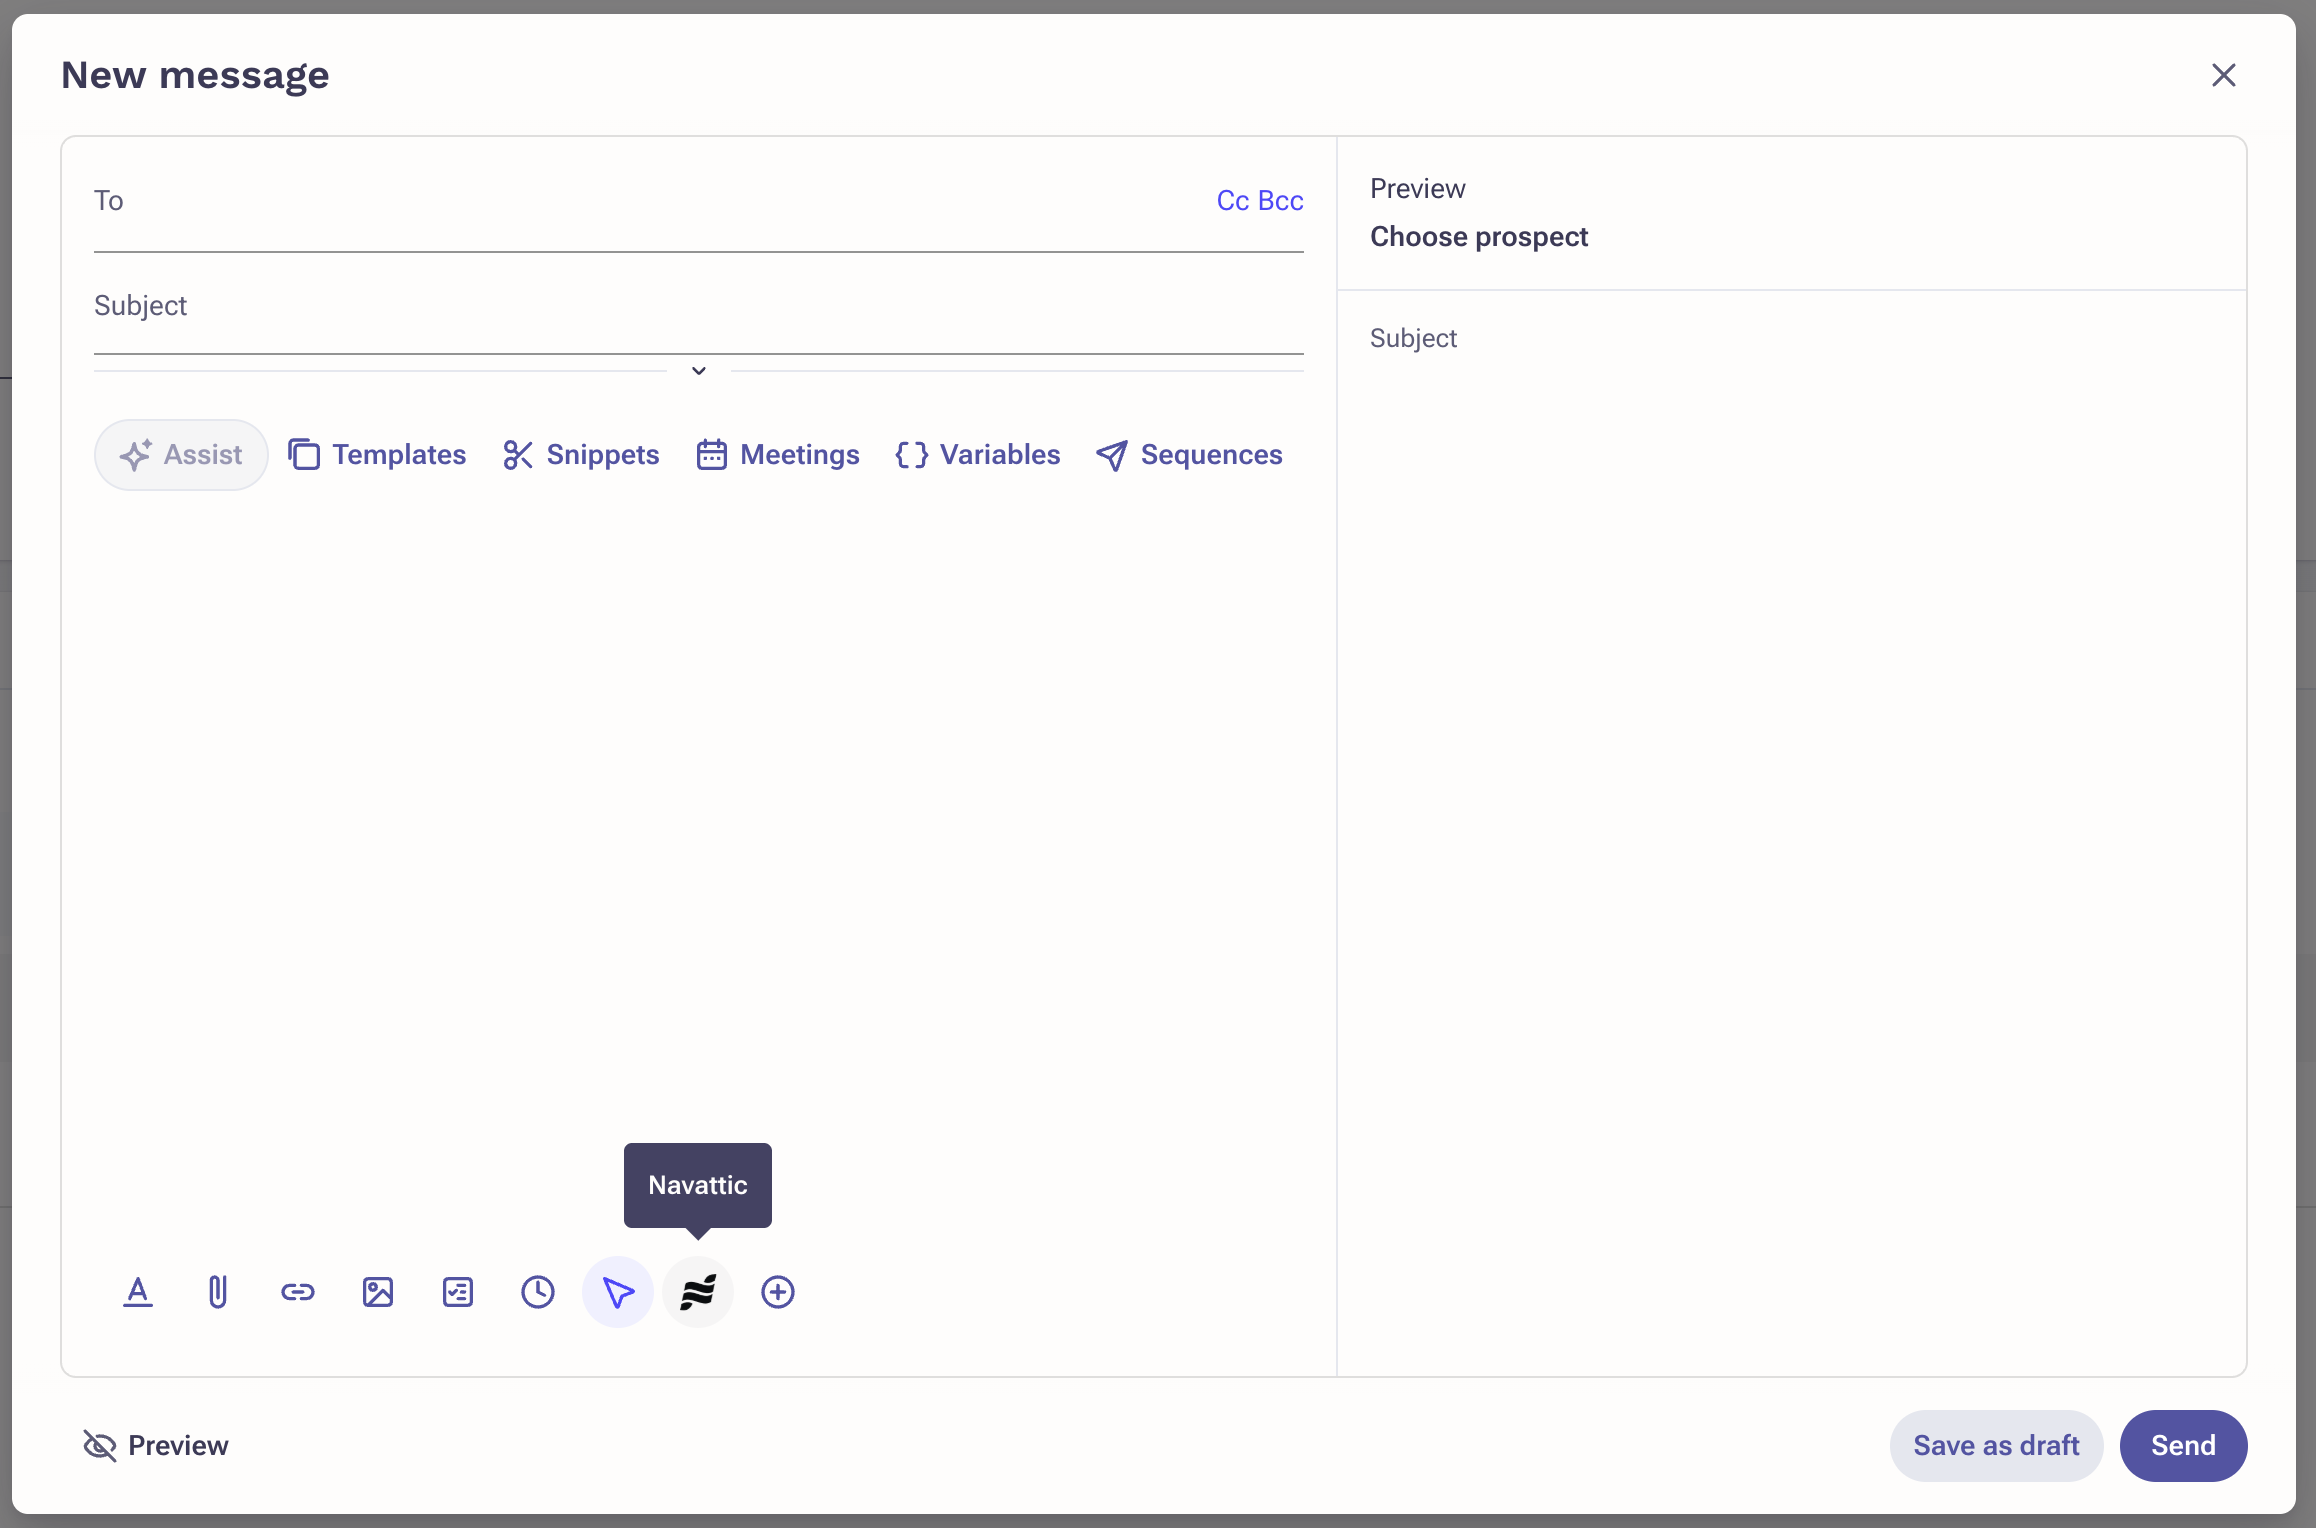 In the email compose window, click on the Navattic logo to launch the integration.
The first time you open the integration, you'll be prompted to sign in to your Navattic account. After signing in, the plugin saves your session so you won't need to sign in again on future uses.
Follow steps to create a custom demo.
After creating the demo, the demo link and preview will be injected into the email body.
## Crafting emails with demos best practices
Read best practices for crafting emails based on use cases:
In the email compose window, click on the Navattic logo to launch the integration.
The first time you open the integration, you'll be prompted to sign in to your Navattic account. After signing in, the plugin saves your session so you won't need to sign in again on future uses.
Follow steps to create a custom demo.
After creating the demo, the demo link and preview will be injected into the email body.
## Crafting emails with demos best practices
Read best practices for crafting emails based on use cases: