> ## Documentation Index
> Fetch the complete documentation index at: https://docs.navattic.com/llms.txt
> Use this file to discover all available pages before exploring further.
# Demo Library
> Access and organize all your demos in one unified library - standard demos, custom flows, and videos.
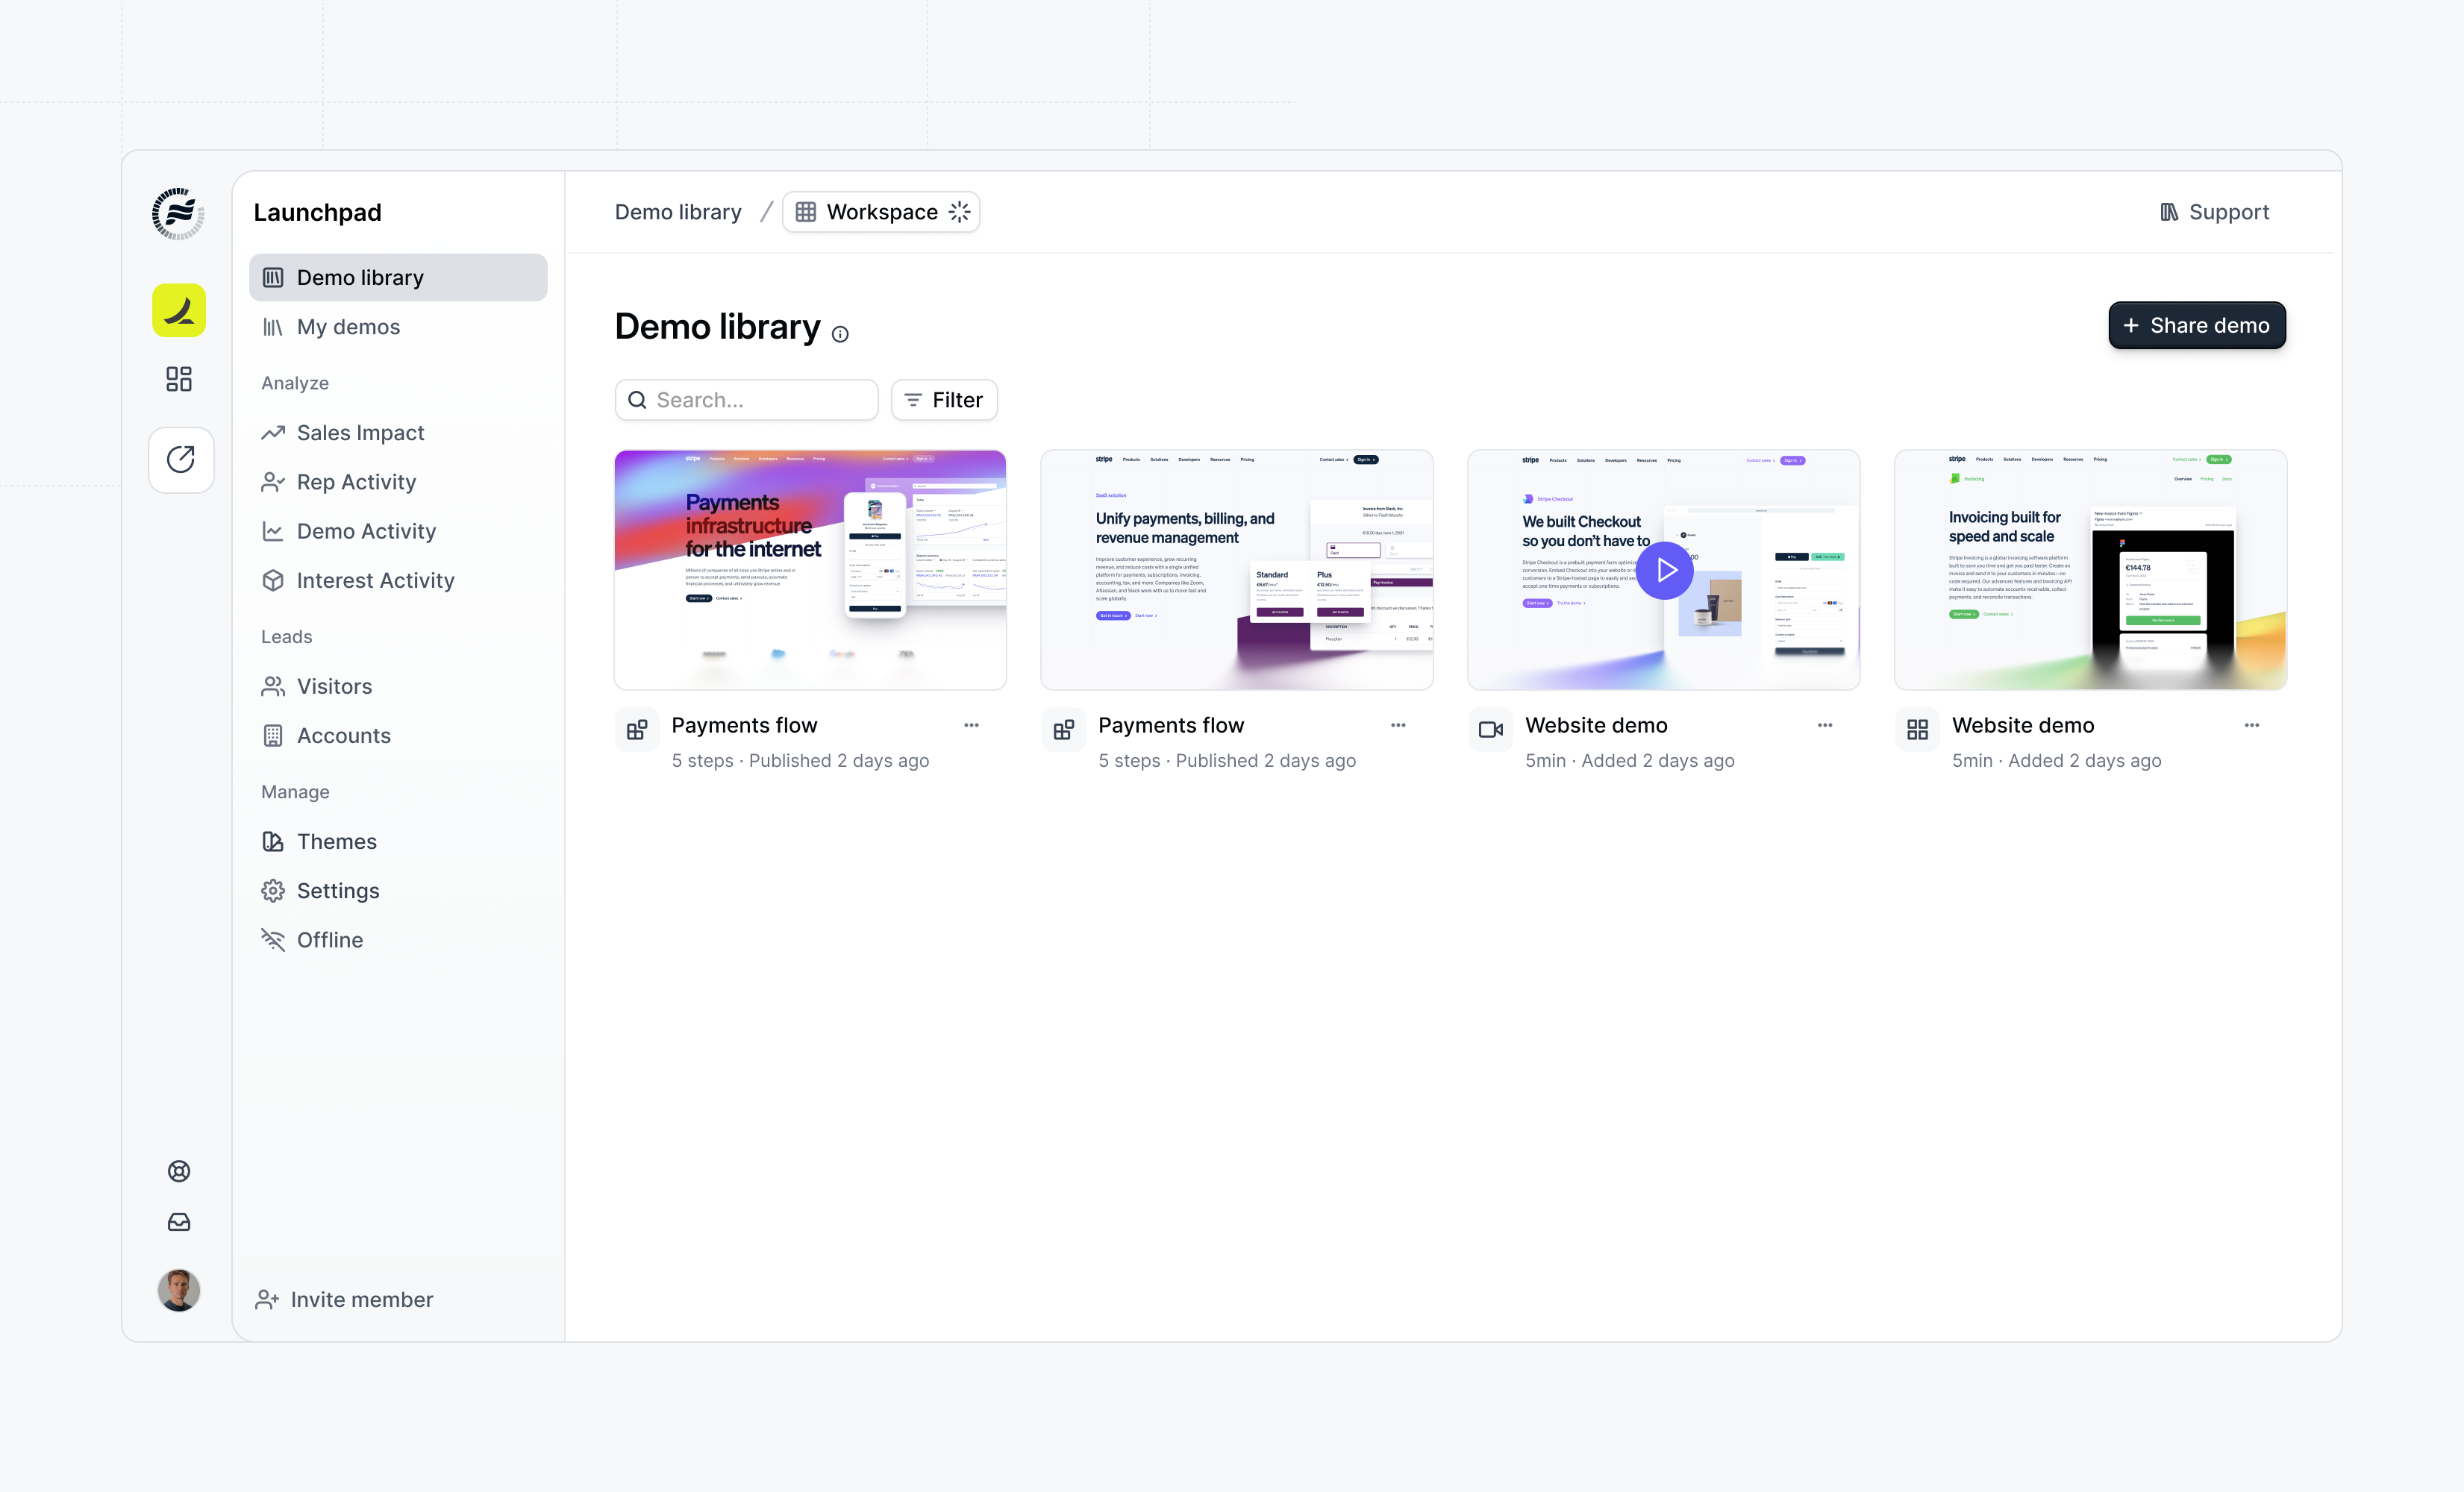 The **Demo Library** provides a unified view of all your demo content in one place. Sales teams can browse, search, and share demos without switching between different sections.
## How the Demo Library Works
### For Admins
Admins create the building blocks that reps will use:
1. **Standard Demos** - Complete, ready-to-share demos for common use cases
2. **Custom Flows** - Modular flow templates organized by interest/topic
3. **Custom Videos** - Video content that can be combined with flows
### For Reps
Reps access the Demo Library to:
* Browse all available demo content in one unified view
* Search and filter by interest, tags, or keywords
* View demo metadata and descriptions
* Share standard demos directly, or assemble custom demos from flows and videos
Reps can assemble multiple **Custom Flows** and **Custom Videos** together to create personalized demos tailored to each prospect's interests.
## Creating Content for the Library
### Creating a Custom Flow
Custom flows are the building blocks for personalized demos. To create one:
Navigate to **Demo Library** in Launchpad and click **+ Add**.
Select **Custom Flow** from the options. Choose to create from scratch or start from an existing flow.
Configure the flow details:
* Select an **Interest** category (e.g., "Analytics", "Reporting")
* Enter a **Name** that will display in the checklist
* Add an optional **Description**
Edit and design your flow content.
Click **Publish** to make it available in the library.
### Creating a Custom Video
Videos can be combined with flows to enrich custom demos:
Navigate to **Demo Library** in Launchpad.
Click **+ Add** and select **Custom Video**.
Upload or record your video content.
Assign an **Interest** category and add **Tags** to organize your video.
Publish to make it available.
### Adding Standard Demos
Standard demos are complete projects that reps share without modification:
Create or select an existing demo project.
Add it to the Demo Library with appropriate tags and interests.
Reps can then share it directly from the library.
## How Reps Share Demos
Once content is available in the Demo Library, reps can share demos:
Learn how to share demos from Launchpad
## Next Steps
Once you've prepared your Demo Library with content, invite your sales team:
Invite reps to your Launchpad workspace
The **Demo Library** provides a unified view of all your demo content in one place. Sales teams can browse, search, and share demos without switching between different sections.
## How the Demo Library Works
### For Admins
Admins create the building blocks that reps will use:
1. **Standard Demos** - Complete, ready-to-share demos for common use cases
2. **Custom Flows** - Modular flow templates organized by interest/topic
3. **Custom Videos** - Video content that can be combined with flows
### For Reps
Reps access the Demo Library to:
* Browse all available demo content in one unified view
* Search and filter by interest, tags, or keywords
* View demo metadata and descriptions
* Share standard demos directly, or assemble custom demos from flows and videos
Reps can assemble multiple **Custom Flows** and **Custom Videos** together to create personalized demos tailored to each prospect's interests.
## Creating Content for the Library
### Creating a Custom Flow
Custom flows are the building blocks for personalized demos. To create one:
Navigate to **Demo Library** in Launchpad and click **+ Add**.
Select **Custom Flow** from the options. Choose to create from scratch or start from an existing flow.
Configure the flow details:
* Select an **Interest** category (e.g., "Analytics", "Reporting")
* Enter a **Name** that will display in the checklist
* Add an optional **Description**
Edit and design your flow content.
Click **Publish** to make it available in the library.
### Creating a Custom Video
Videos can be combined with flows to enrich custom demos:
Navigate to **Demo Library** in Launchpad.
Click **+ Add** and select **Custom Video**.
Upload or record your video content.
Assign an **Interest** category and add **Tags** to organize your video.
Publish to make it available.
### Adding Standard Demos
Standard demos are complete projects that reps share without modification:
Create or select an existing demo project.
Add it to the Demo Library with appropriate tags and interests.
Reps can then share it directly from the library.
## How Reps Share Demos
Once content is available in the Demo Library, reps can share demos:
Learn how to share demos from Launchpad
## Next Steps
Once you've prepared your Demo Library with content, invite your sales team:
Invite reps to your Launchpad workspace