> ## Documentation Index
> Fetch the complete documentation index at: https://docs.navattic.com/llms.txt
> Use this file to discover all available pages before exploring further.

# Webhook

> Send demo events to custom webhooks for flexible integration with any system.

export const MediaCard = ({title = '', url, type = 'demo'}) => {
  const attributes = type === 'demo' ? {
    'data-navattic-open': url,
    'data-navattic-title': title
  } : {
    'data-video': url
  };
  return <div {...attributes} className="hidden md:inline-block w-auto cursor-pointer overflow-hidden rounded-lg border border-gray-200 dark:border-gray-700 shadow-sm">
<div className="flex items-center gap-3 bg-white dark:bg-gray-800 px-3 py-2">
<div className={`flex h-7 w-7 items-center justify-center rounded-md ${type === 'video' ? 'bg-blue-100 dark:bg-blue-900' : 'bg-orange-100 dark:bg-orange-900'}`} style={{
    backgroundColor: type === 'video' ? 'var(--video-bg)' : 'var(--demo-bg)'
  }}>
<Icon icon={type === 'video' ? 'circle-play' : 'square-mouse-pointer'} color={type === 'video' ? 'var(--video-icon)' : 'var(--demo-icon)'} />
</div>
<div>
<div className="text-sm font-medium text-gray-900 dark:text-gray-100">
{type === 'video' ? 'Watch video' : 'Try a demo'}
</div>
<div className="text-sm text-gray-500 dark:text-gray-400">{title}</div>
</div>
</div>
<style jsx>{`
  :root {
    --video-bg: #dbeafe;
    --video-icon: #2563eb;
    --demo-bg: #ffedd5;
    --demo-icon: #ea580c;
  }
  :global(.dark) {
    --video-bg: #1e3a8a;
    --video-icon: #60a5fa;
    --demo-bg: #7c2d12;
    --demo-icon: #fb923c;
  }
`}</style>
</div>;
};

<Frame>
  <img className="overflow-hidden rounded-xl border" src="https://mintcdn.com/navattic-app/KyLVfu_TECs3vwBD/images/webhook.png?fit=max&auto=format&n=KyLVfu_TECs3vwBD&q=85&s=f2bd638f4c704b7ca0784b2fd889f84f" alt="Webhook integration" width="1736" height="768" data-path="images/webhook.png" />
</Frame>

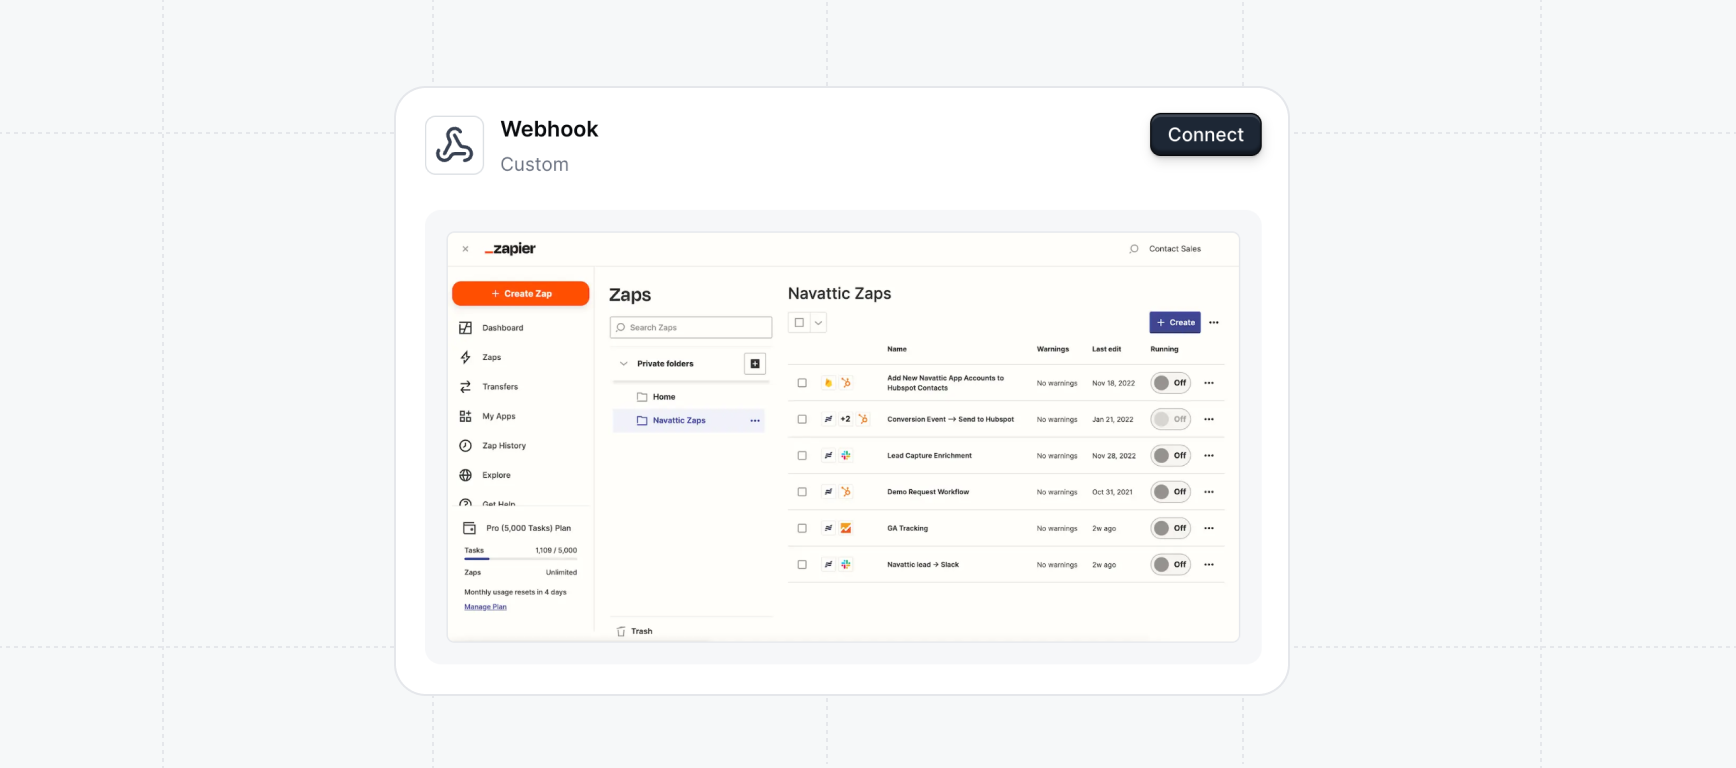
Integrating with Webhook allows you to process the raw event data from Navattic in any way you want. Navattic strives to minimize the changes to the Webhook integration, and if necessary will provide ample notice for any breaking changes.

Events will be sent to your Webhook setup whenever a Visitor session in your demo is marked as closed. The timestamp in each respective event will be an ISO-8601 formatted date-time string that signifies the closing time of the session. The event will also contain information about the session, including a list of the recorded events associated with the session, as well as the corresponding end-user the session relates to, and the company account, if any (company account can be null).

### Testing

A free service like [webhook.site](https://webhook.site/) can be an easy way to get started and test the Webhook integration.

<Info>
  Webhook.site is a public webhook testing service, so it is recommended only to send test data when
  using this, as you could inadvertently expose customer event data.
</Info>

<MediaCard url="https://www.loom.com/embed/2978ceea6b674b27a90b09dba2cab312?sid=f5aa0602-6ac8-49a1-9385-07f7c6818f98" type="video" title="Segment and Webhook" />

## Opportunity owner fields

When a Launchpad presentation is connected to a Salesforce opportunity, the webhook payload includes two additional fields for the opportunity owner:

| Field                   | Description                                                   |
| ----------------------- | ------------------------------------------------------------- |
| `opportunityOwnerEmail` | Email address of the Salesforce user who owns the opportunity |
| `opportunityOwnerId`    | Salesforce user ID of the opportunity owner                   |

These fields let you route webhook events to the right rep — for example, triggering a Slack notification or Zapier workflow that notifies the opportunity owner when their prospect views a demo.

## Send data to Zapier using Webhook

Sending webhook events to Zapier allows you further filter and format the data within Zapier before sending it to additional destinations like Google Sheets, Gmail, Notion, or more. This [setup demo](https://training.navattic.com/ss60pxn) includes all the steps you need to send data from Navattic to Zapier.

<MediaCard url="https://training.navattic.com/ss60pxn" type="demo" title="Zapier Setup" />

<Info>
  Use the Webhook integration to integrate with a Zapier workflow using a Zap URL. Learn more about
  triggering [Zaps from
  webhooks](https://help.zapier.com/hc/en-us/articles/8496288690317-Trigger-Zaps-from-webhooks).
</Info>
