> ## Documentation Index
> Fetch the complete documentation index at: https://docs.navattic.com/llms.txt
> Use this file to discover all available pages before exploring further.
# Checklist demos
> Learn how to create and use Checklists in your demos.
export const MediaCard = ({title = '', url, type = 'demo'}) => {
const attributes = type === 'demo' ? {
'data-navattic-open': url,
'data-navattic-title': title
} : {
'data-video': url
};
return
{type === 'video' ? 'Watch video' : 'Try a demo'}
{title}
;
};
**Checklists** are great for organizing multiple flows from a demo into a series of tasks. This enables the visitor to decide which flow to engage with next at any time.
## Creating a checklist demo
Follow these steps to create your first demo with a Checklist:
Within your demo's **Build** tab, select **+Element** > **Checklist** to get started. Most Checklists will incorporate 4-6 Tasks that start different Flows. When using a Checklist, we recommend keeping individual Flows to 5-9 steps each.
Checklists are automatically displayed using the **Floating** layout, which includes the Checklist launcher. The Checklist can be opened by clicking the Checklist Launcher, using the **Launch after flow start** Setting, or through various buttons, beacons, or triggers configured with the **Open Checklist** action.
Alternatively, you can choose the **Sidebar** Layout, where the checklist stays open permanently on the side of your demo, providing continuous access throughout.
Want to see a sidebar checklist in action? Check out [Dremio’s demo](https://www.dremio.com/) by selecting “Take Product Tour” on their website!
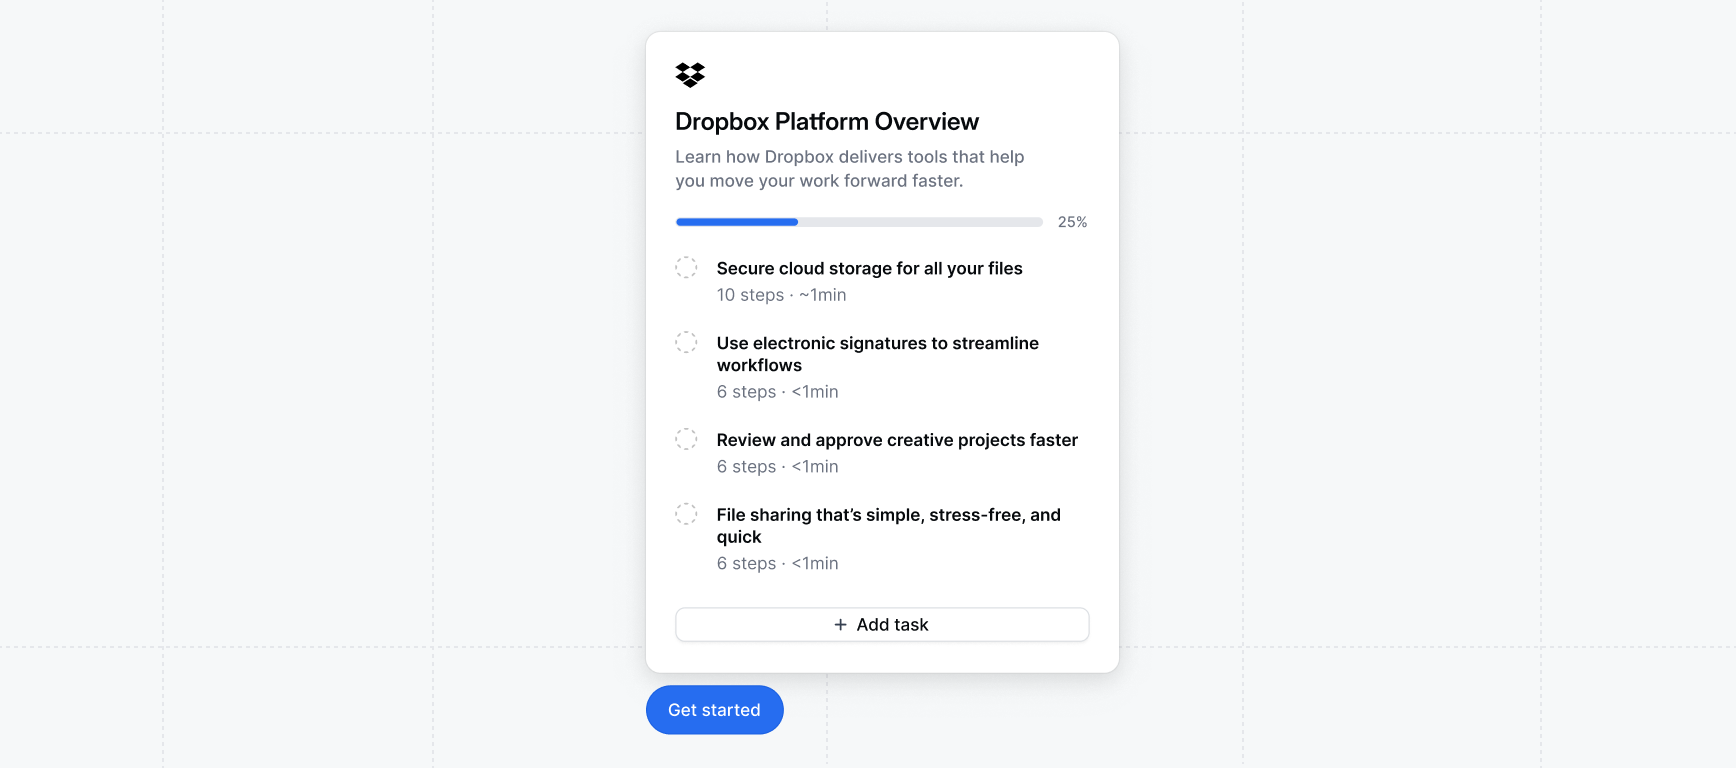
A blank checklist will appear with the option to add a title, description (optional), and various Tasks. Tasks are the individual components of a Checklist, which appear when the Checklist is expanded. Similar to how Buttons behave in a Flow, Tasks in a Checklist can support a variety of Click Actions.
| Click Action | Description |
| ------------------------------ | -------------------------------------------------------------------------------------------------------------- |
| **Start a Flow** (most common) | Link the task to a Flow in your demo. Select from any Flows within your demo. |
| **Navigate to URL** | Takes the end user to an external link (e.g., a Knowledge Base or Sign-up page) |
| **Mark as Converted** | For reporting purposes (i.e., not visible to the end user), this indicates that an end user has clicked a CTA. |
Within the Checklist Settings, you can edit the **Checklist launcher value** to change the text. You can further customize the Launcher in [Themes](/build/themes).
Add a Progress bar, estimated completion time, a Checklist logo and/or Remaining count under Advanced in the Checklist builder.
Add CTA button(s) to your Checklist by clicking **+ Add CTA button**. Then, enter the URL and optionally edit the text.
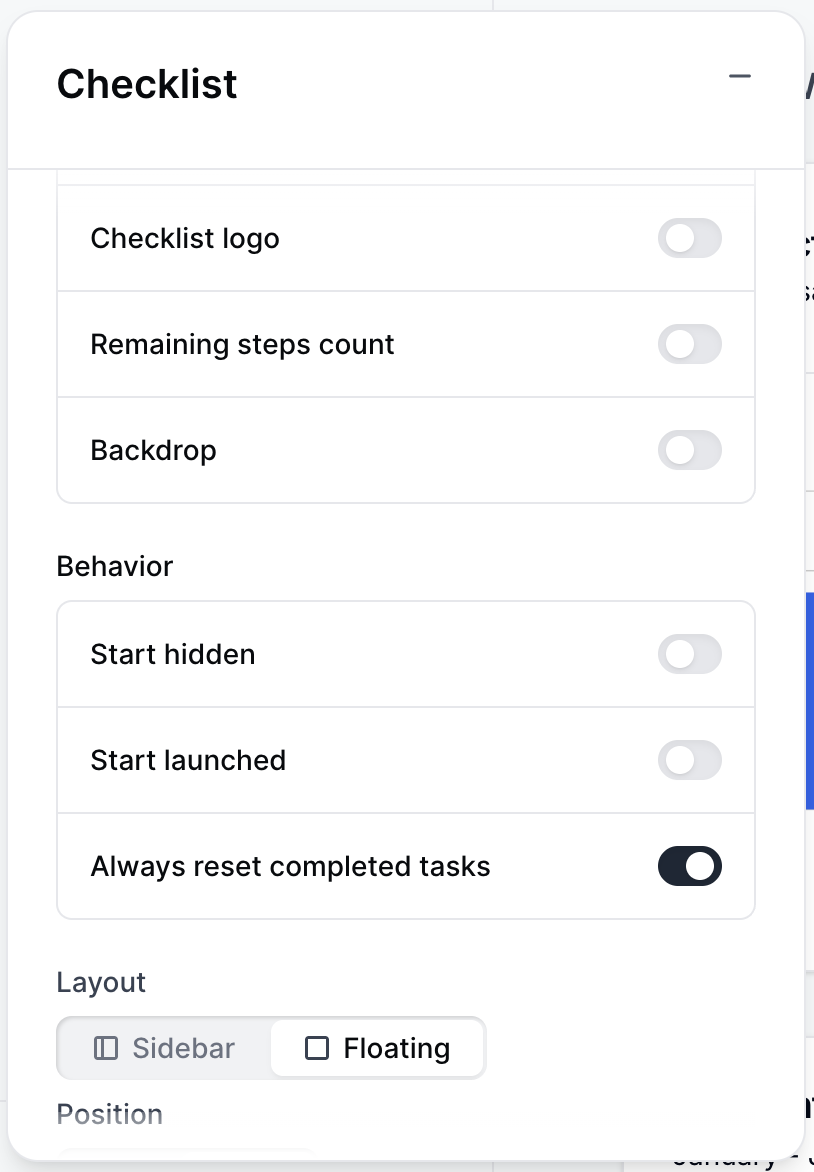
From the Checklist editor, click **Settings** to view additional options. Here, you can add a Backdrop, determine whether you would like the checklist to launch automatically upon Flow start or Flow completion, and select to reset it each time the demo is loaded.
Once a checklist has been created and associated with a demo, you can choose how you want a user to engage with it.
**Launch Checklist After Flow Start**
If you want a user to see the checklist immediately, you will use the **Launch after flow start** option found in the Checklist Settings.
**Expand Checklist Action**
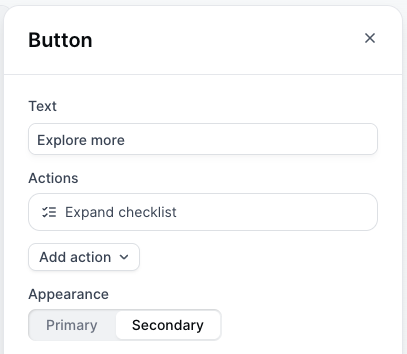
Add **Expand Checklist** to any Beacon, Trigger, or Button in your flow to prompt a Checklist to open at a specific point in your demo, including after the last step. **Expand Checklist** can be paired with any condition, including a [Timer Trigger](/flows#JJQON).
**Start Hidden Setting & Show Checklist Action**
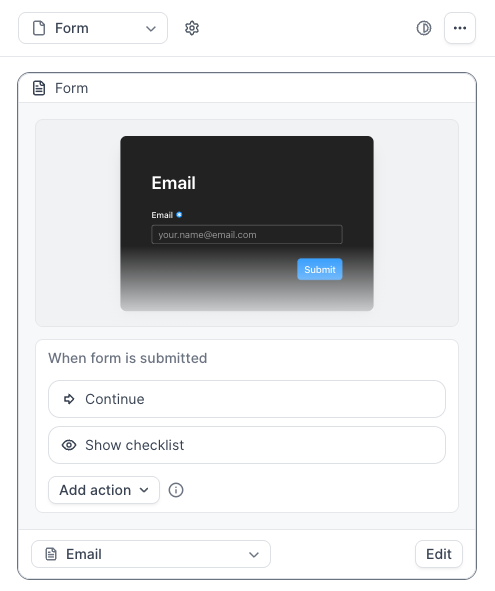
If you want to hide your Checklist before a user reaches a certain point in the demo, visit your Checklist Settings > Toggle on **Start hidden under Behavior.** Once this is toggled on, visit the Flow with the Form > locate the Form Step > add the **Show checklist** action to "When form is submitted."
Pair the **Start hidden** Checklist Setting and **Show Checklist** action with your Form step to prevent Visitors from navigating through the Checklist before submitting the Form.
### FAQs
While viewers can manually expand at any point, you can also add an action to any Beacon, Trigger, or Button in your flow to prompt a Checklist to open automatically at a certain point, including after the last step. **Expand Checklist** can be paired with any condition, including **Timer**.
Visit [Themes](/build/themes) to adjust the appearance of your Checklist. Common adjustments may be:
* Adjust the shape and size of your Checklist Launcher
* Change the color of the checkmark
The Checklist will appear in your demo's **Build** tab. You can also preview the checklist when previewing the flow.
To move the Checklist position, hover over the Checklist in the\*\* Build\*\* tab, click on\*\* Reposition\*\*, and drag it to the one side.
When testing a Product Demo that contains a Checklist, you may notice that the Checklist tasks are already completed or include a strikethrough. This is due to your browser caching each previously completed step of the demo.
To restart your Checklist each time, visit your Checklist Settings > **Always reset completed tasks**.
To prevent Visitors from skipping the Form by using the Checklist, visit your Checklist > Settings > Toggle on **Start hidden**.
Once this is toggled on, visit the Flow with the Form > locate the Form Step > add the **Show checklist** action to **When form is submitted**.